Create & Edit Event
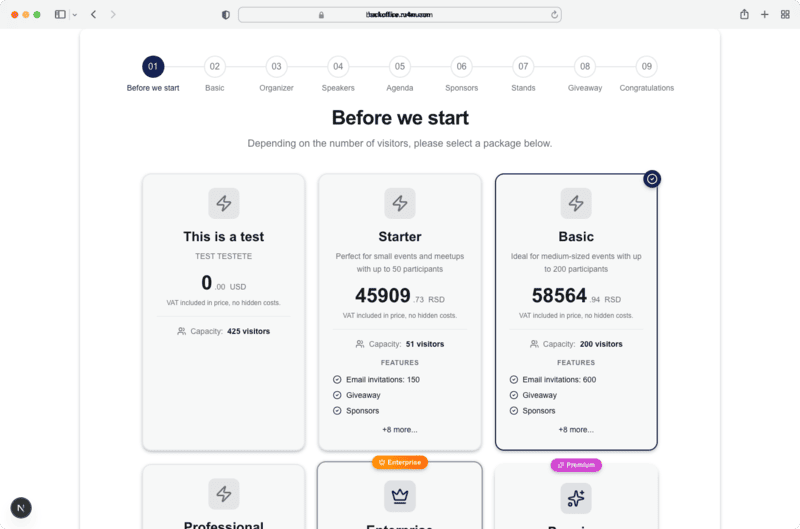
The event creation wizard guides you through an 8-step process to set up a professional networking event. You can also return to edit any step after creation.
Prerequisites
- A registered and verified account
- Organizer or admin role
Accessing the Wizard
Click Create Event from the dashboard or events page. To edit an existing event, open it from your dashboard and click Edit.
The 8 Steps
Step 1: Basic Info
Set the core event details:
- Title -- Event name
- Description -- Rich text description of the event
- Date & time -- Start and end date/time
- Location -- Venue address or online meeting link
- Banner image -- Upload a cover image
- Category -- Select the event type
- Ticket settings -- Free or paid, with price and capacity
Step 2: Agenda
Build the event schedule by adding time slots. Each slot has a title, description, start/end time, and optional speaker assignment.
Step 3: Speakers
Add speakers to the event with their name, bio, photo, and social links. Speakers can be assigned to agenda items.
Step 4: Sponsors
Add event sponsors with their logo, name, website URL, and sponsorship tier.
Step 5: Stands
Configure exhibition stands for sponsors or partners. Each stand has a name, description, and assigned company.
Step 6: Organizer
Set organizer details including name, logo, description, and contact information.
Step 7: Code & Giveaway
Configure promotional codes for discounts and set up giveaway campaigns for event attendees.
Step 8: Congratulations
Review a summary of your event and publish it. You can go back to any step to make changes before publishing.
Save your progress
Progress is saved automatically as you move between steps, but make sure to click Save before leaving the wizard.
Preview before publishing
Use the preview option to see how your event will appear to attendees before making it public.