Create a New Event
This is a complete, step-by-step guide to creating a new event in the RU4M Backoffice. By completing the first three steps, you will be able to create an event, publish it, or save it as a draft. All other steps after that are optional — you can fill them in if you have the information, or skip them entirely.
Do not worry if this is your first time — every single click is explained in detail below. Just follow along from top to bottom and you will have your event created in no time.
What is a draft?
A draft is an event that has been saved but is not yet visible to users in the app. You can come back to it later, make changes, and publish it when you are ready. Think of it like a document you have started writing but have not yet sent.
Required vs. optional steps
Steps 1, 2, and 3 are required — without them you cannot create an event. Steps 4 through 8 are optional — fill them in only if you have the information. If you do not, choose the Skip option to move to the next step.
Before You Start
Before you begin creating your event, there are two small things to take care of: selecting your preferred currency and opening the event creation wizard.
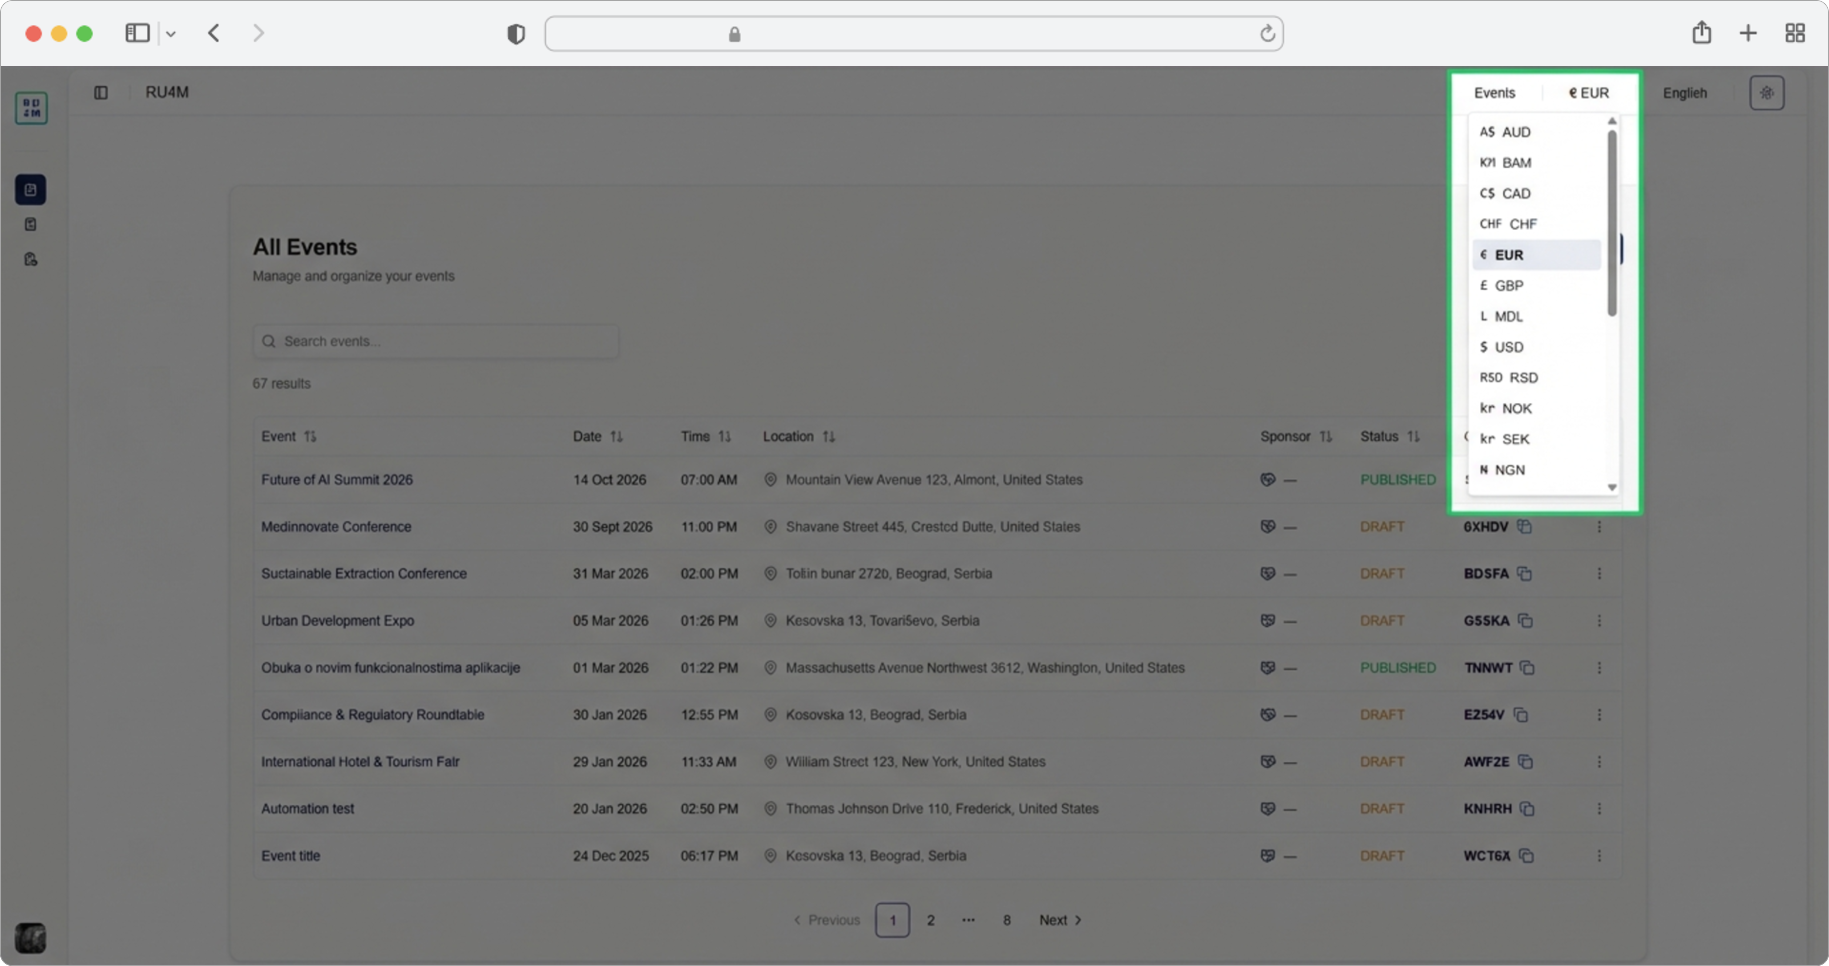
Select Your Currency
Before you start creating your event, it is advisable to select the currency in which you will make the payment. To access this setting, look at the upper right corner of the screen — you will see a small label showing a pre-defined currency (for example, "USD" or "EUR").
Click on the pre-defined currency in the upper right corner. A dropdown menu will appear — this is a small list that drops down below the currency label, showing all available currencies. A dropdown menu is a common interface element: you click on something, and a list of options appears below it for you to choose from.
Select the currency that suits you from the dropdown menu by clicking on it. The menu will close and the currency label in the upper right corner will update to show your selection.
When to change your currency
You can change the currency at any time, but it is best to set it before you start creating the event so that all prices and payment tiers are displayed in the currency you prefer.
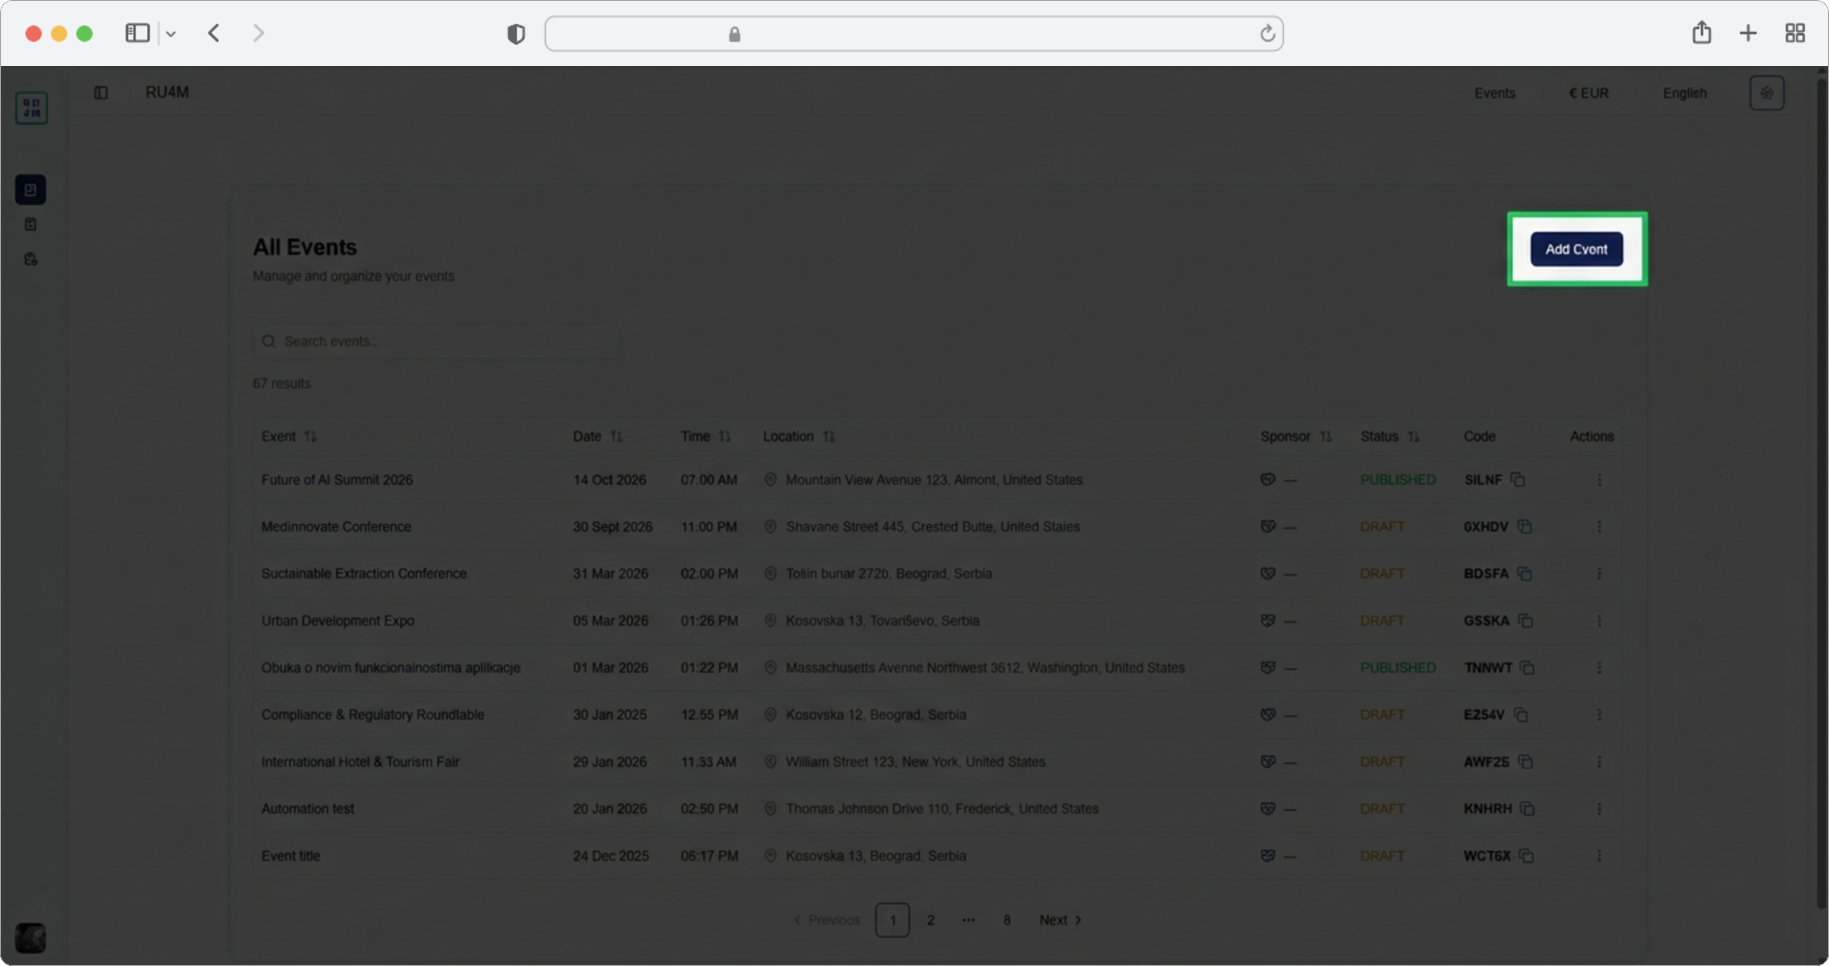
Click "Add Event"
Now you are ready to start creating your event. Look for the "Add event" button on the page. It is a clearly labeled button, usually located at the top of the Events section in the dashboard.
Click the "Add event" button. A modal will open — this is a window that appears on top of the current page, dimming the background behind it. You cannot interact with anything behind the modal until you close it or complete the step. Inside this modal, you will see the first step of the event creation process.
What is a modal?
A modal (also called a "dialog" or "popup window") is a box that appears on top of the page you are currently on. The background becomes darker or blurred, and you must interact with the modal — fill in fields, click buttons — before you can go back to the page behind it. You will see many modals throughout the event creation process.