Event Details
In this step you provide basic information about the event itself. There are several fields to fill in — all of them are required. Take your time and fill in each one carefully.
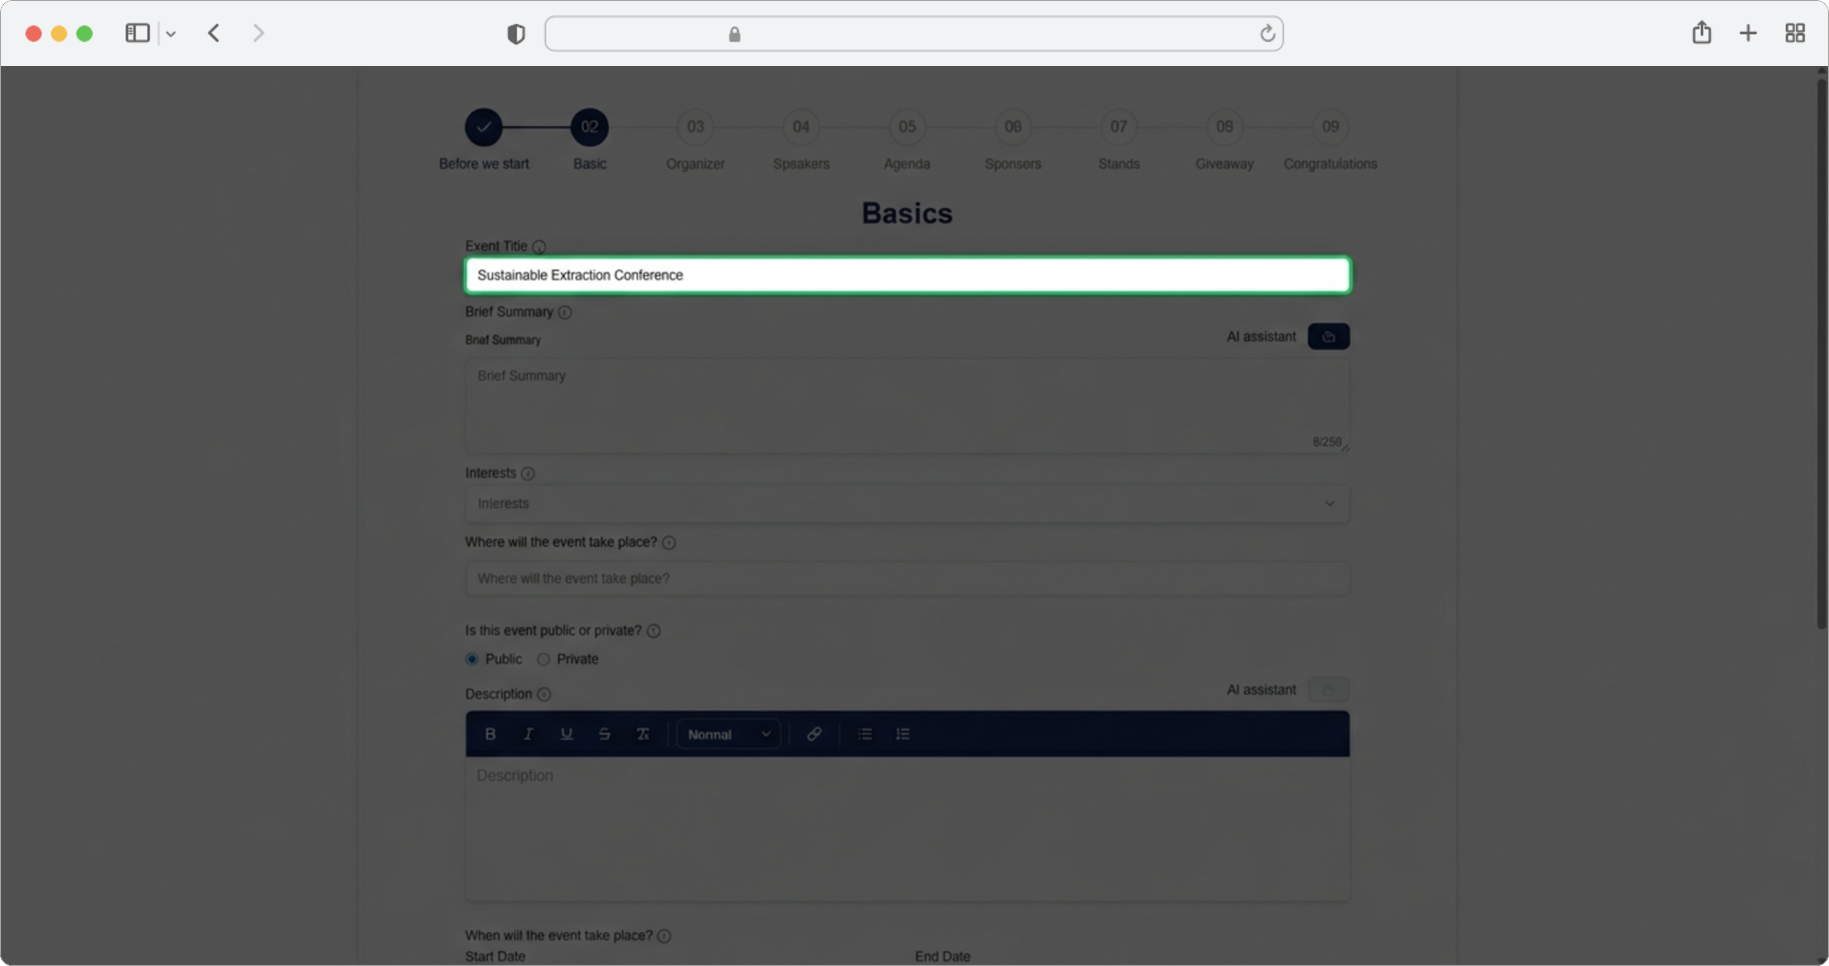
Event Name
Required field. Click on the text input field labeled "Event name". A text input field is a rectangular box on the screen where you can type text — when you click inside it, a blinking cursor will appear, and you can start typing.
Type the official name of the event you are organizing (for example, "Western Balkans Tech Summit 2026").
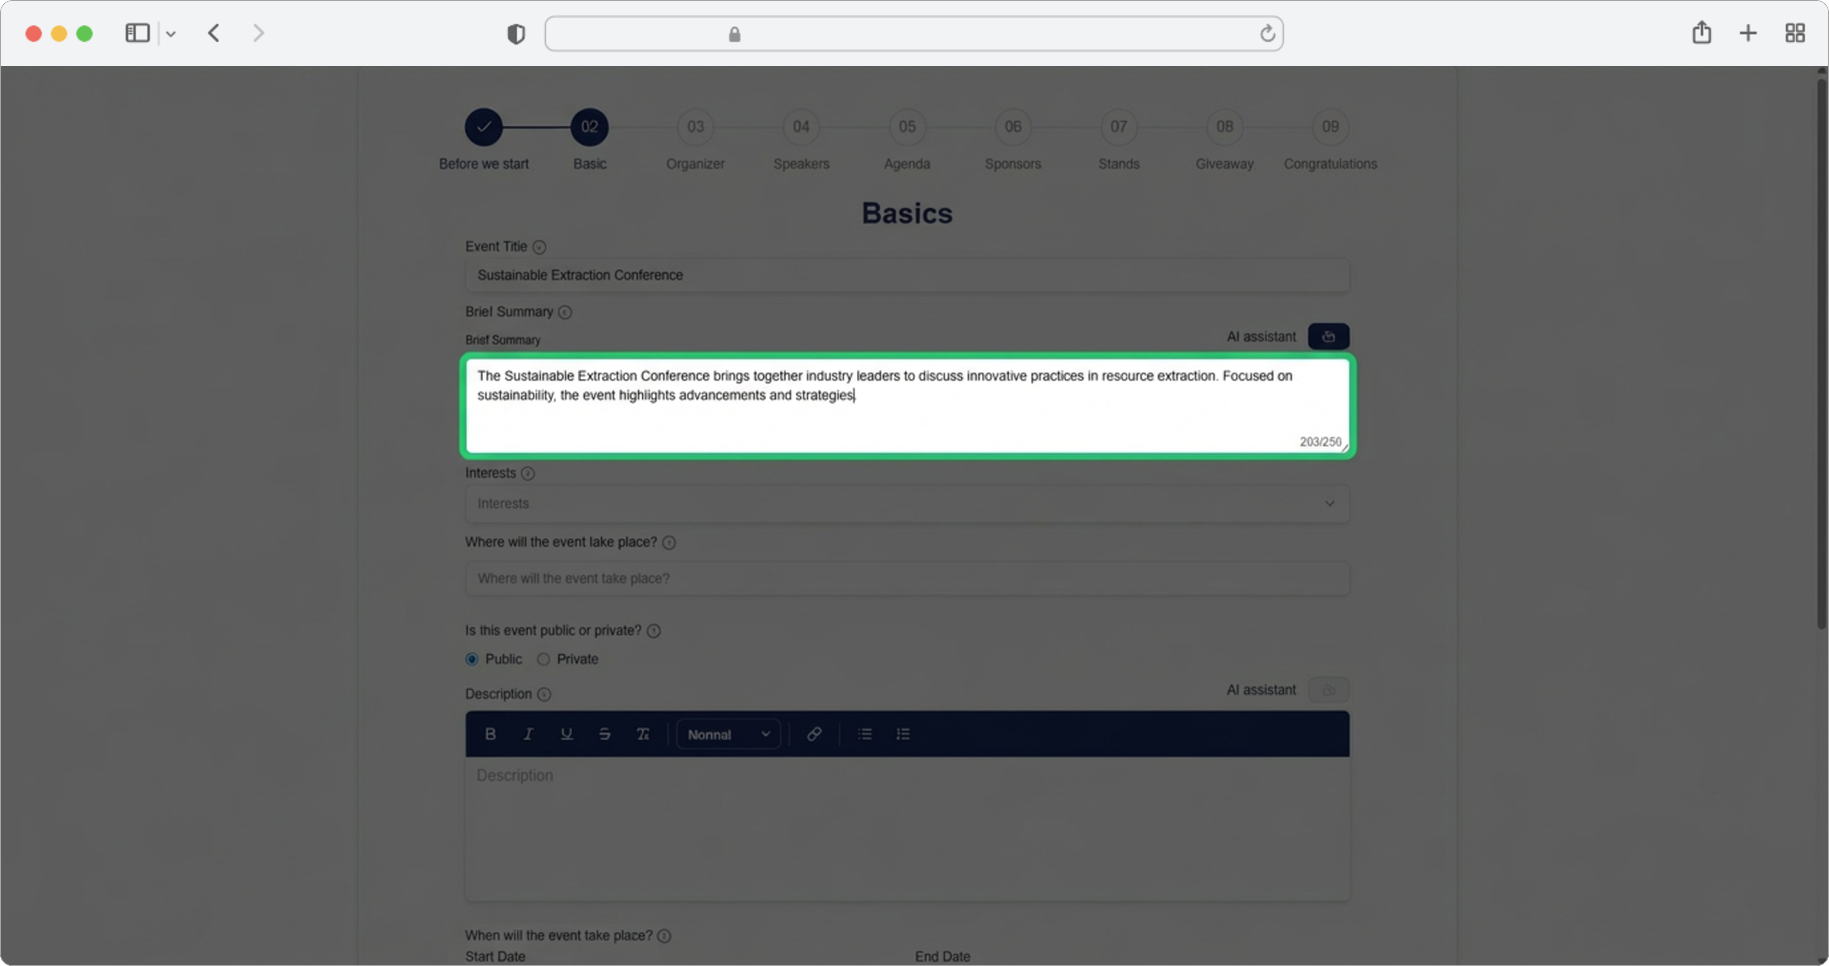
Brief Summary
Required field. Click on the text input field labeled "Brief Summary" and enter a short description of the event, up to 250 characters. This summary will be the first thing people see about your event, so make it count.
Alternatively, you can click on the AI assistant icon — a small icon located near the text field, usually resembling a sparkle or a robot. Clicking it will automatically generate a suggestion for you. You can then edit the generated text according to your own needs.
Using the AI assistant
The AI assistant can save you time by generating text automatically. You do not have to use the text exactly as it is generated — feel free to edit, shorten, or rewrite it. Think of it as a helpful starting point.
Interests
Required field. Click on the search input field labeled "Interests". A search input field works like a regular text field, but as you type, it shows matching suggestions below for you to pick from.
You can select up to 3 suggested areas that your event belongs to (for example, "Technology", "Marketing", "Finance"). Click on each interest to select it.

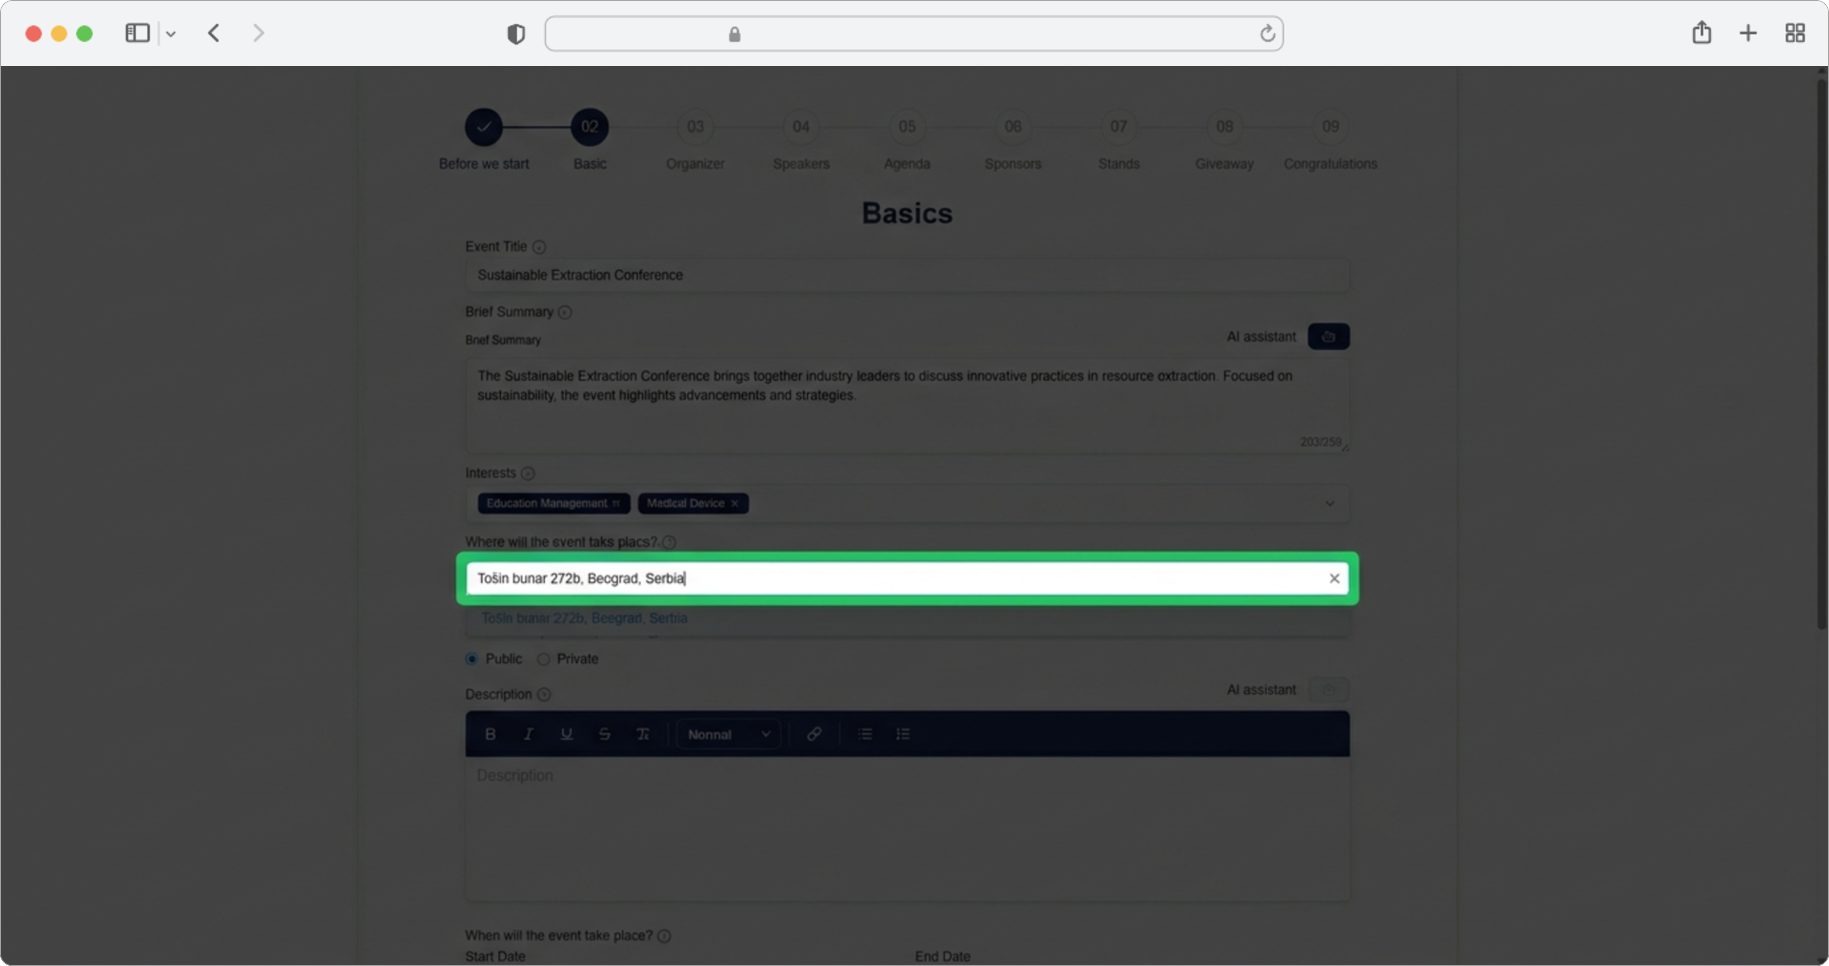
Event Location
Required field. Enter the exact venue of your event by clicking on the search input field labeled "Where will the event take place?". As you type, search results will update in parallel — meaning they refresh automatically as you type each letter, without you needing to press any button.
Keep in mind that the address must be exact, either in the form of a street and number or a marked location on the map. Only locations offered in Google Maps search results are allowed — you must select one of the suggested results from the dropdown, not type a custom address.
The address must be from Google Maps
You cannot type in a random address. You must select one of the locations that appear in the search results. These come from Google Maps, so if a location does not appear, try searching for it using different keywords (for example, the venue name instead of the street address, or vice versa).
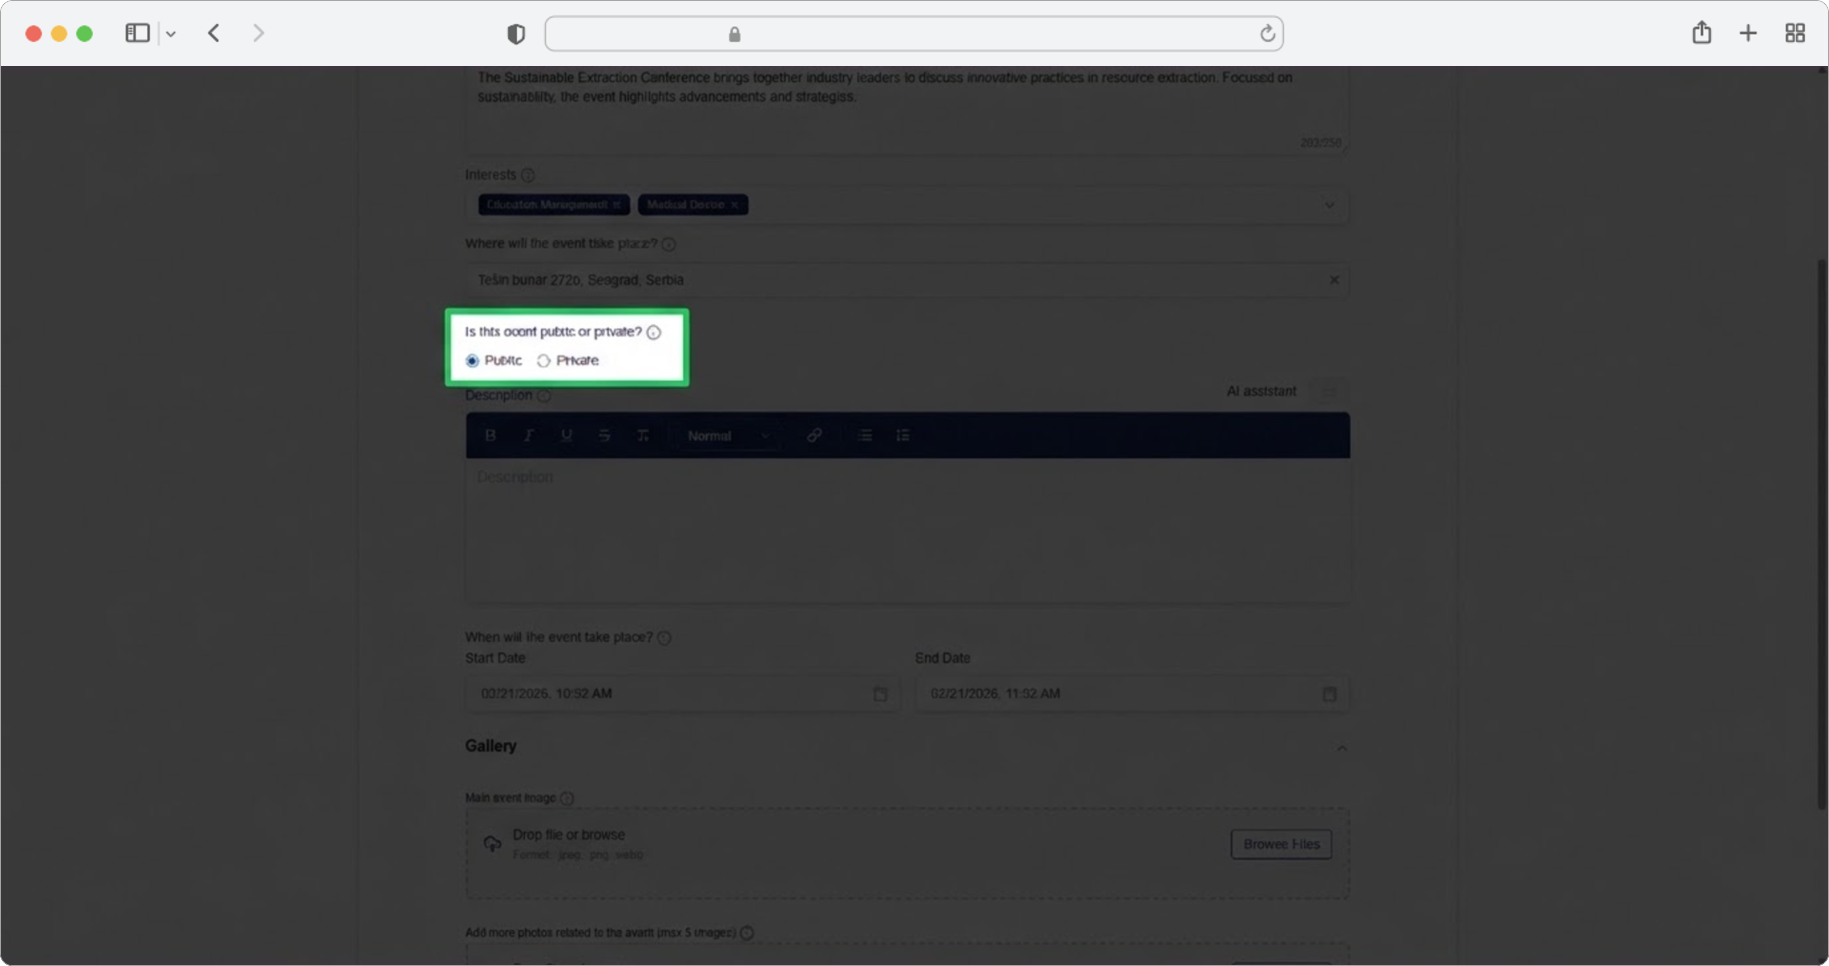
Public or Private Event
Required field. Click the checkbox to indicate whether the event is public (visible to all app users) or private (accessible only with an invite code). A checkbox is a small square box that you click to toggle an option on or off — when it is checked, you will see a checkmark inside it.
If you choose private, an invite code will be generated automatically. The code is visible on the Dashboard/Events page, after creating the event, in the Code column.
What is a checkbox?
A checkbox is a small square box on the screen. You click it to select or deselect an option. When the option is selected, the box will show a checkmark (a small tick mark) inside it. Click it again to deselect.
Public vs. Private
A public event is visible to every user of the RU4M app — anyone can find it and join. A private event is hidden from the public list and can only be accessed by people who have a special invite code. Choose private if you want to control exactly who can attend.
Description
Required field. Click on the text input field labeled "Description" and enter a detailed description of the event. This is where you can provide all the information attendees need to know — what the event is about, who should attend, what they will learn, and so on.
Alternatively, click on the AI assistant icon, which will generate a suggestion for you. You can edit the generated text according to your own needs. You can also format the text in different ways using the formatting icons at the top of the modal — these icons let you make text bold, italic, add bullet points, and more, similar to a word processor.

Formatting your description
Look at the top of the description field — you will see small icons for formatting. These typically include B (bold), I (italic), bullet points, numbered lists, and more. Highlight the text you want to format, then click the appropriate icon. This is similar to how you would format text in Microsoft Word or Google Docs.
Start Date and Time
Required field. Click on the "Start date" field. A date and time picker will appear — this is a calendar-like popup where you can select a date and time.
Select the date the event starts by clicking on it in the calendar. Then select the start time. If the predefined times do not suit you, select the time closest to yours, and then by clicking on the hours/minutes you can enter the desired time manually using your keyboard.
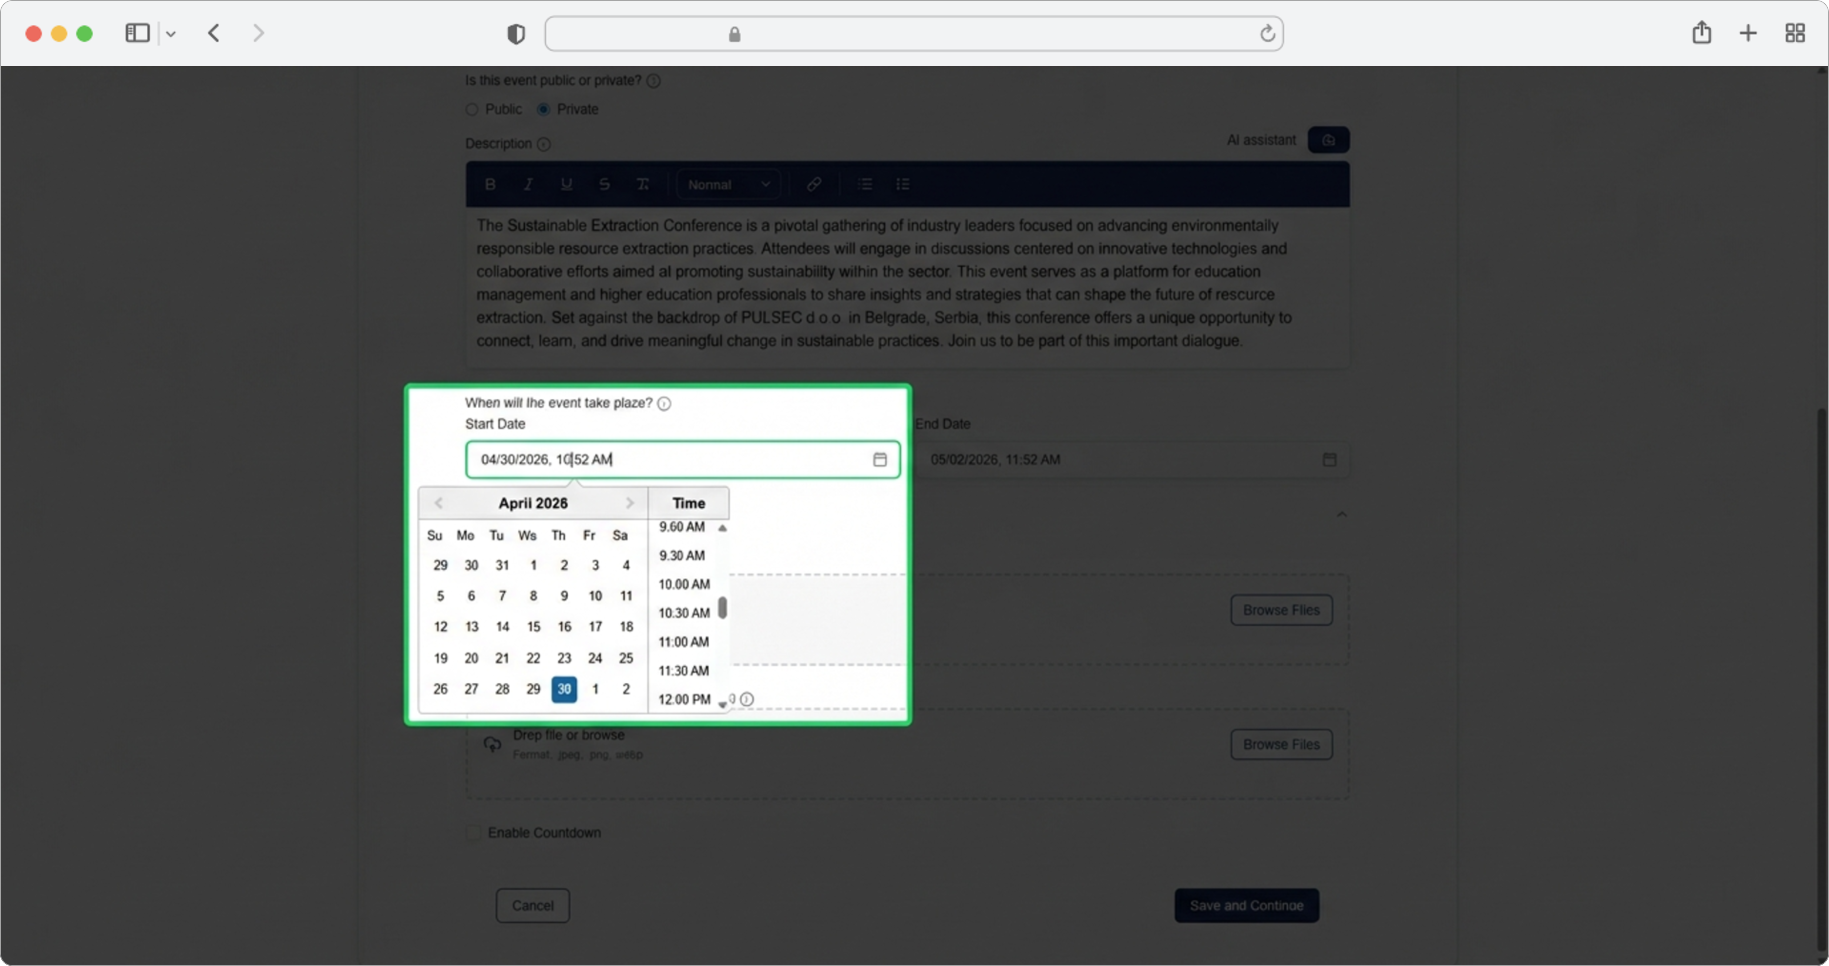
Setting a custom time
If the time you need is not in the predefined list (for example, you need 10:45 but only see 10:30 and 11:00), select the closest time first. Then click directly on the hours or minutes number and type the exact time you want using your keyboard.
End Date and Time
Required field. The same rules apply as when entering the start date and time. Click on the "End date" field, select the date the event ends, and then select or manually type the end time.
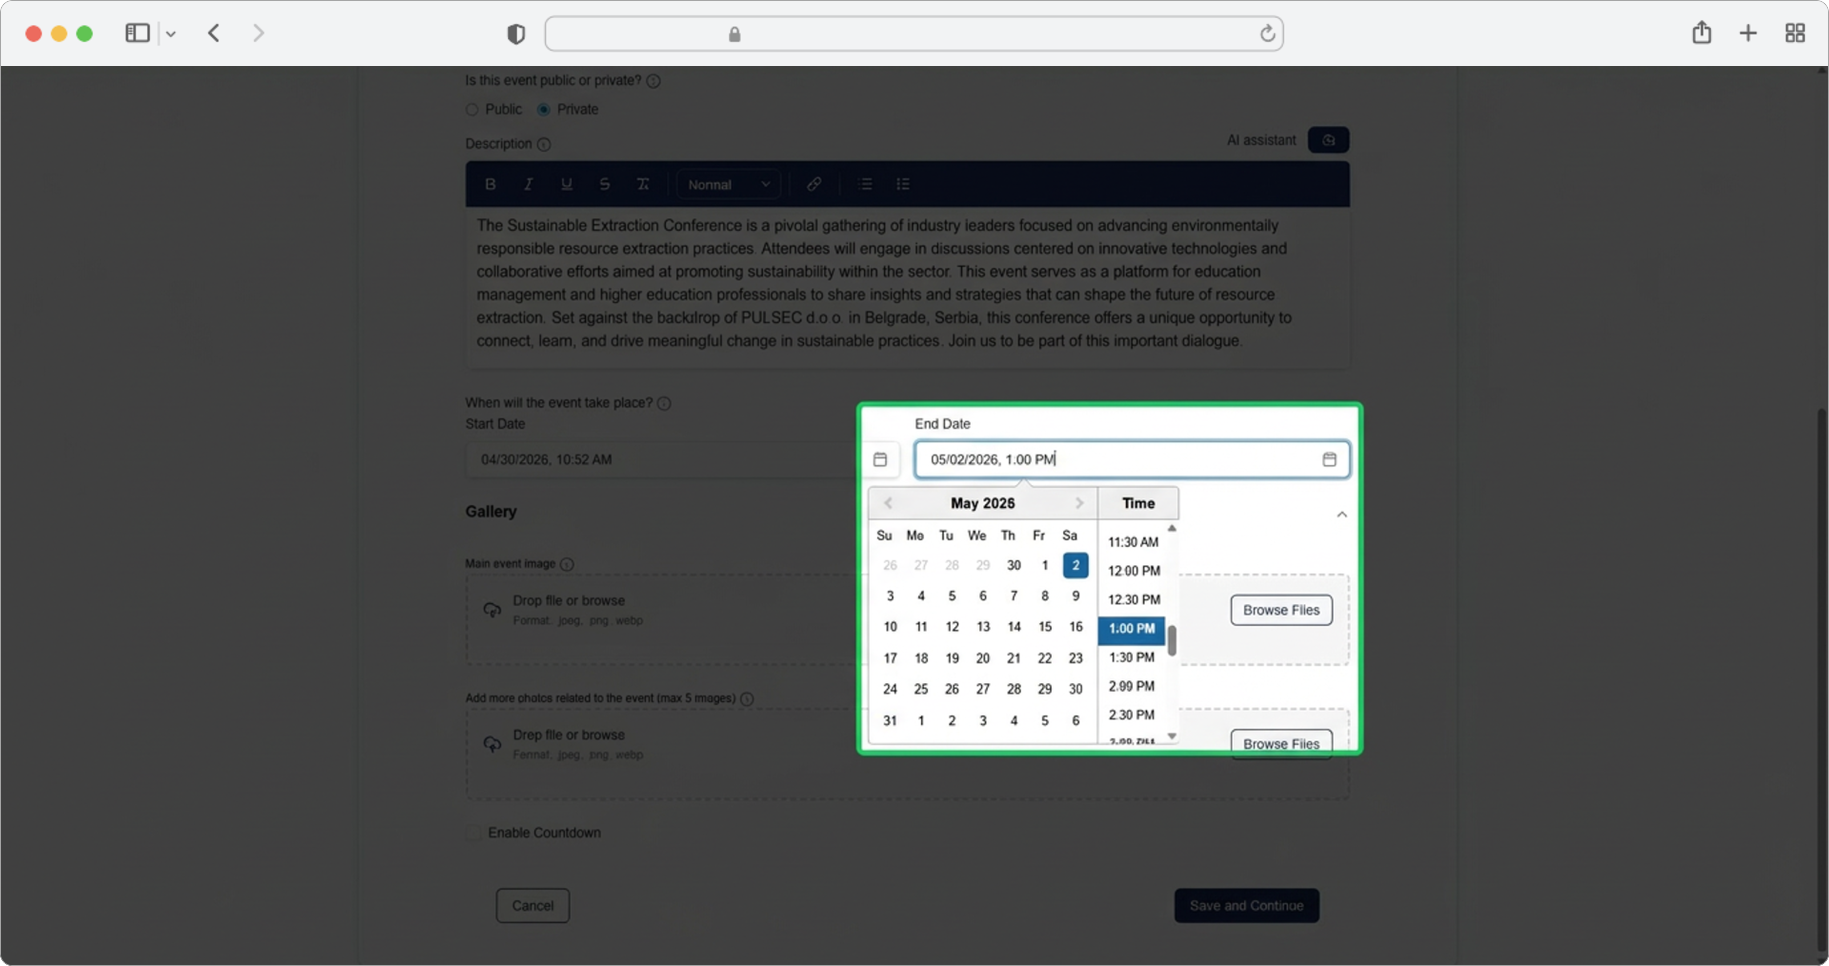
End must be after start
Make sure the end date and time come after the start date and time. The system will not allow you to create an event that ends before it begins.
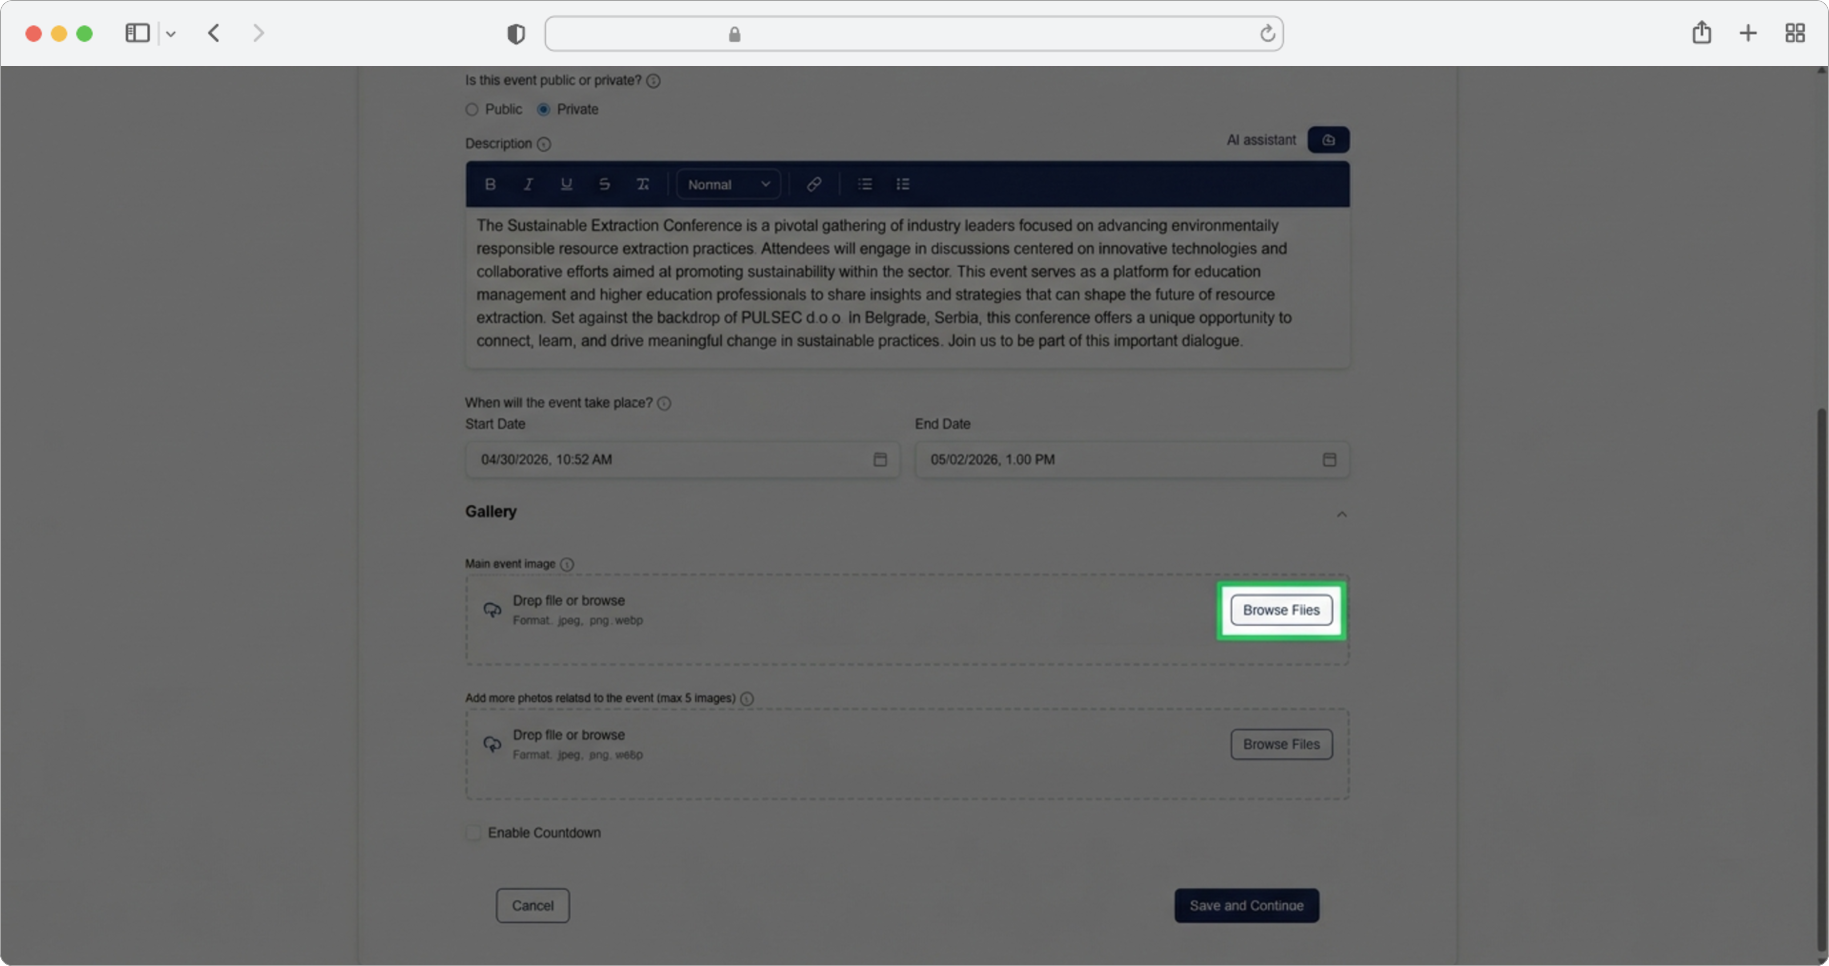
Upload Cover Photo
Required field. Upload a photo that will represent the cover image of your event in the app. This is the main image people will see when they browse events. One photo is allowed, with a maximum size of 25 MB.
Click the "Browse" button. This will open your computer's file explorer — a window where you can navigate through folders on your computer to find the photo you want to upload.
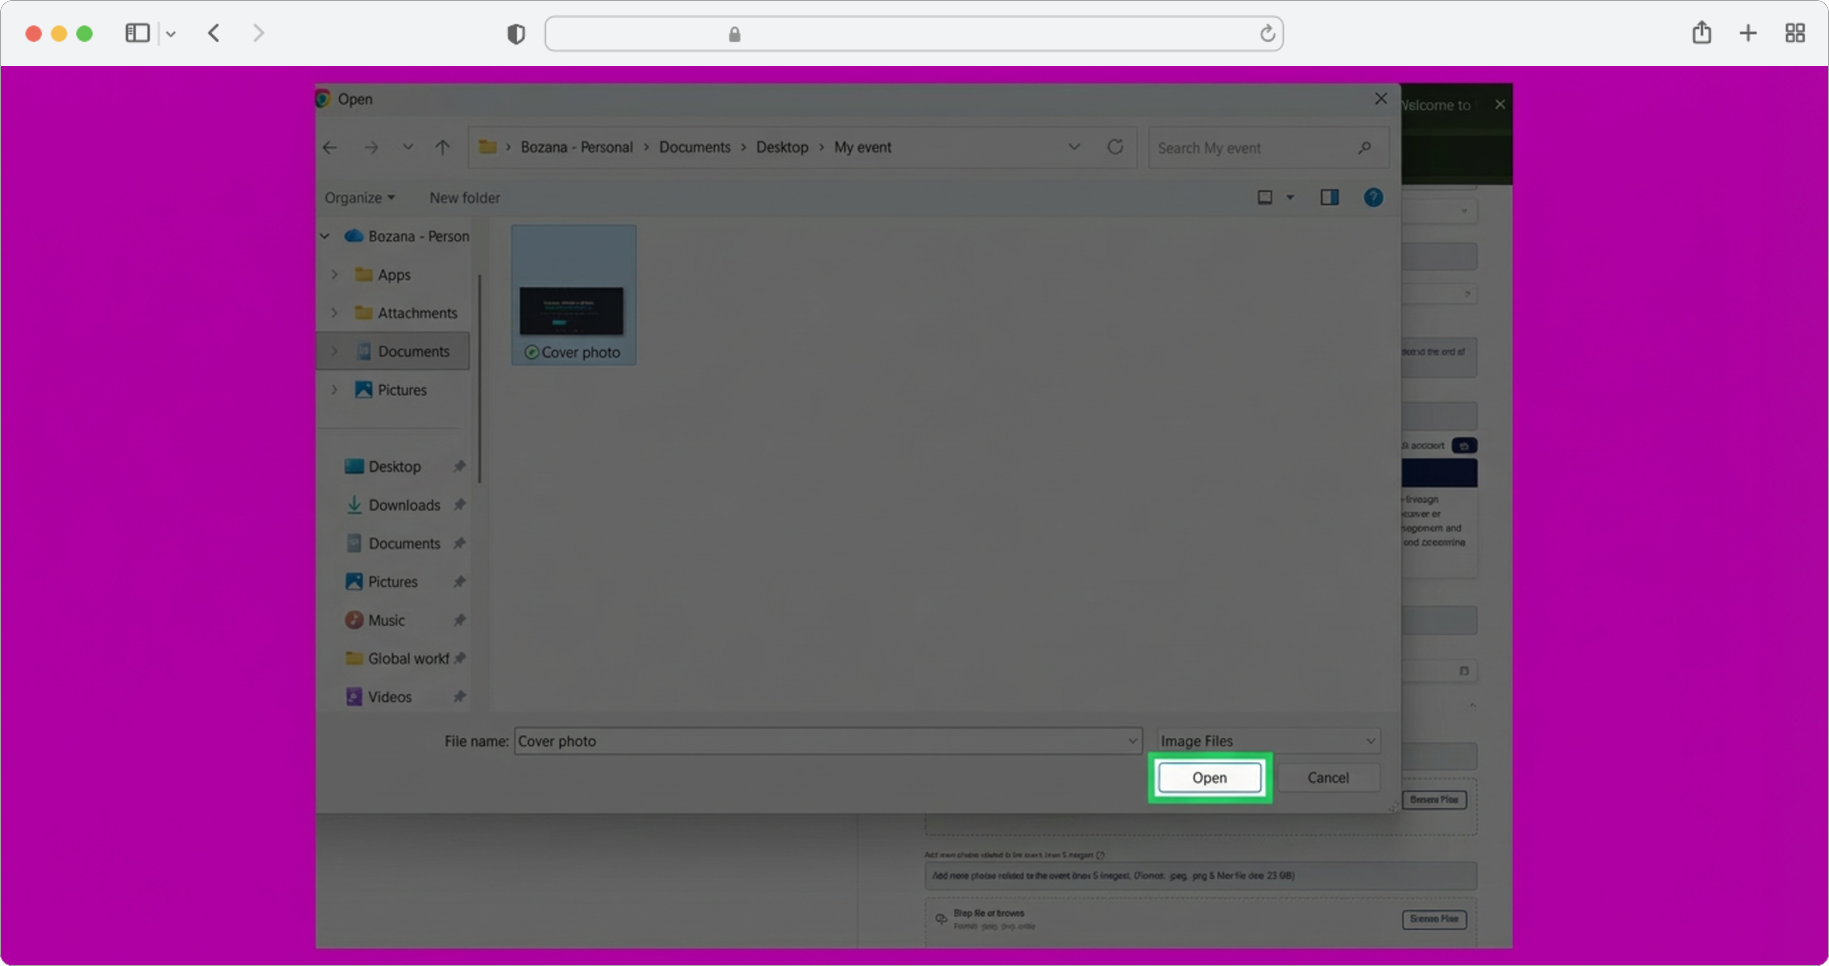
Select the Photo
In the file explorer window that appeared, navigate to the folder where your photo is saved. Select the photo you want to upload by clicking on it — it will become highlighted. Then click the "Open" button in the bottom-right corner of the file explorer.
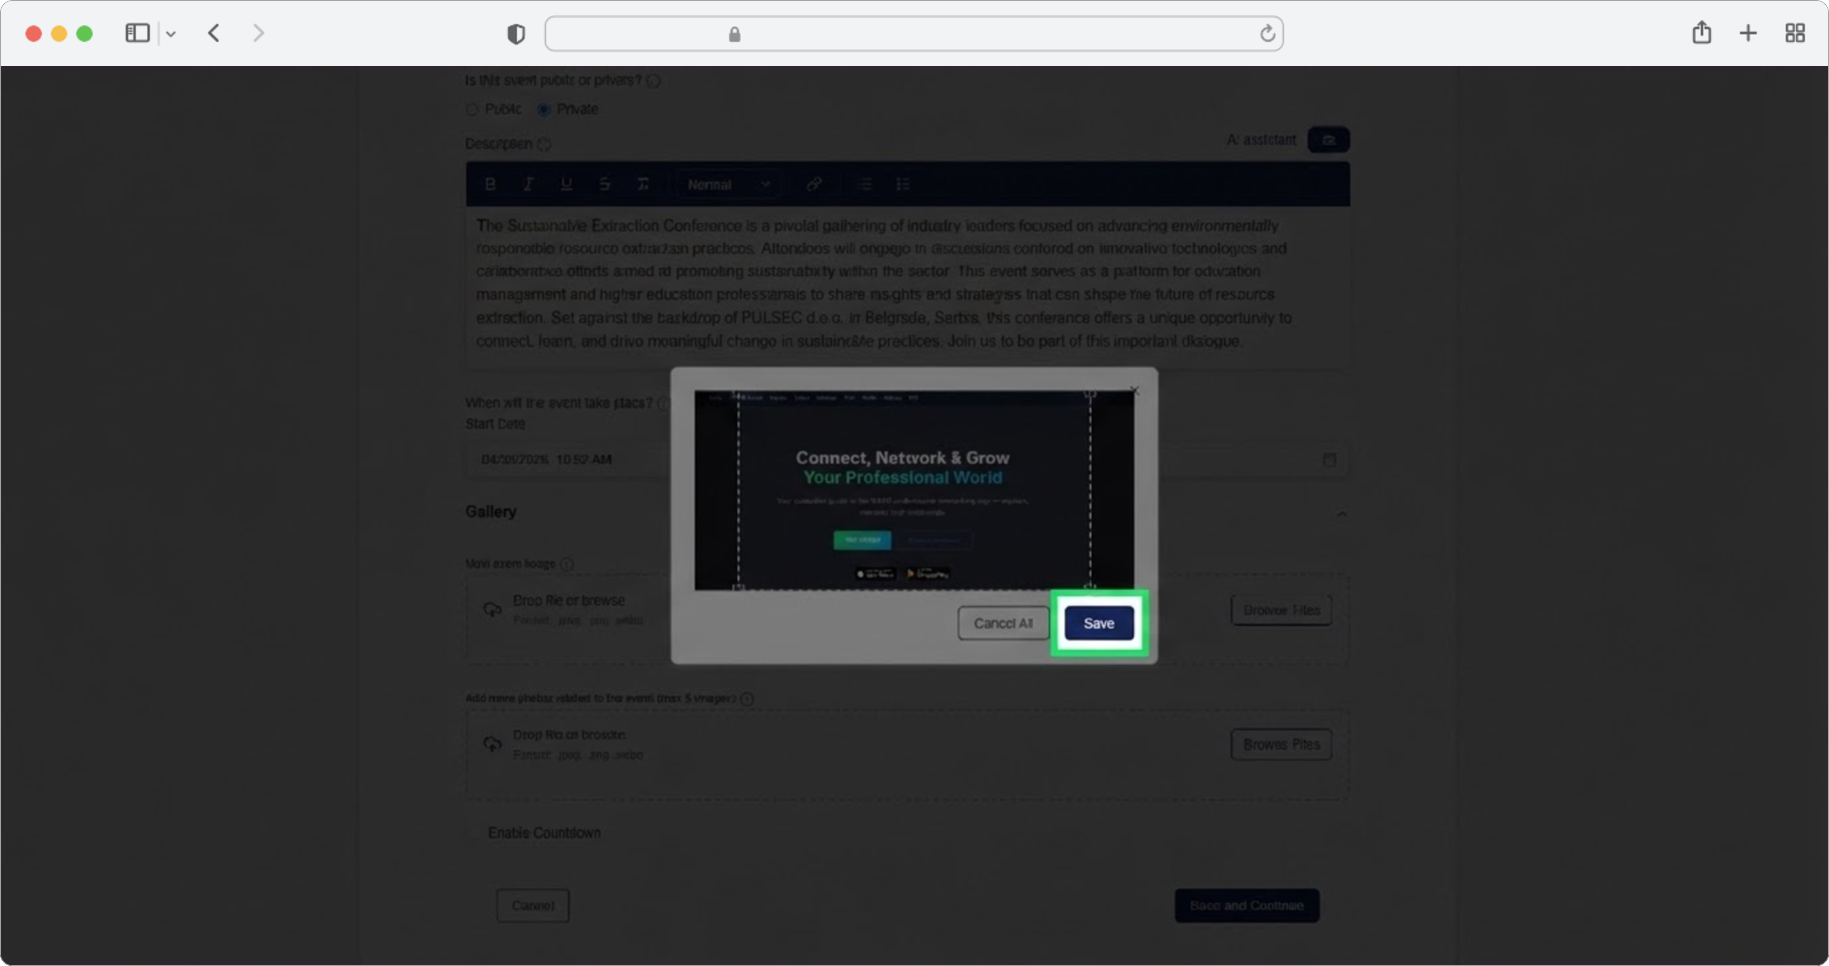
Resize the Cover Photo
After uploading, a cropping/resizing tool will appear. This lets you adjust the size and framing of your photo. You can drag the edges or corners to resize, and drag the photo itself to reposition it within the frame.
Adjust the size of the photo until you are satisfied with how it looks. Then click the "Save" button when you are happy with the adjustment.
Add More Photos (Optional) and Continue
If needed, you can add more event photos. Click the "Browse" button in the "Add more photos related to event" section and repeat the previous steps (select a photo, open it, resize it, save it) for each additional photo.
When you are done adding photos, click "Save and Continue" to proceed to the next step.
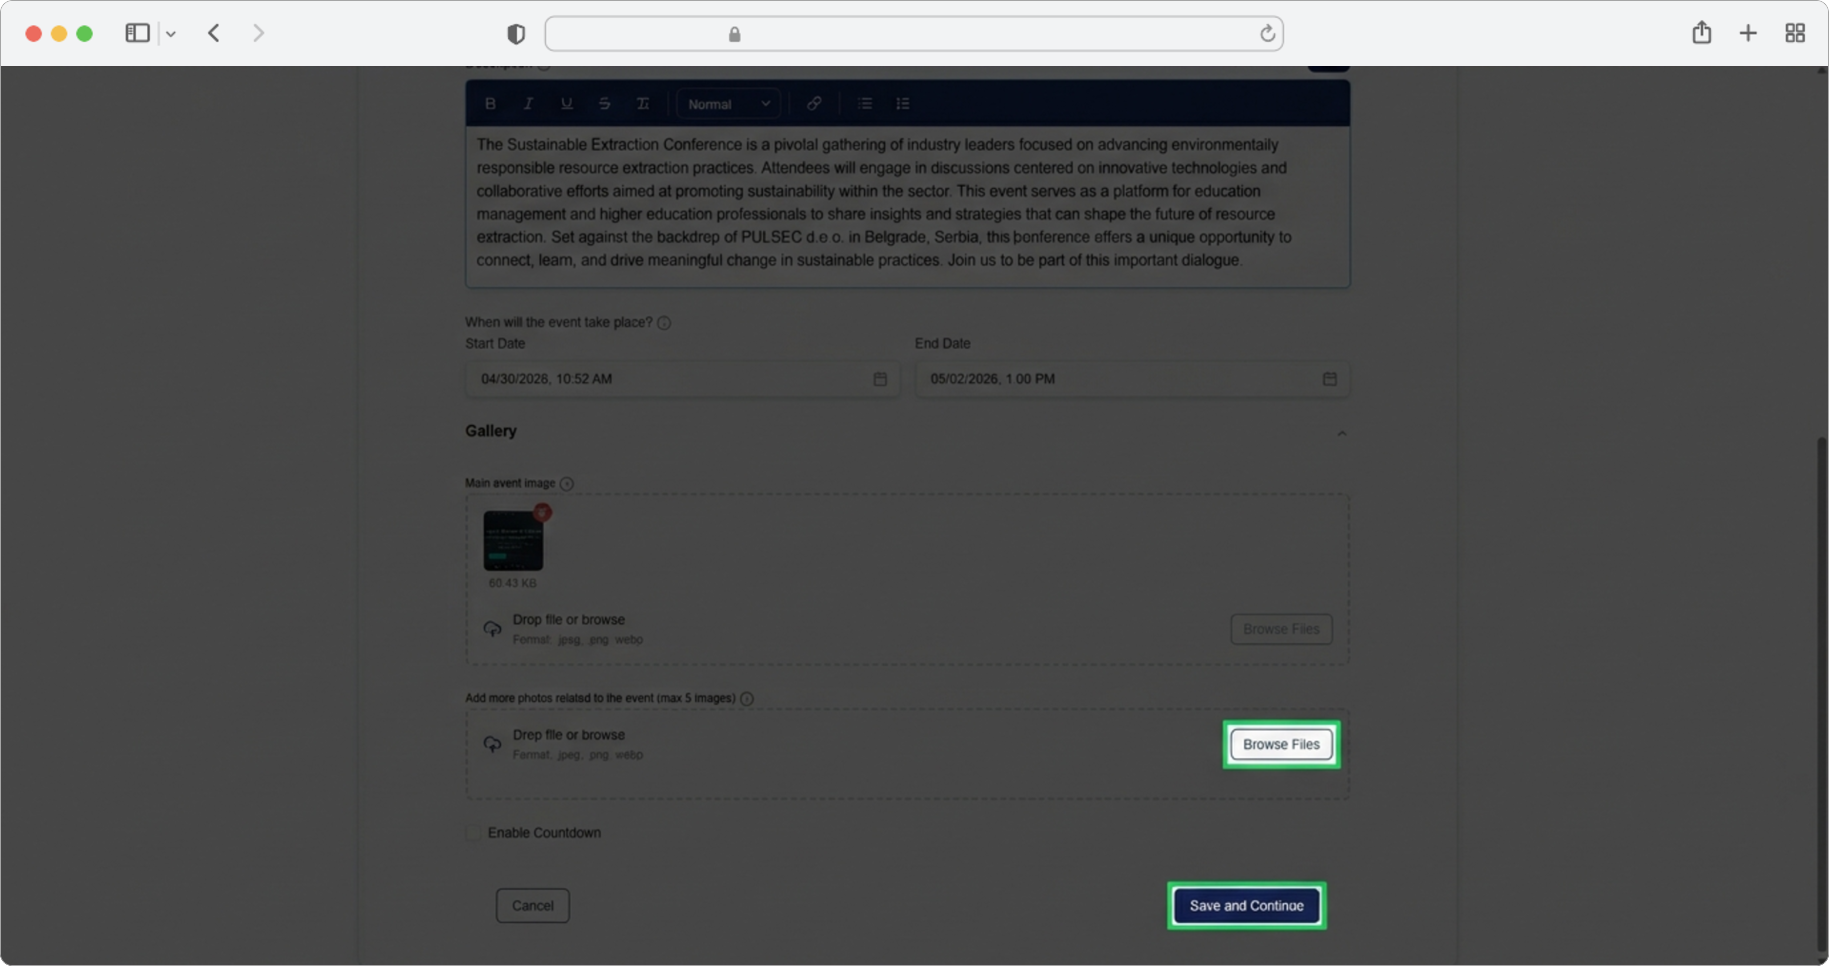
Cover photo vs. additional photos
The cover photo is the main image displayed on the event card in the app. Additional photos appear in the event's detail page and give attendees a better sense of what the event looks or feels like.