Giveaway (Optional)
If you are organizing a giveaway, in this step you enter the rules and prizes, as well as other information about them. A giveaway is a promotional activity where attendees can win prizes, often by completing certain tasks like visiting stands.
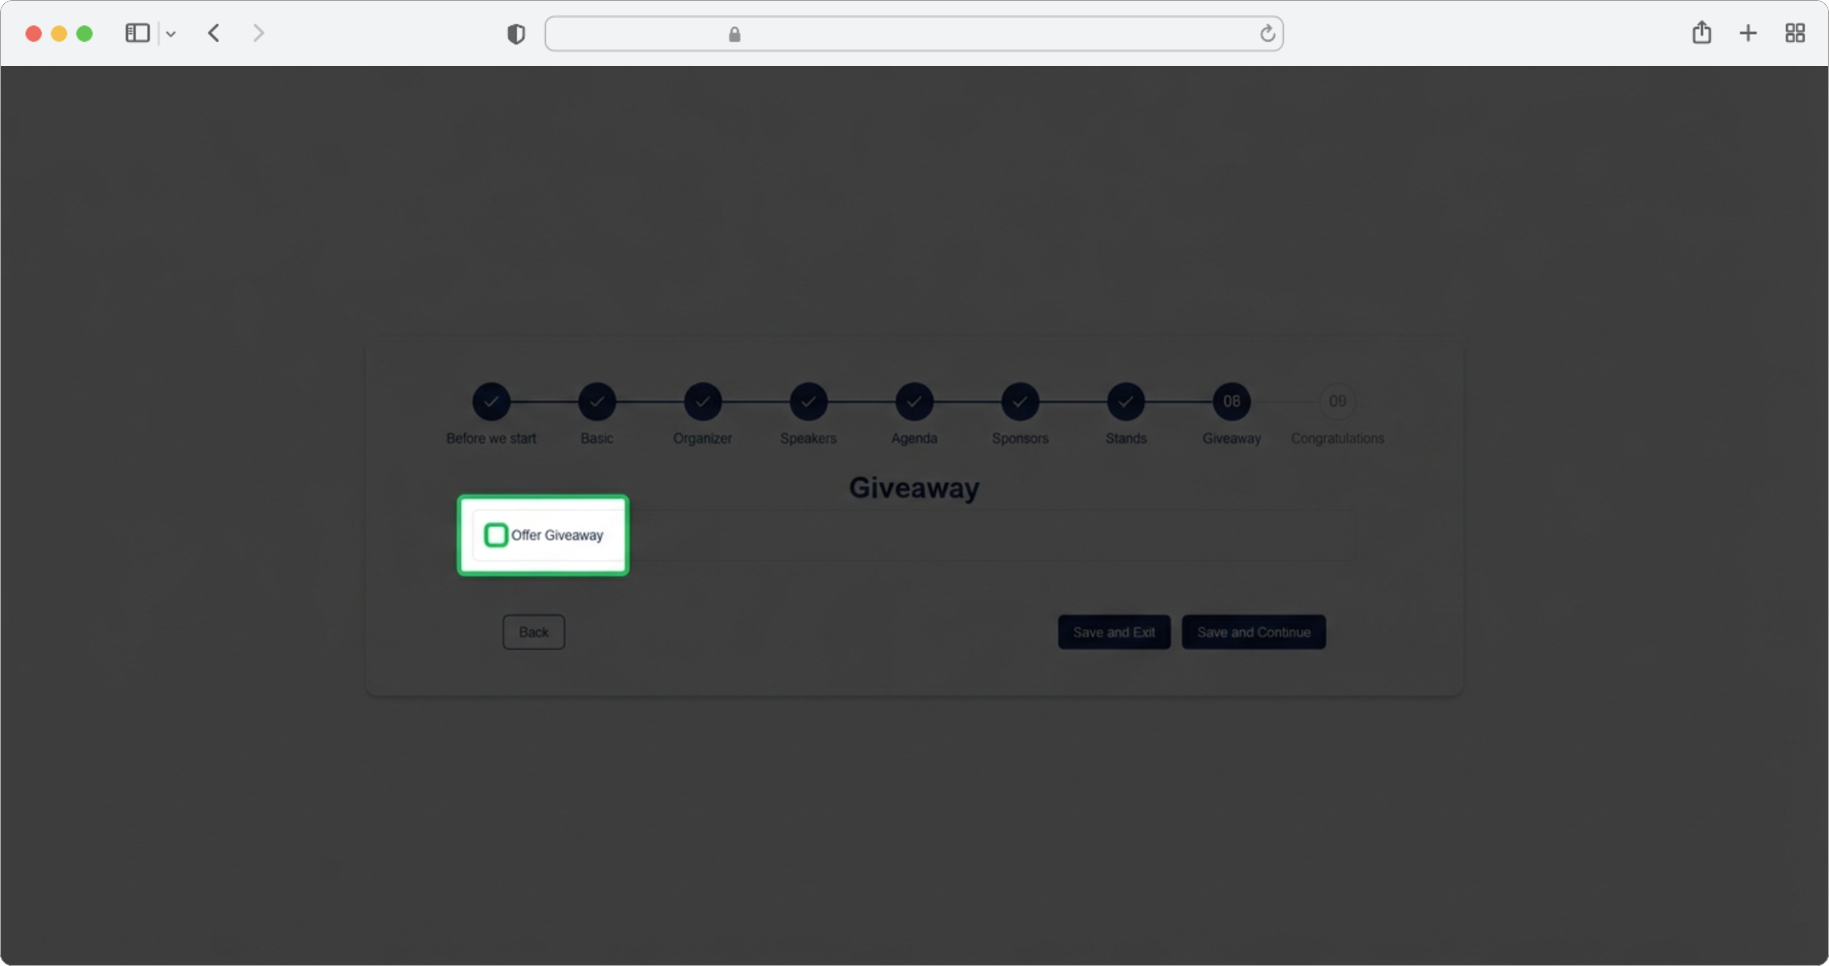
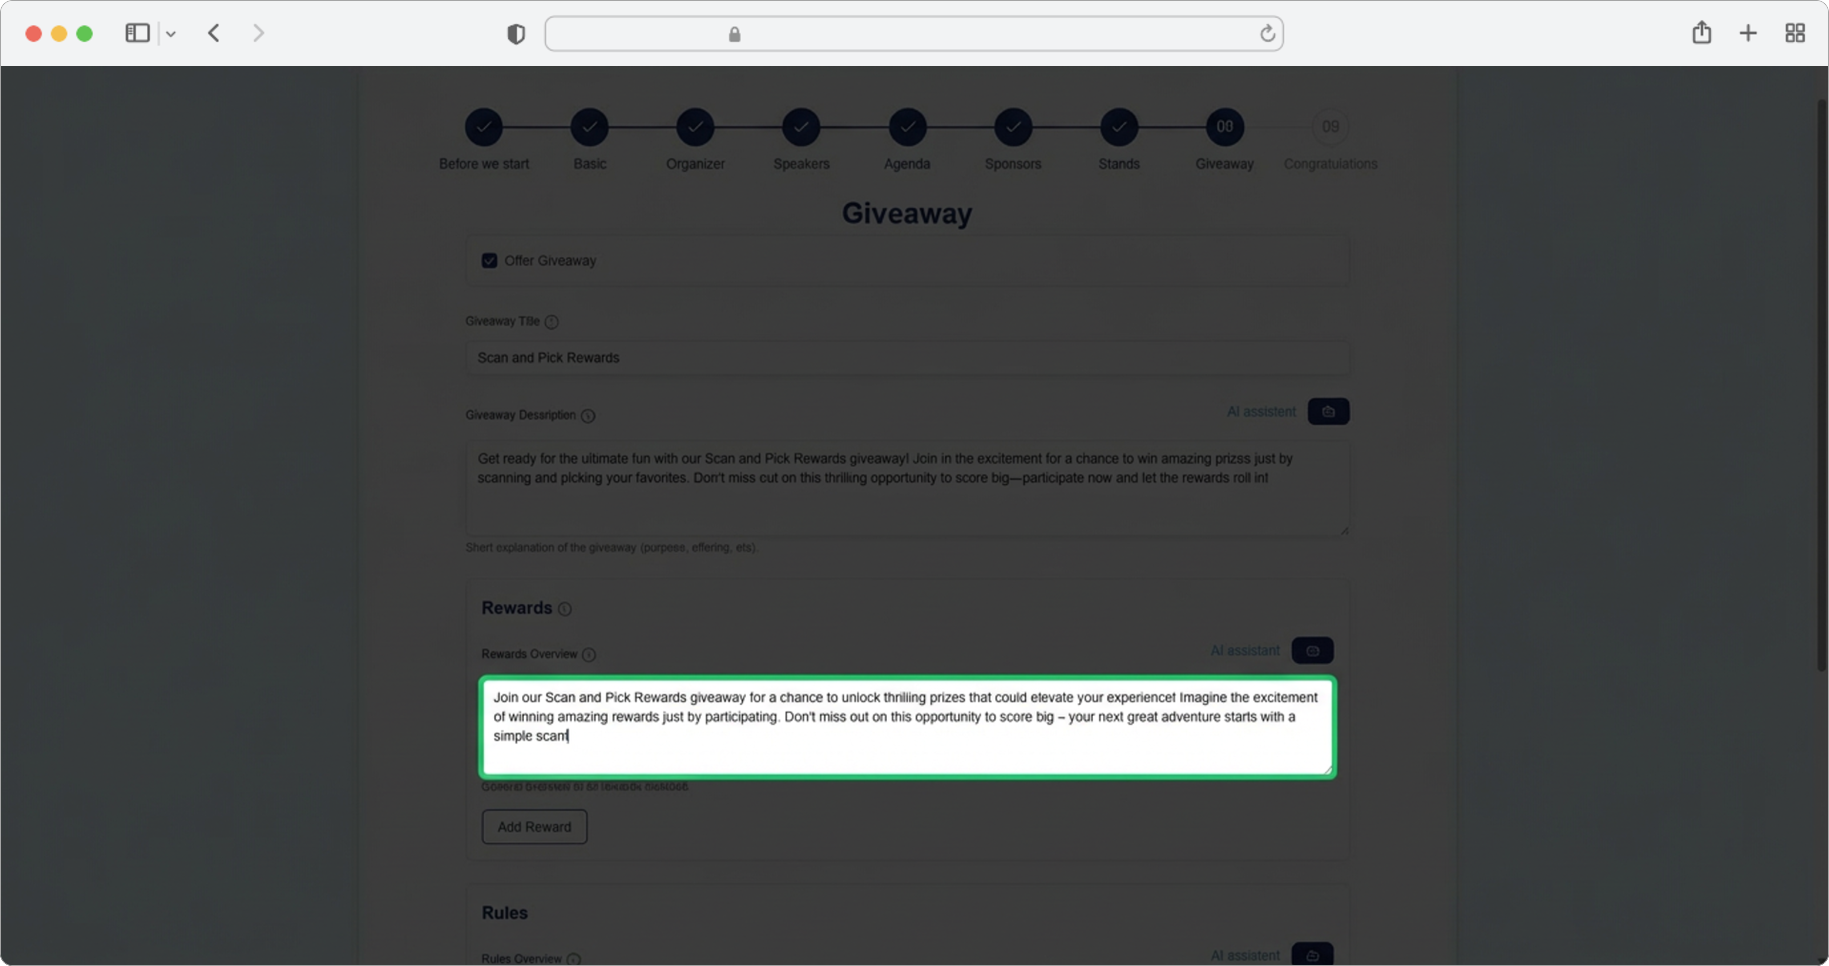
Enable the Giveaway
Select the "Offer Giveaway" checkbox to open the giveaway form. A checkbox is a small square box on the screen — click on it and a checkmark will appear inside, indicating the option is enabled. When you check this checkbox, additional fields will appear for you to fill in.
If you want to skip the step, select the "Skip" option, and if you want to finish creating, select the "Save and Exit" option.
Giveaway Title
Required field (if you chose to add a giveaway). Click on the text input field labeled "Giveaway title" and enter the game name (for example, "Stand Hunt Challenge", "Lucky Draw", "Expo Prize Game").
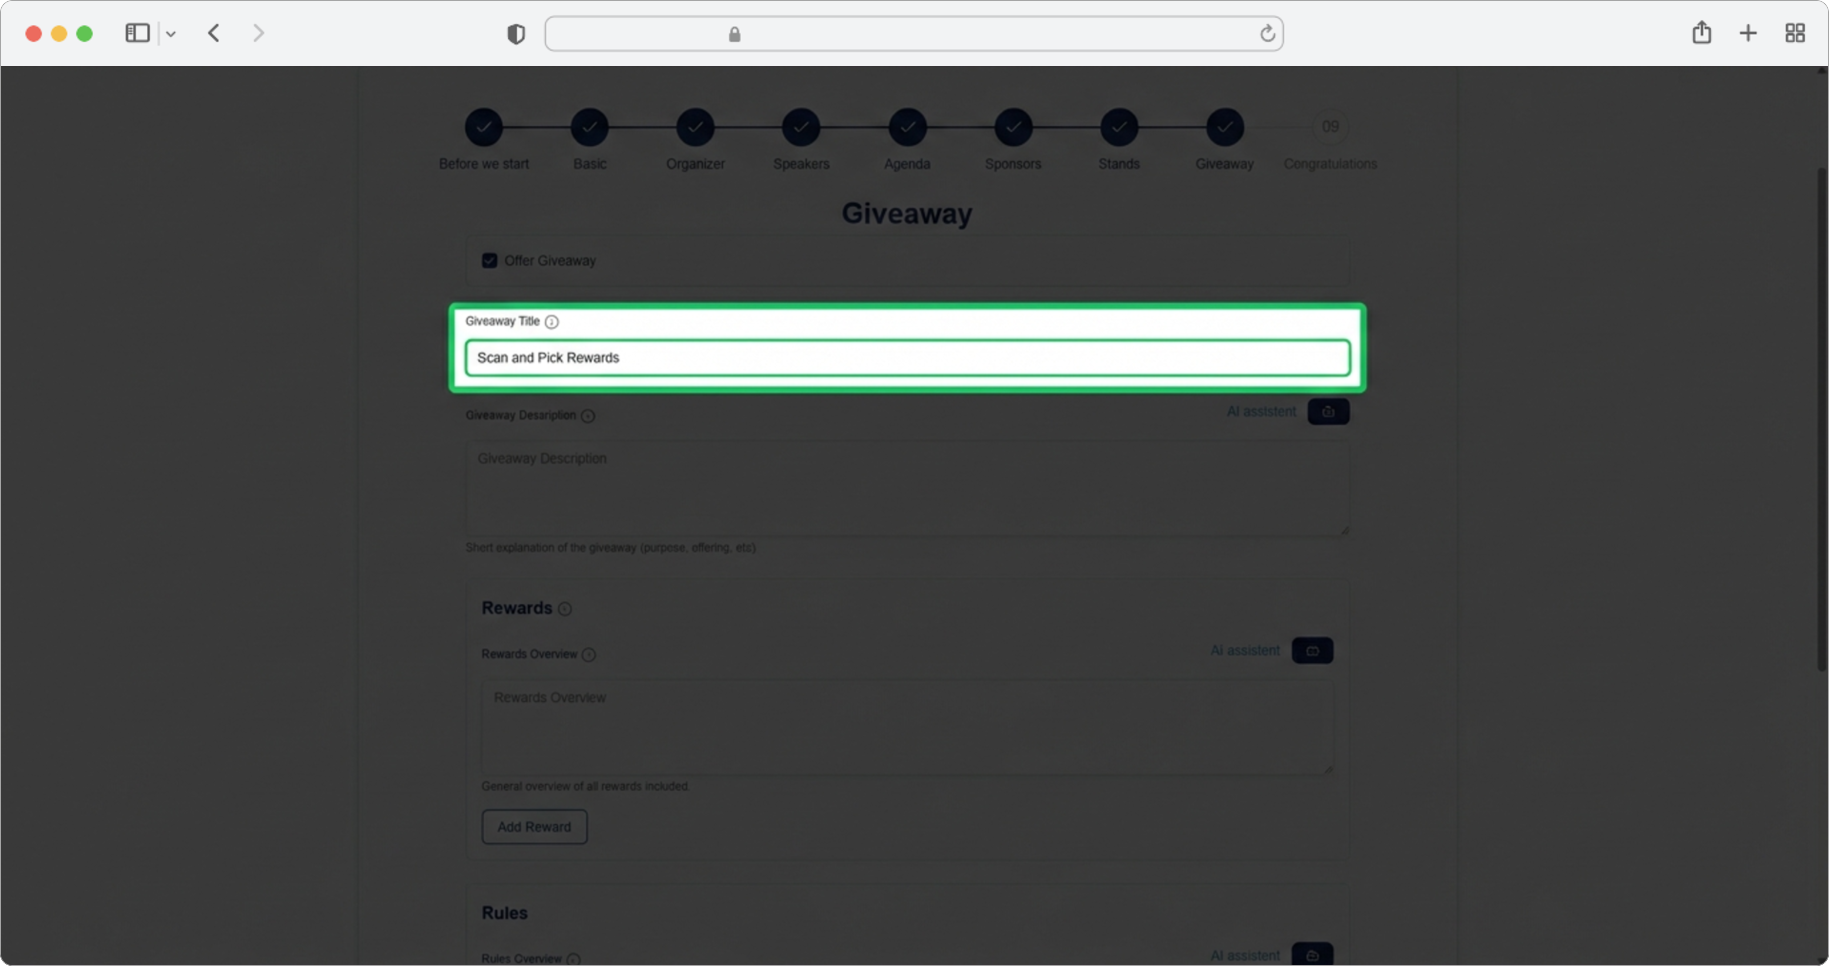
Giveaway Description
Required field. Click on the text input field labeled "Giveaway Description" and enter a short description of the giveaway. Alternatively, click on the AI assistant icon, which will generate a suggestion for you. You can edit the generated text according to your own needs.
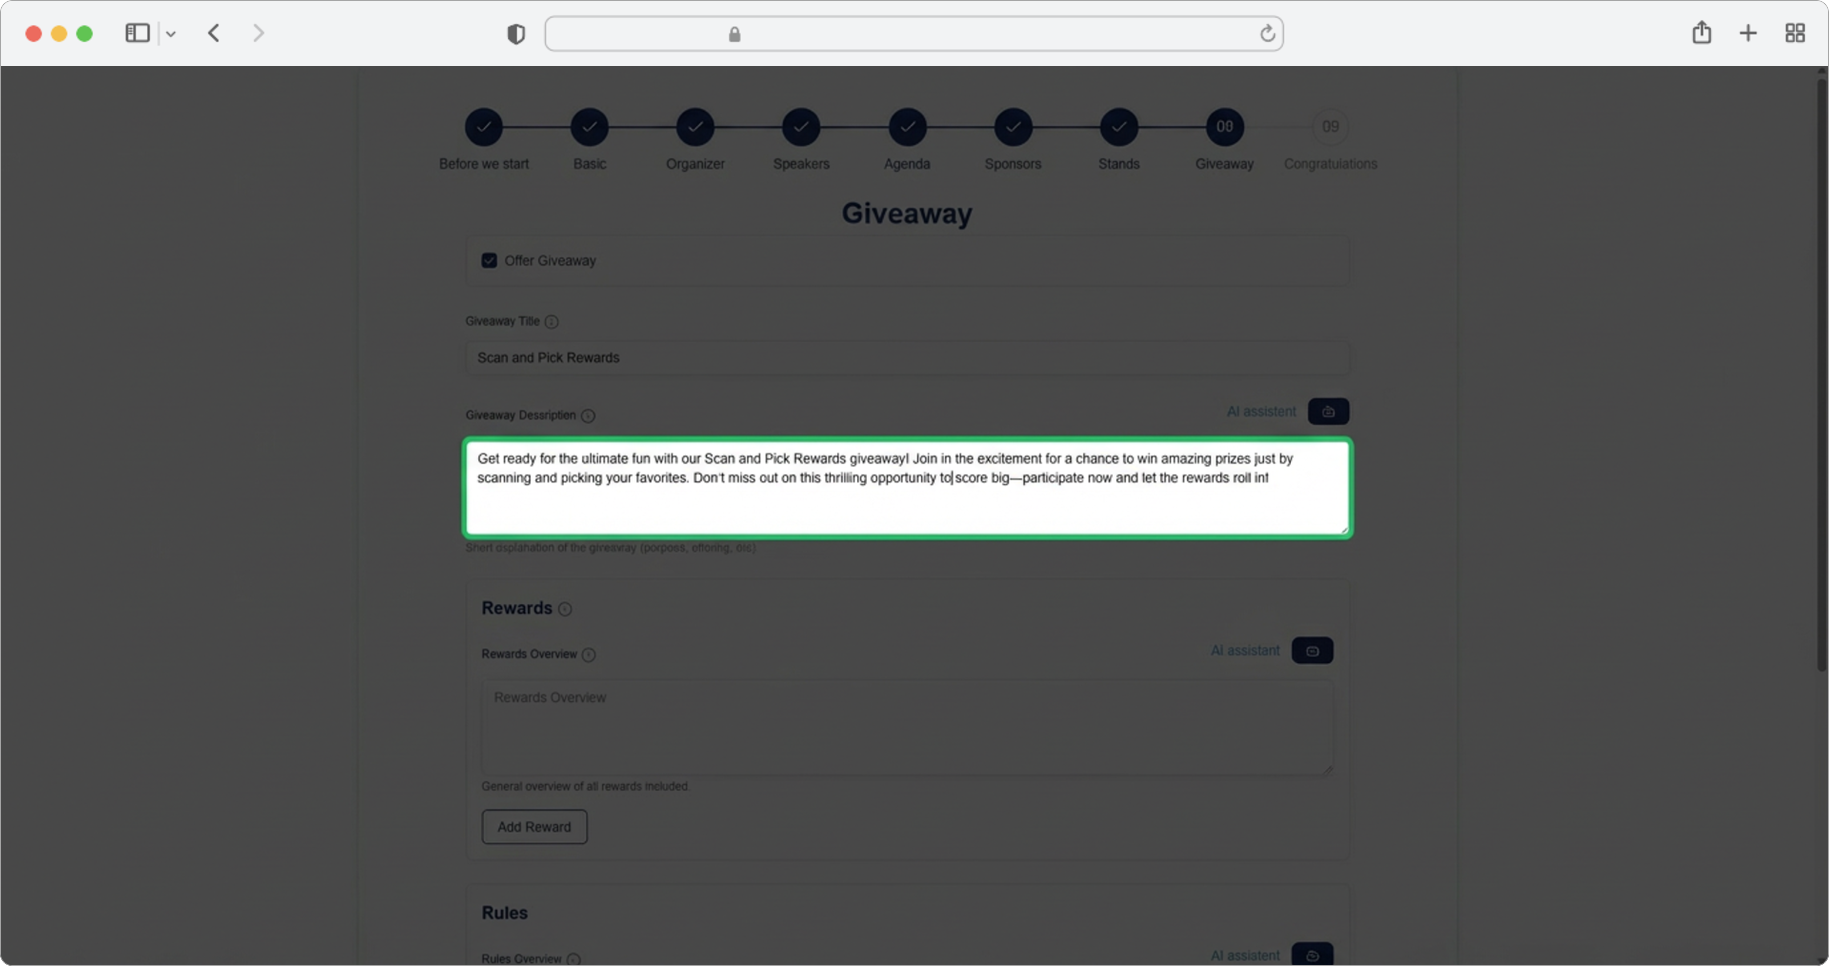
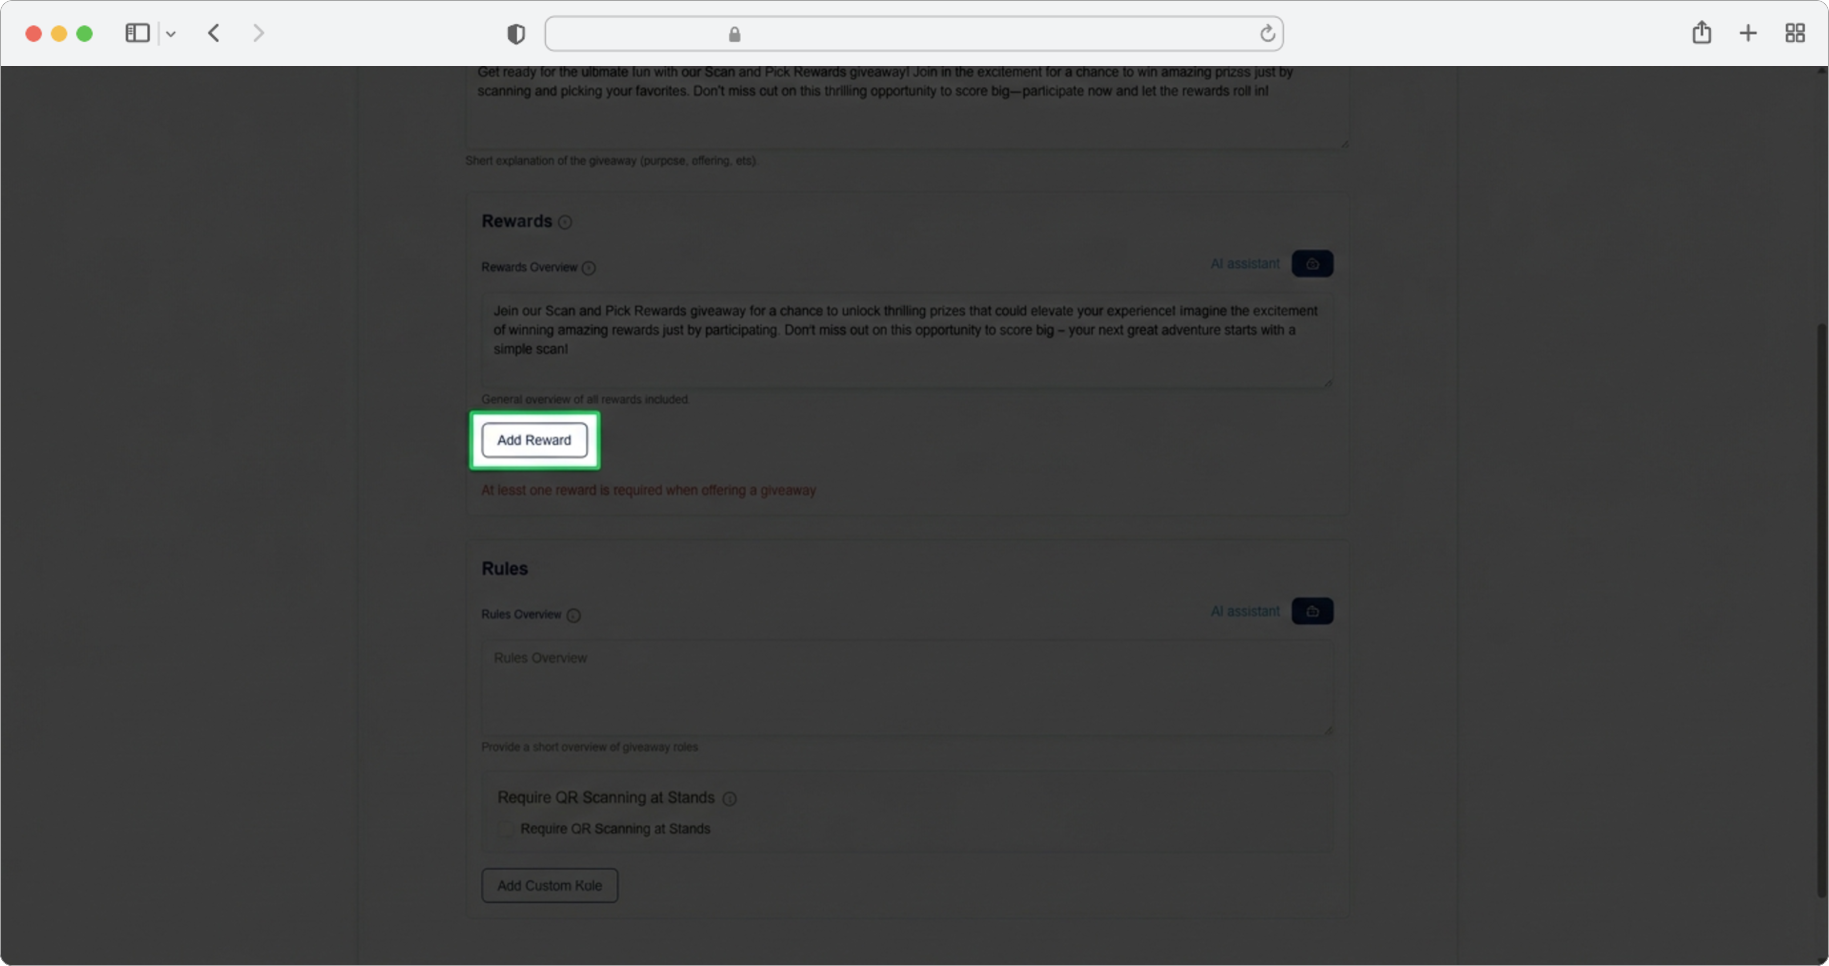
Rewards Overview
Click on the text input field labeled "Rewards Overview" and enter a brief overview of the prizes — mention what can be won, highlight sponsors, or provide any other relevant information. Alternatively, click on the AI assistant icon to generate text automatically. You can edit the generated text according to your own needs.
Add a Reward
Click the "Add reward" button. A form for adding a prize will open.
Reward Title
Required field (if you chose to add a prize). Click on the text input field labeled "Reward title" and enter the prize name (for example, "Wireless Headphones", "Conference Ticket for Next Year", "Gift Card").
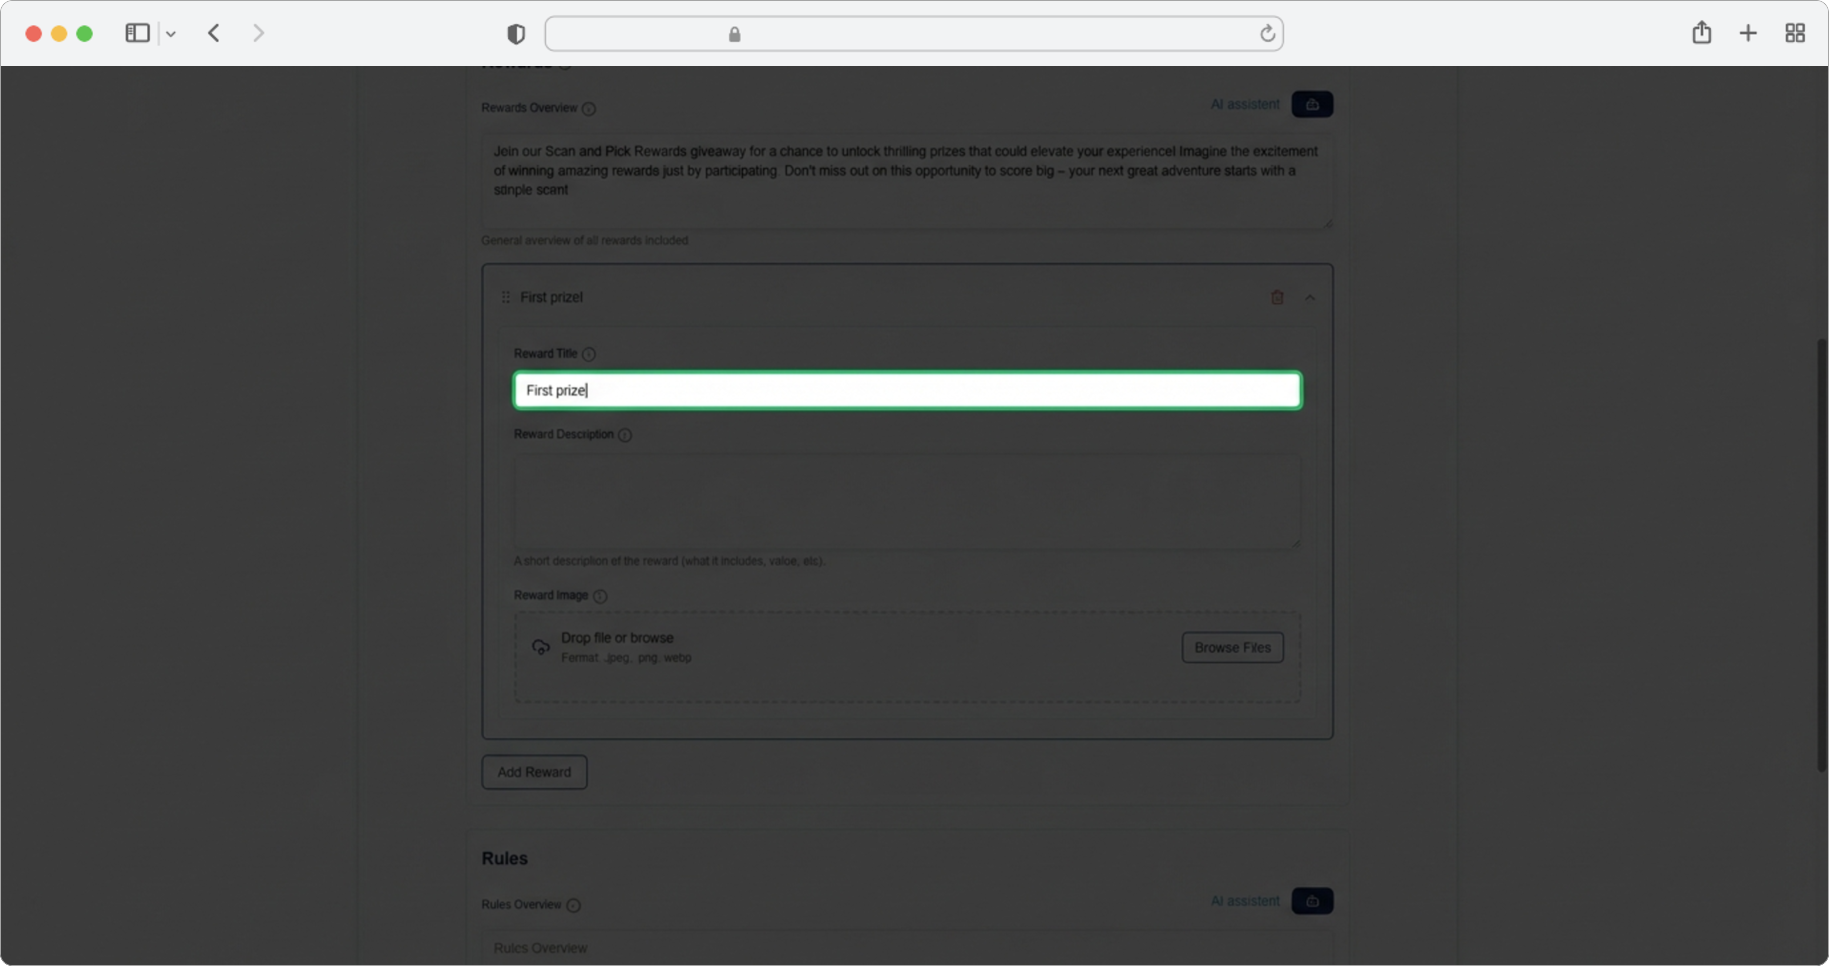
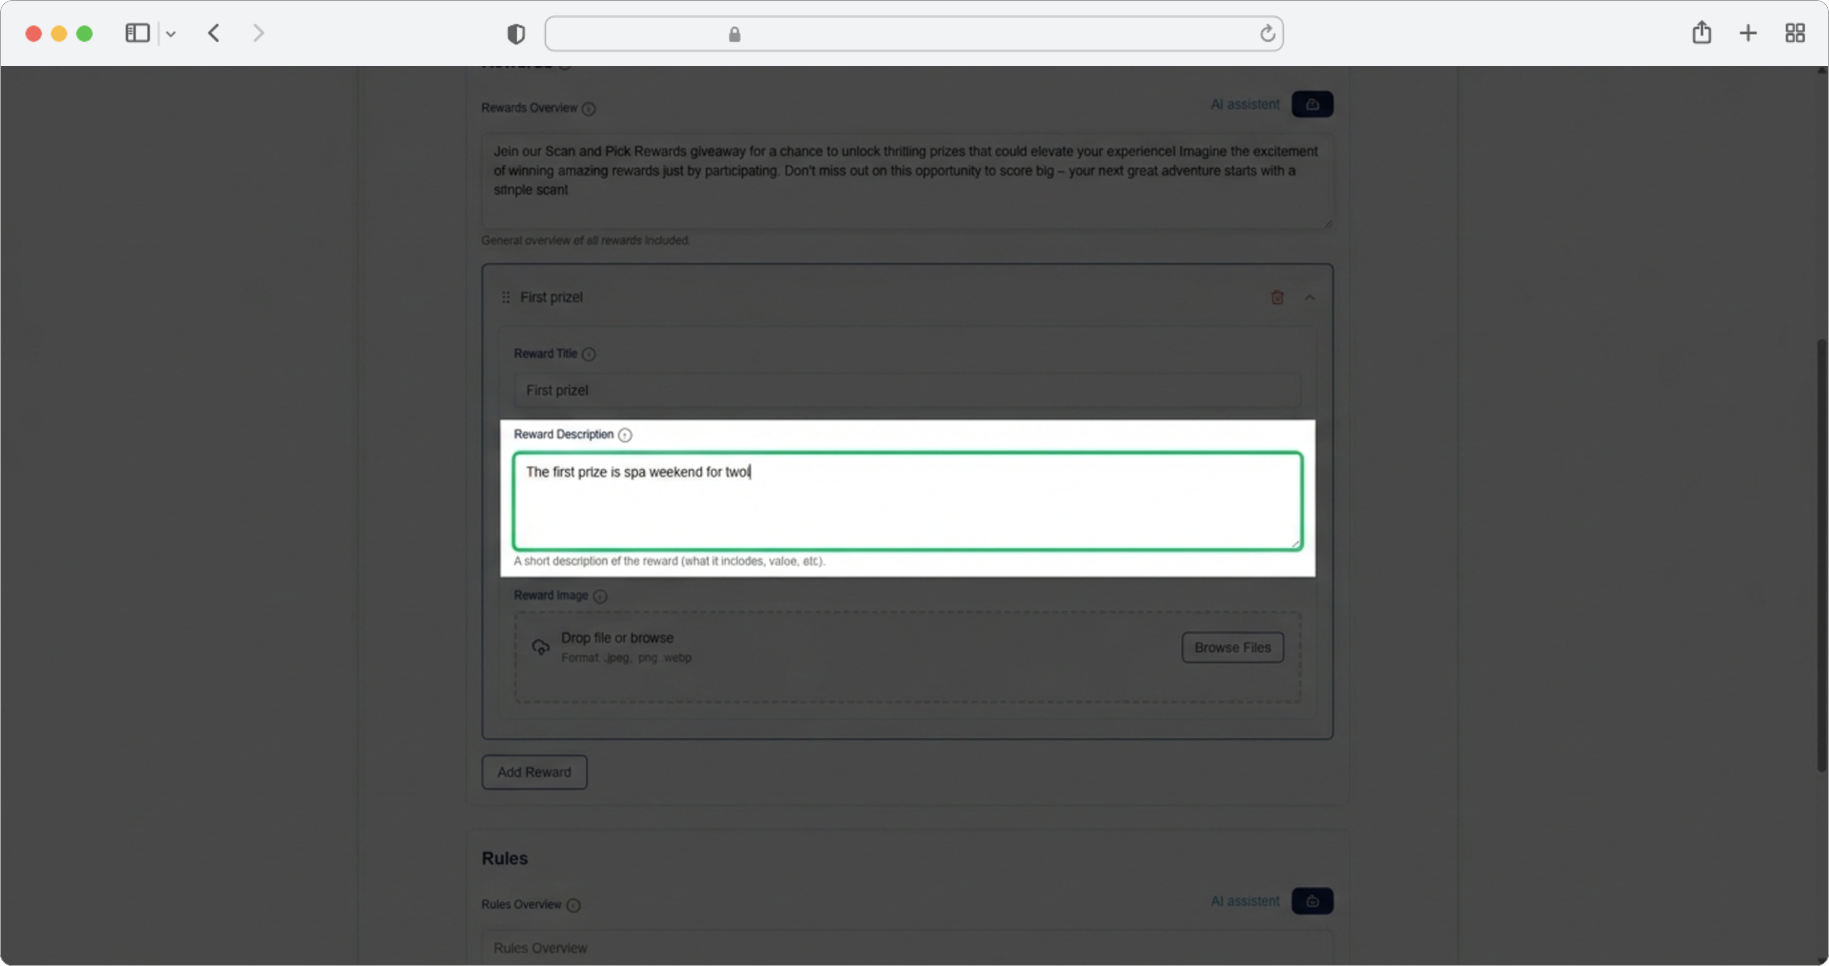
Reward Description
Click on the text input field labeled "Reward Description" and enter a short description of the prize — what it is, who provides it, any conditions, etc.
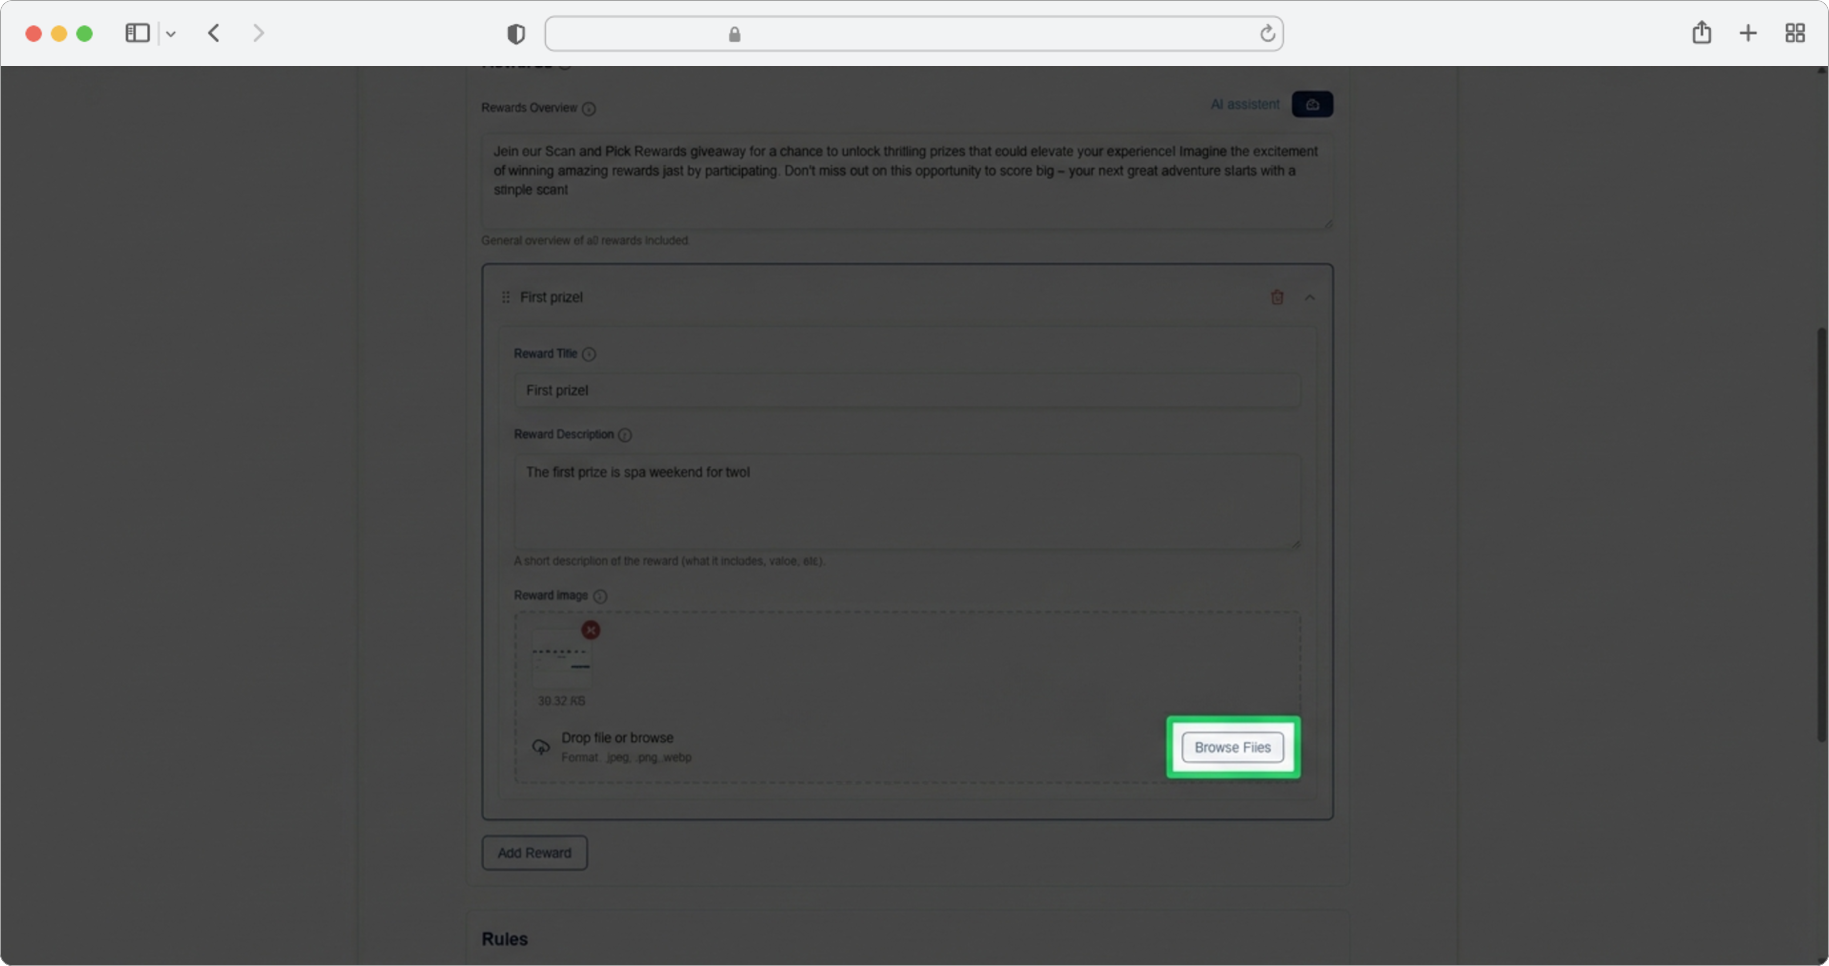
Reward Image
Add an image or logo of the prize. Click the "Browse" button, select the photo from your computer, and after selecting the photo, click "Add Reward" again if you have more prizes, or "Save and Continue" to proceed to the next step.
Managing Multiple Rewards
You can add as many prizes as you want. Keep in mind that each time a new reward is added, the expander with its information will collapse (fold up), while the expander for entering a new reward will expand (open up).
Rewards can be easily deleted by clicking the Trash icon (a small icon that looks like a trash can) to the right of each reward's name. You can also change the display order by clicking the icon to the left of the reward's name and using the drag and drop method (click and hold, move to the new position, release) to arrange rewards in the desired position.
Rewards in the app are always displayed in the same order as here.
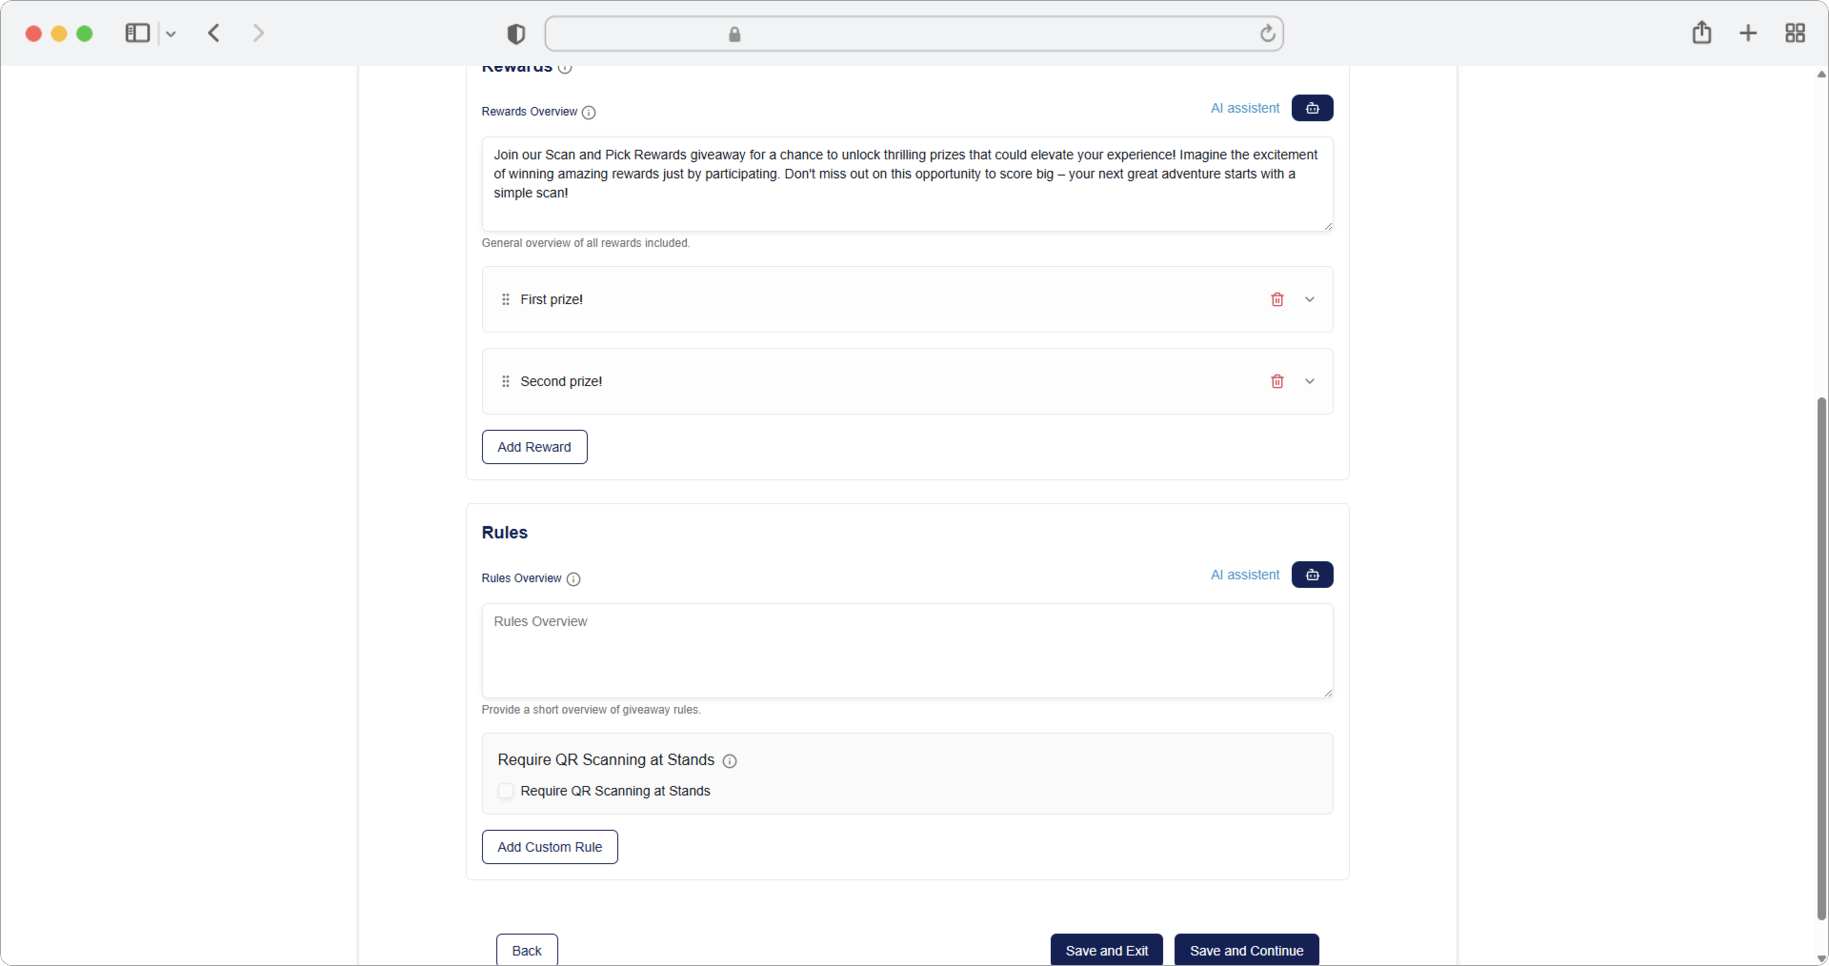
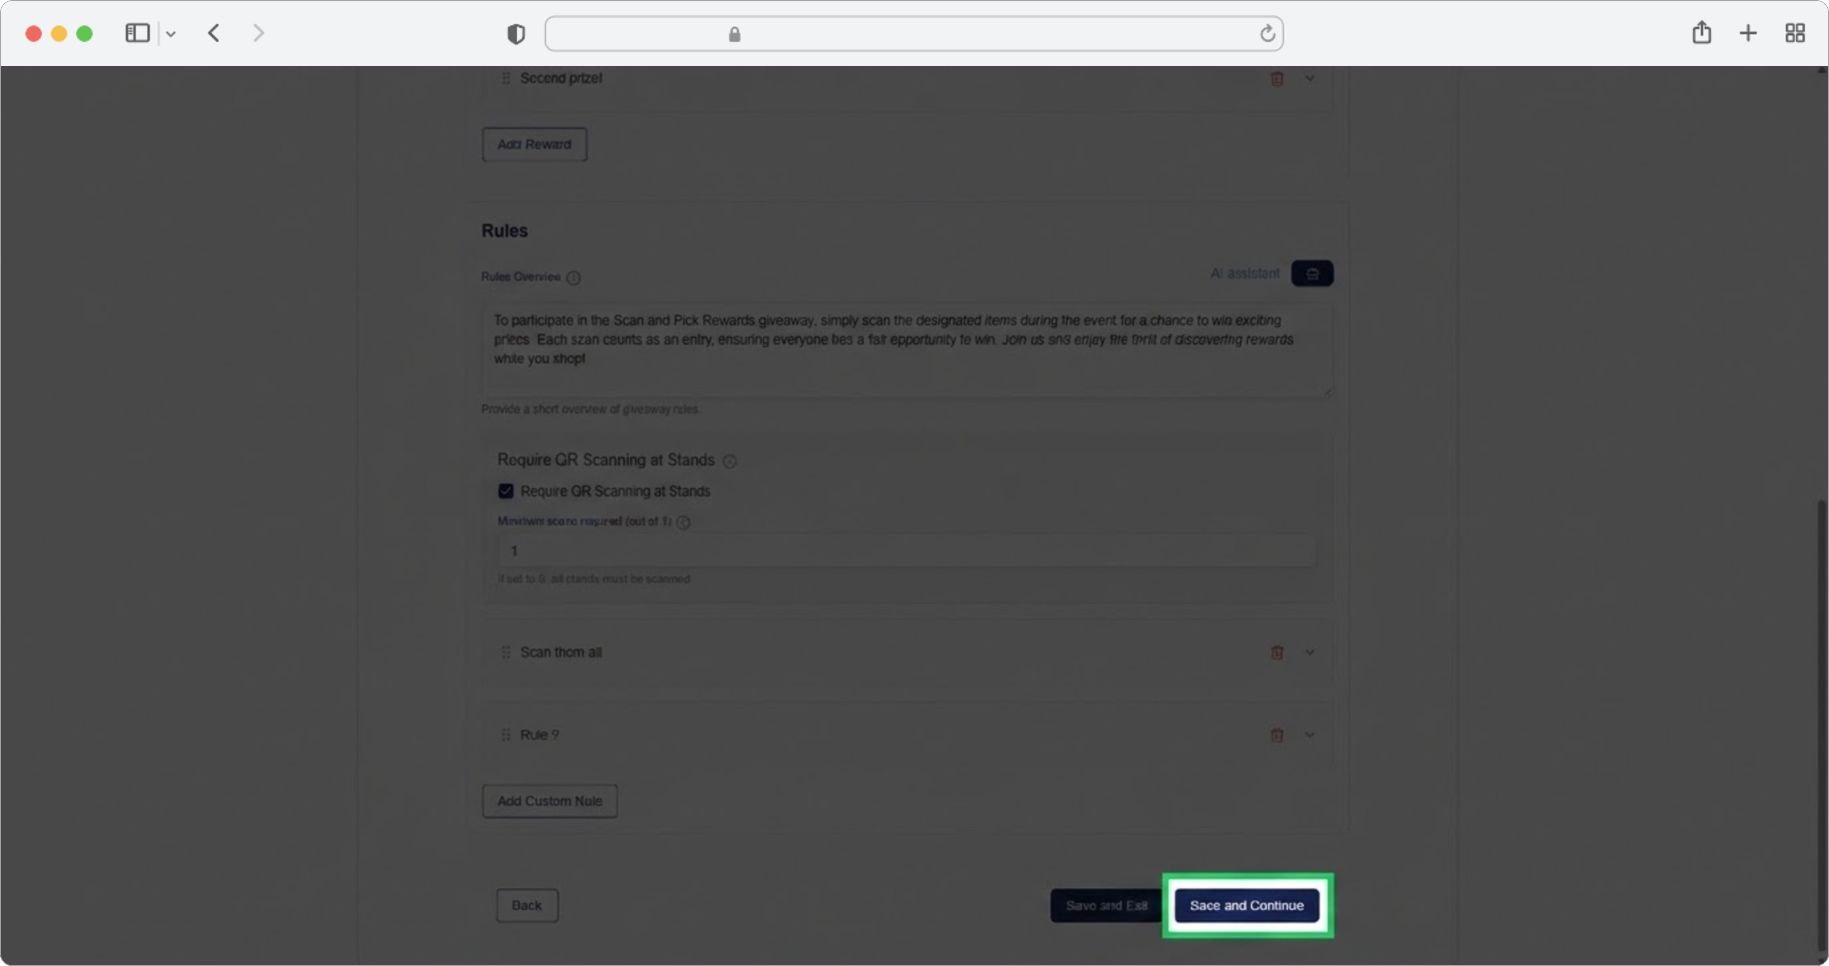
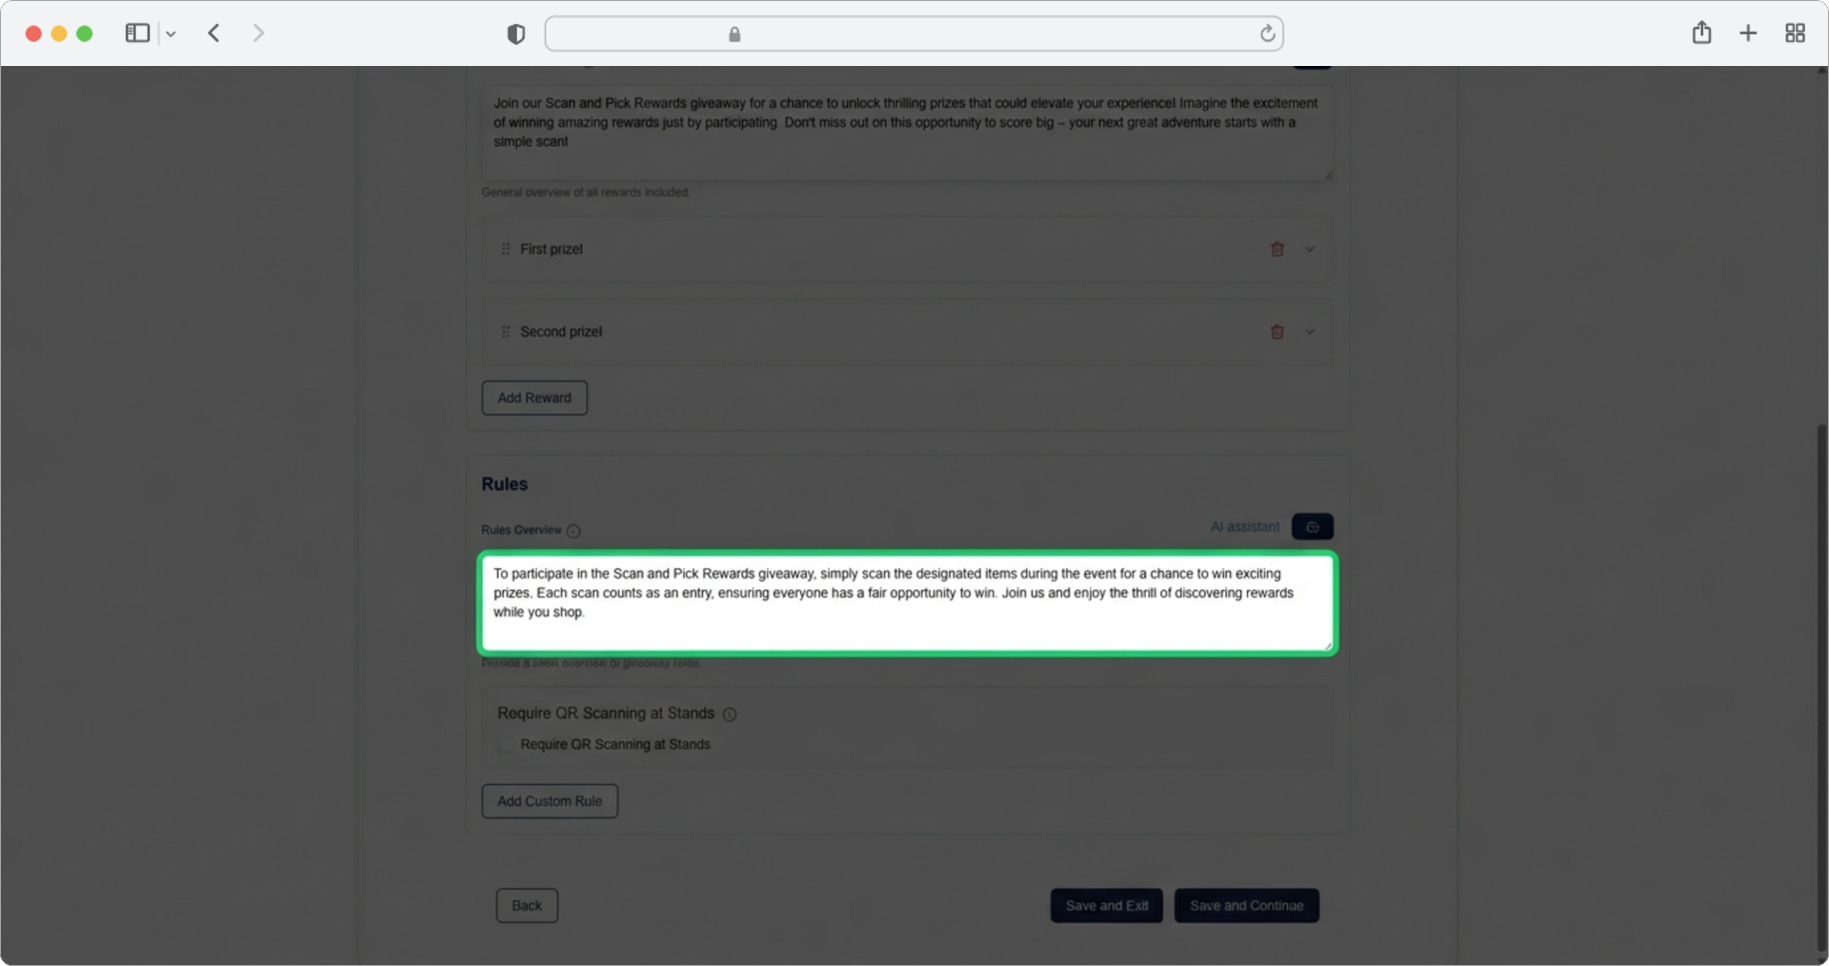
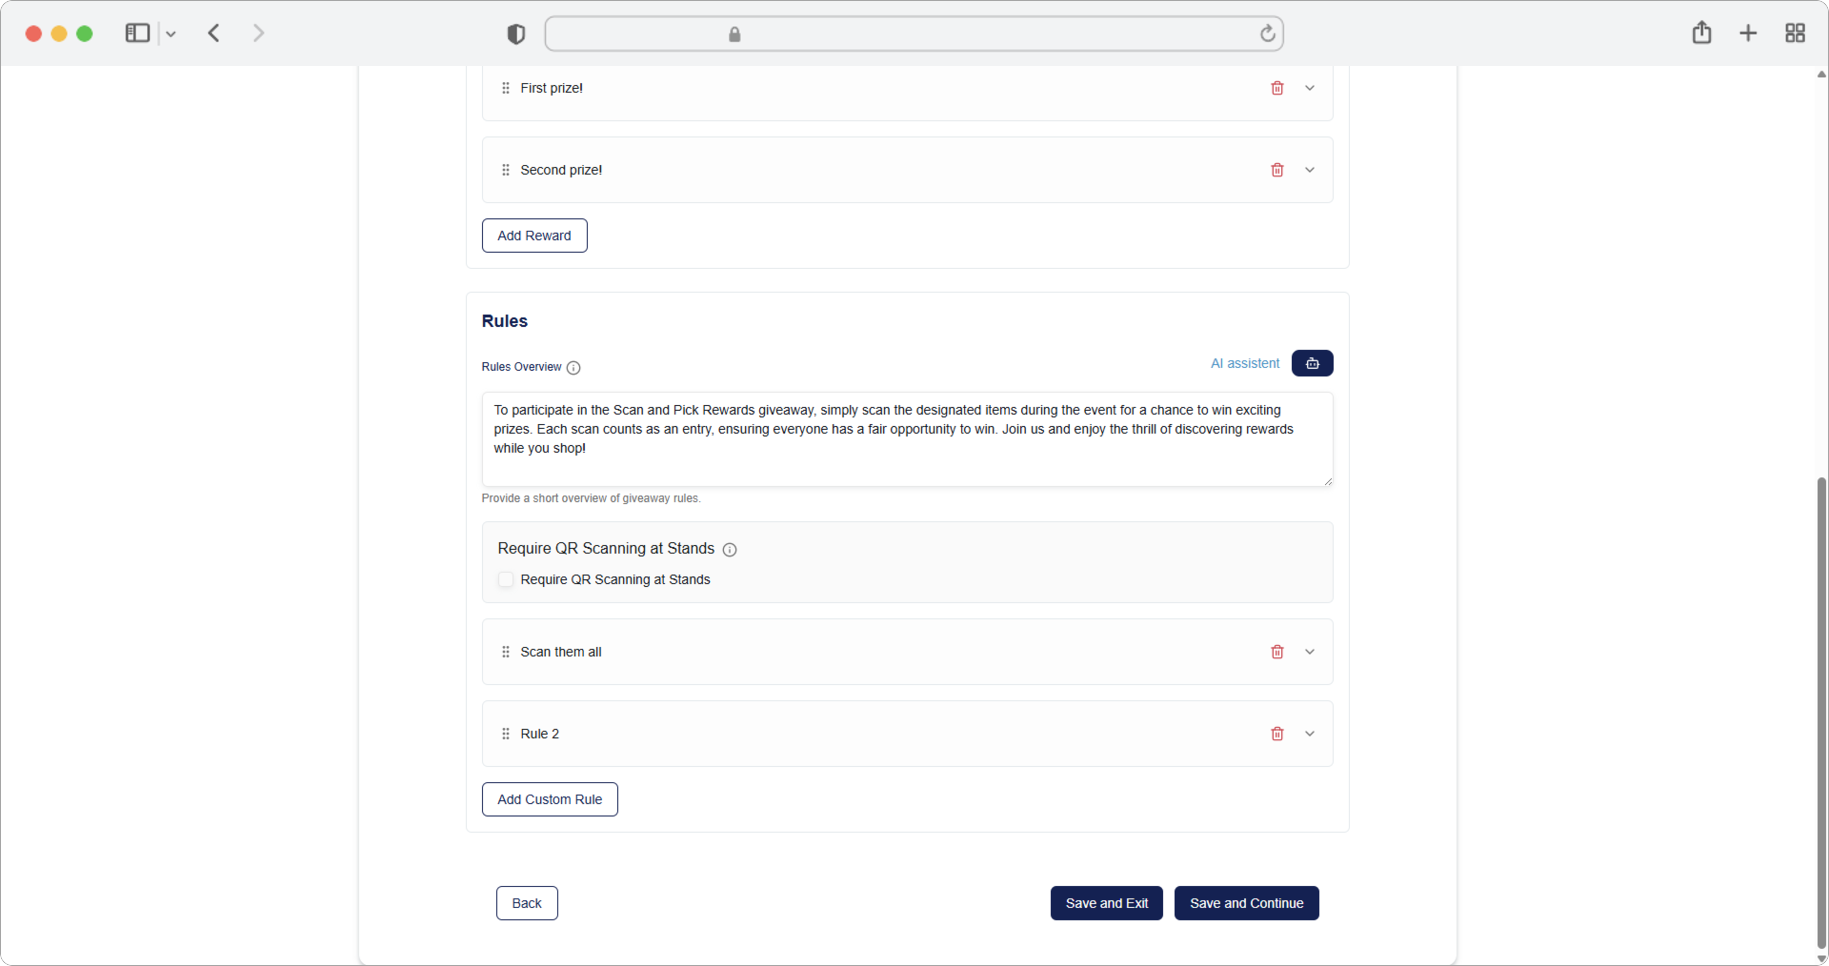
Rules Overview
Click on the text input field labeled "Rules Overview" and enter a brief overview of the rules — explain how the giveaway works, what participants need to do, mention sponsors or similar. Alternatively, click on the AI assistant icon to generate text automatically. You can edit the generated text according to your own needs.
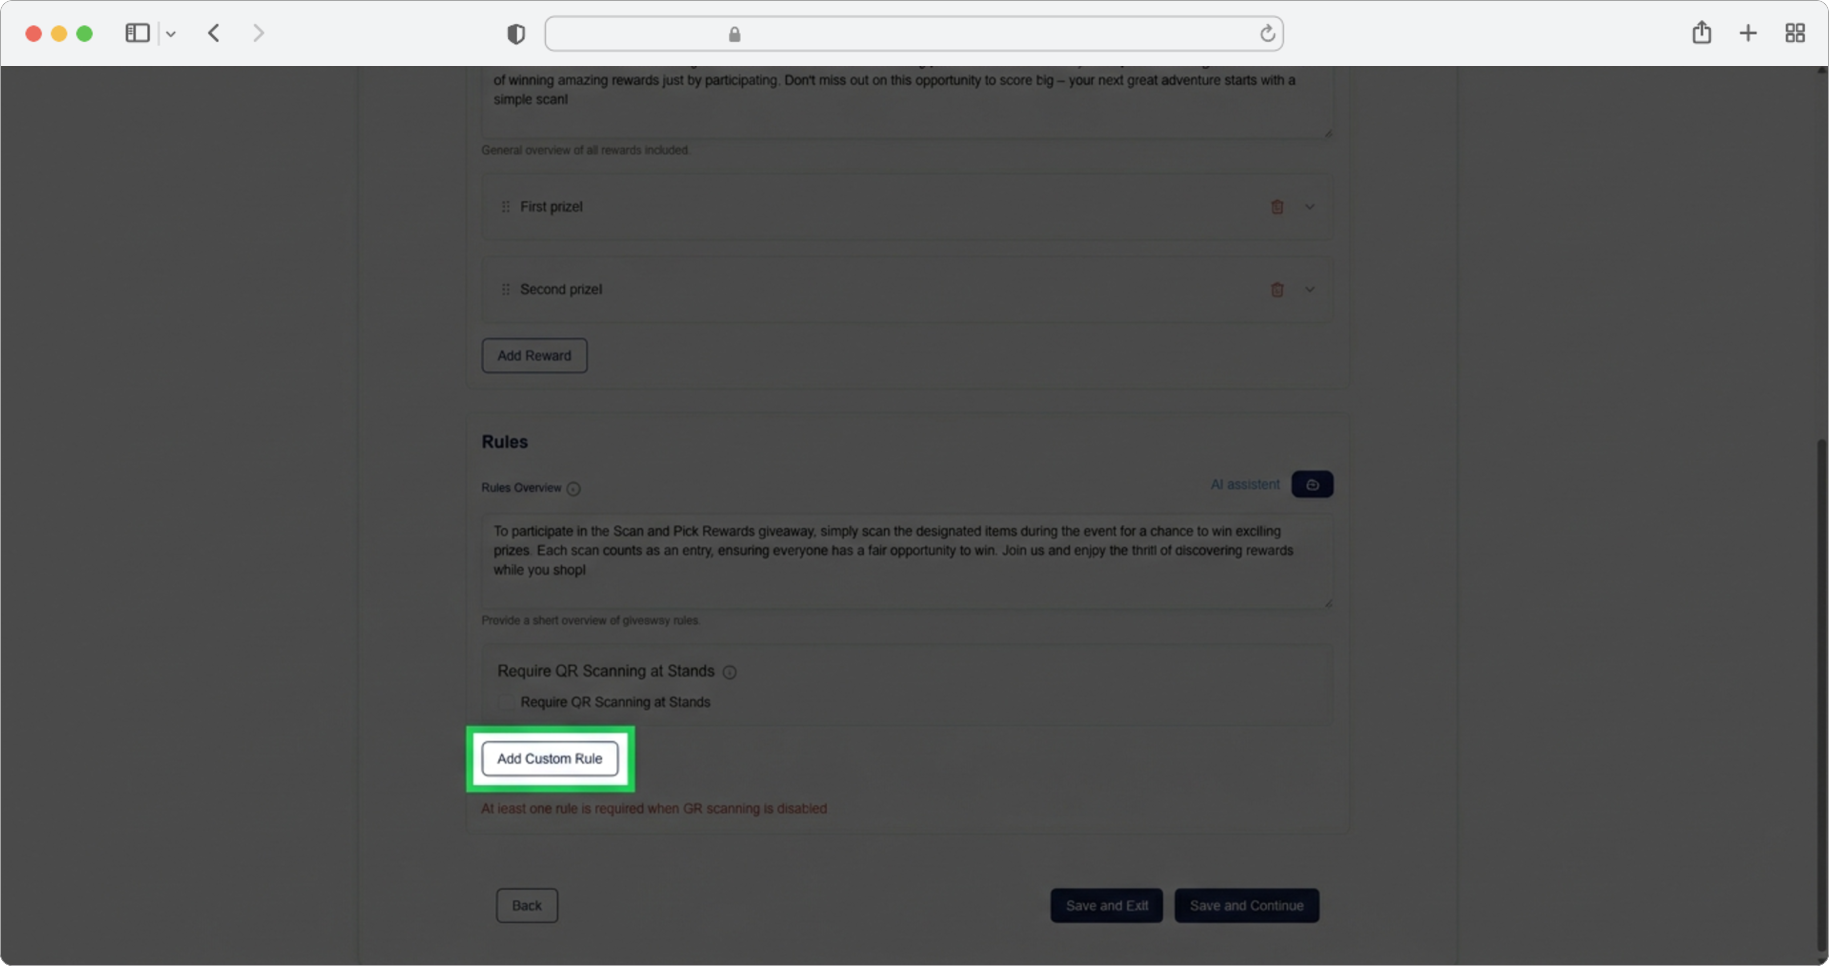
Add a Custom Rule
Click the "Add Custom Rule" button. A form for adding game rules will open.
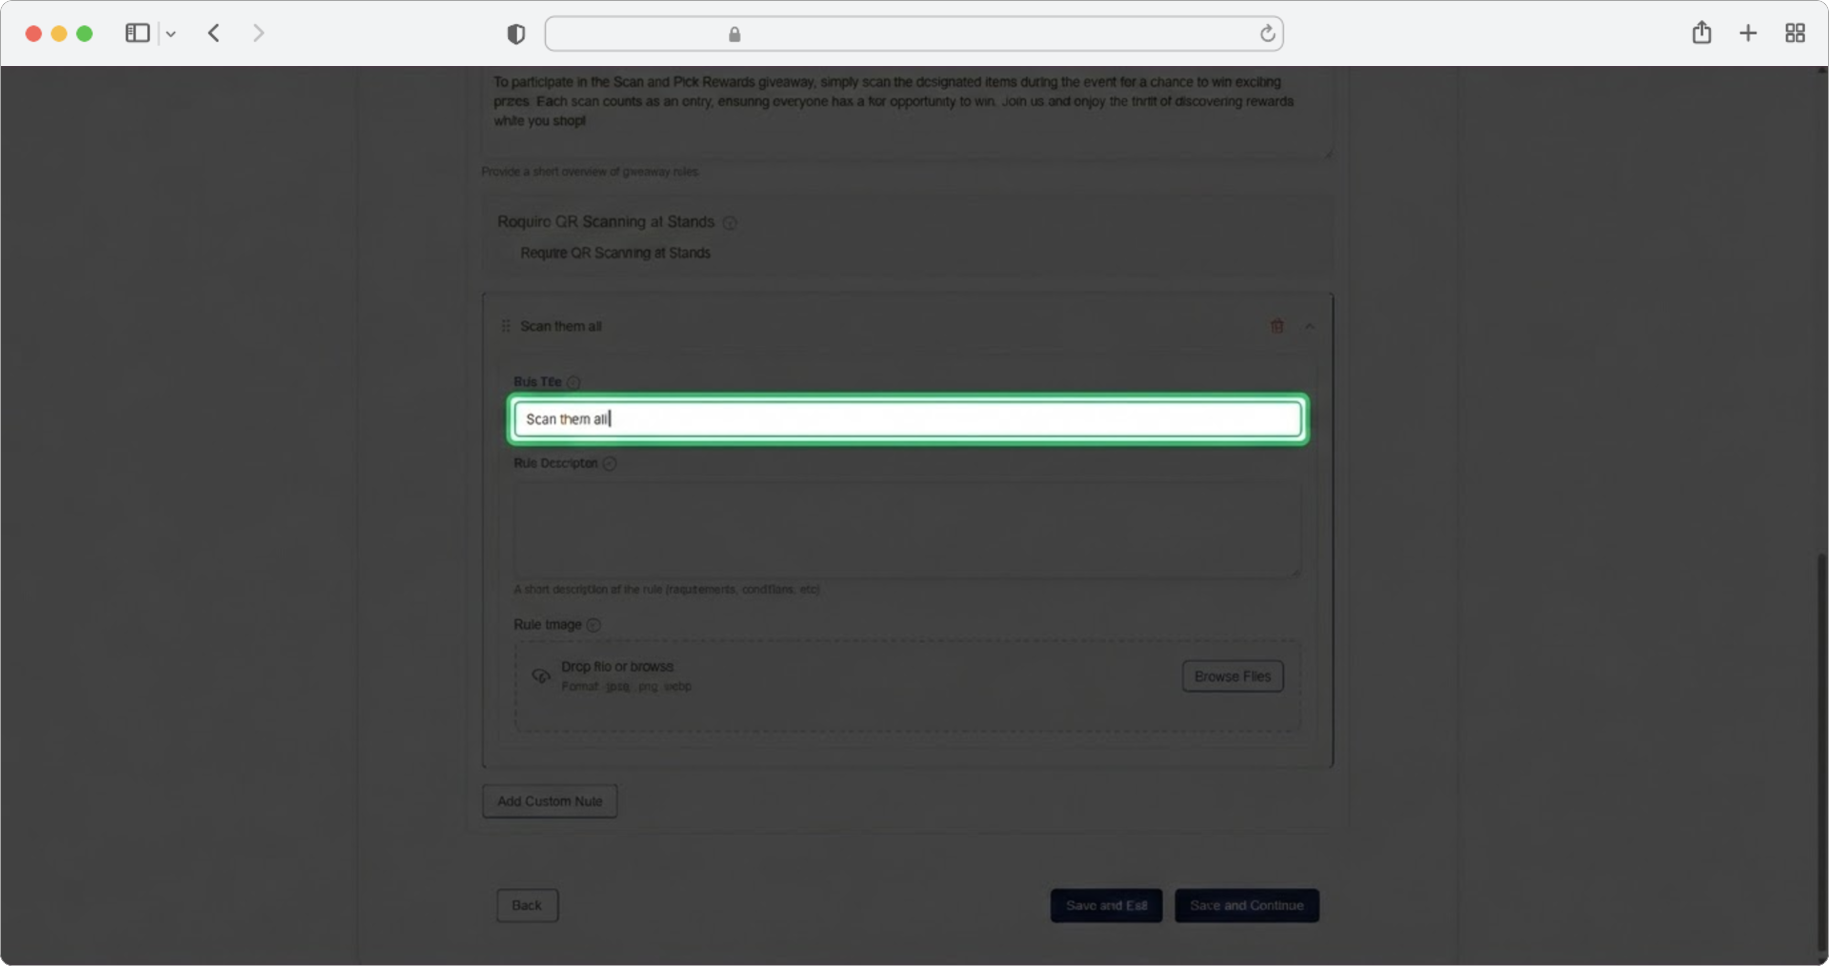
Rule Title
Required field (if you chose to add rules). Click on the text input field labeled "Rule title" and enter the rule name (for example, "Visit 5 Stands", "Attend the Keynote", "Share on Social Media").
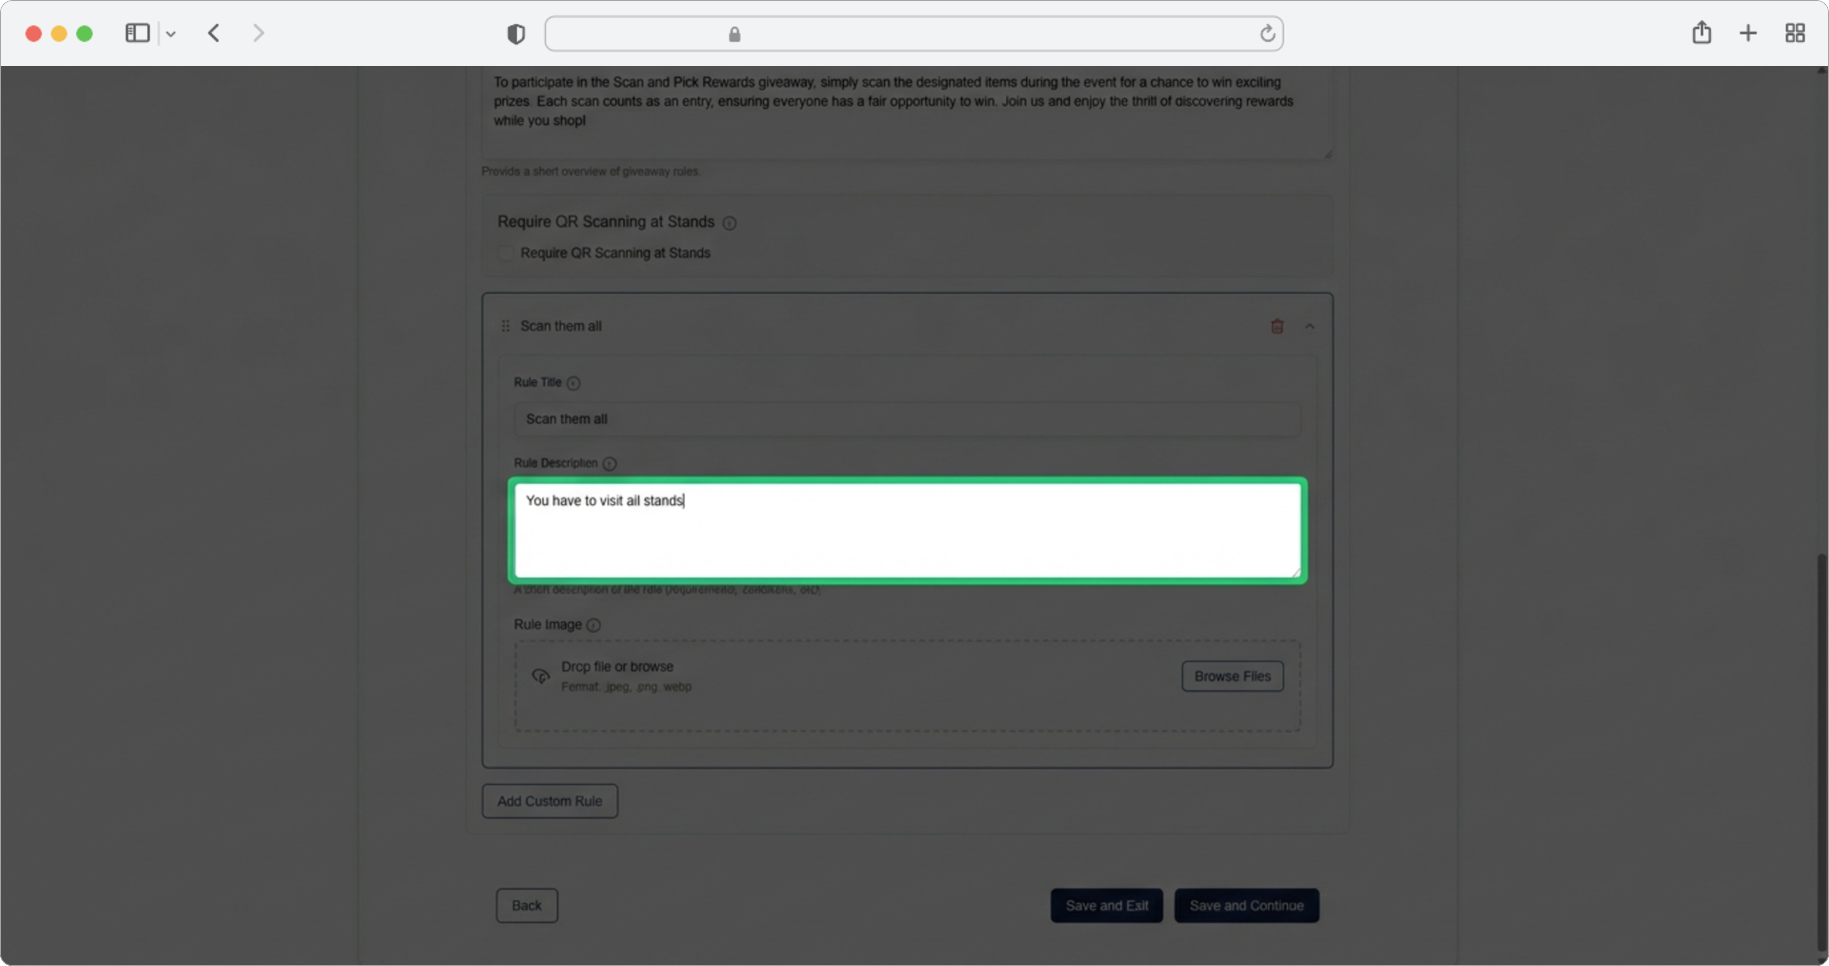
Rule Description
Click on the text input field labeled "Rule Description" and enter a short description of the rule — what the participant needs to do, any conditions, etc.
Rule Image
Add an image or logo related to the rule. Click the "Browse" button, select the photo from your computer, and after selecting the photo, click "Add Custom Rule" again if you have more rules, or "Save and Continue" to proceed.

Managing Multiple Rules
You can add as many rules as you want. The same expander, drag and drop, and delete functionality works here as in all other sections — each new rule collapses the previous one, use the Trash icon to delete, and use the drag handle icon to the left of the name to reorder by dragging and dropping.
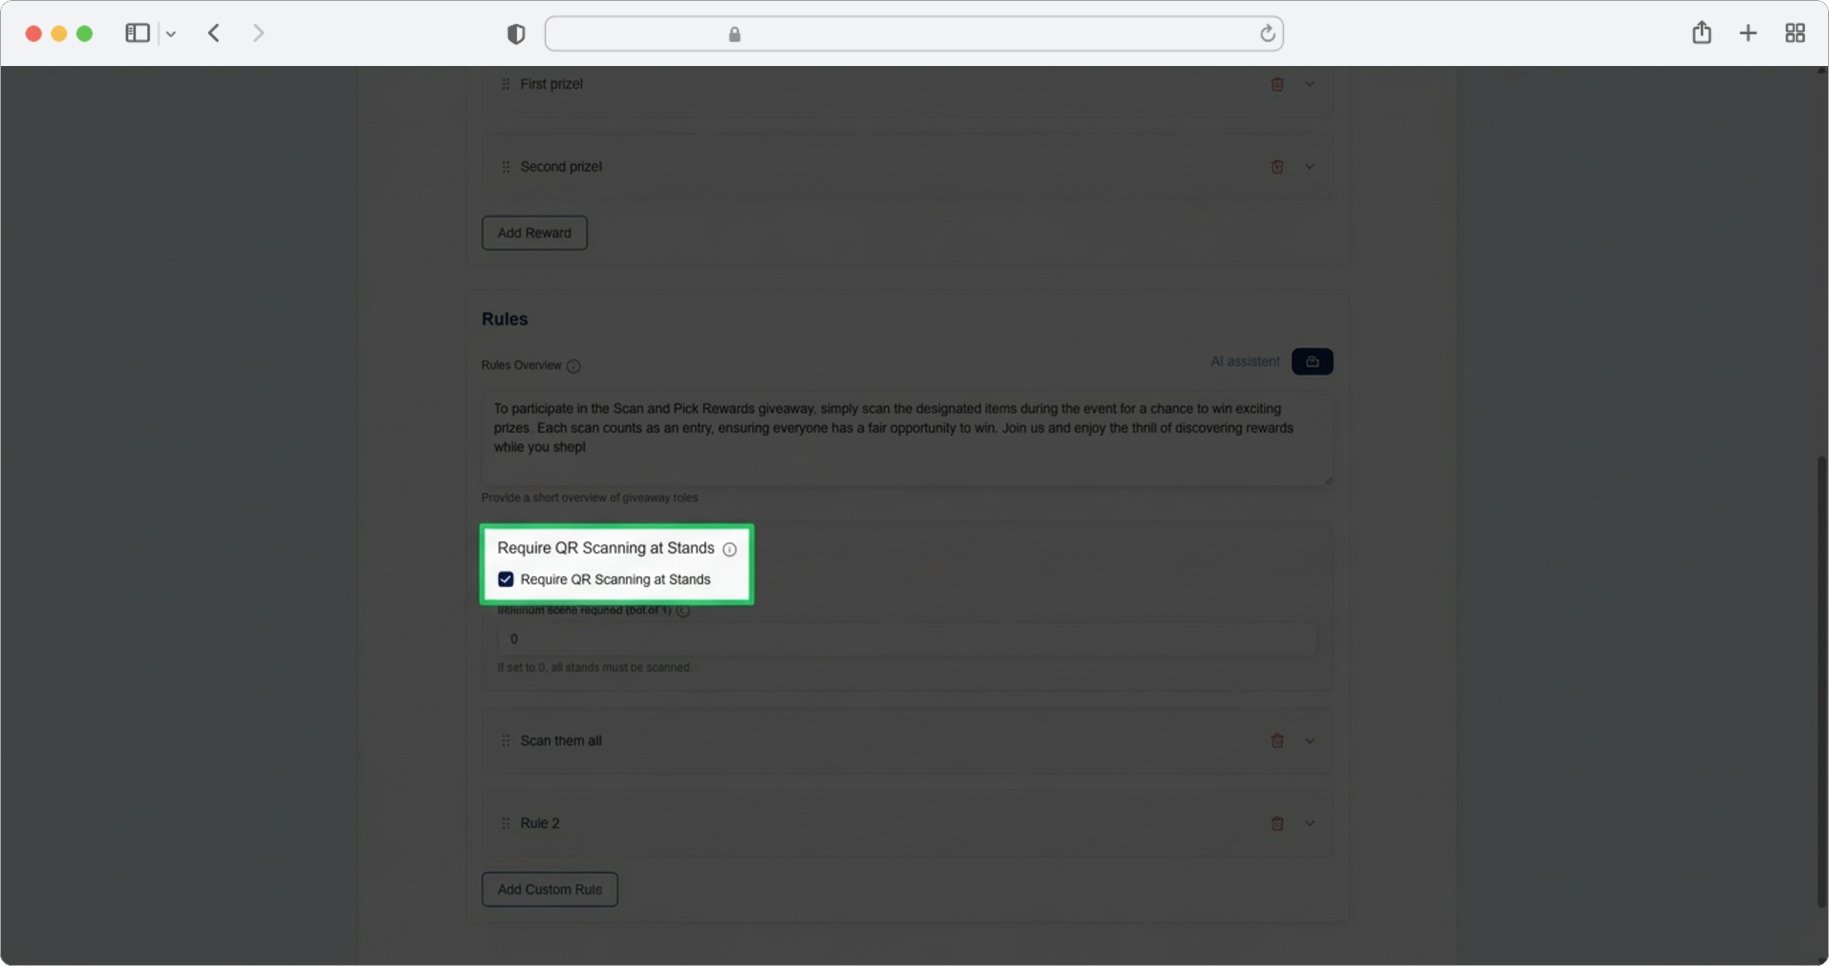
QR Scanning at Stands
If you added stands in the previous step (Step 7), you will see this option and will be able to use it. If you select the checkbox next to "Require QR Scanning at Stands", the stands you entered will automatically have a generated QR code accessible through the Dashboard, which you can print and place at designated stands.
This allows tracking visitors who visited the stand and scanned the QR code. This option can be used as the only rule of the giveaway, and you can add additional custom rules as explained in previous steps.
What is a QR code?
A QR code is a square barcode that can be scanned with a smartphone camera. When attendees scan the QR code at a stand using the RU4M app, the system records that they visited that stand. This is useful for giveaways where attendees need to visit a certain number of stands to qualify.
Minimum QR Scans Required
Click on the text input field labeled "Minimum scans required" and enter the minimum number of stands that must be scanned to qualify for the giveaway. The entered number must be equal to or less than the number of stands you entered in Step 7.
If you leave this field empty, it will be considered that users must scan all stands to qualify for participation in the giveaway.
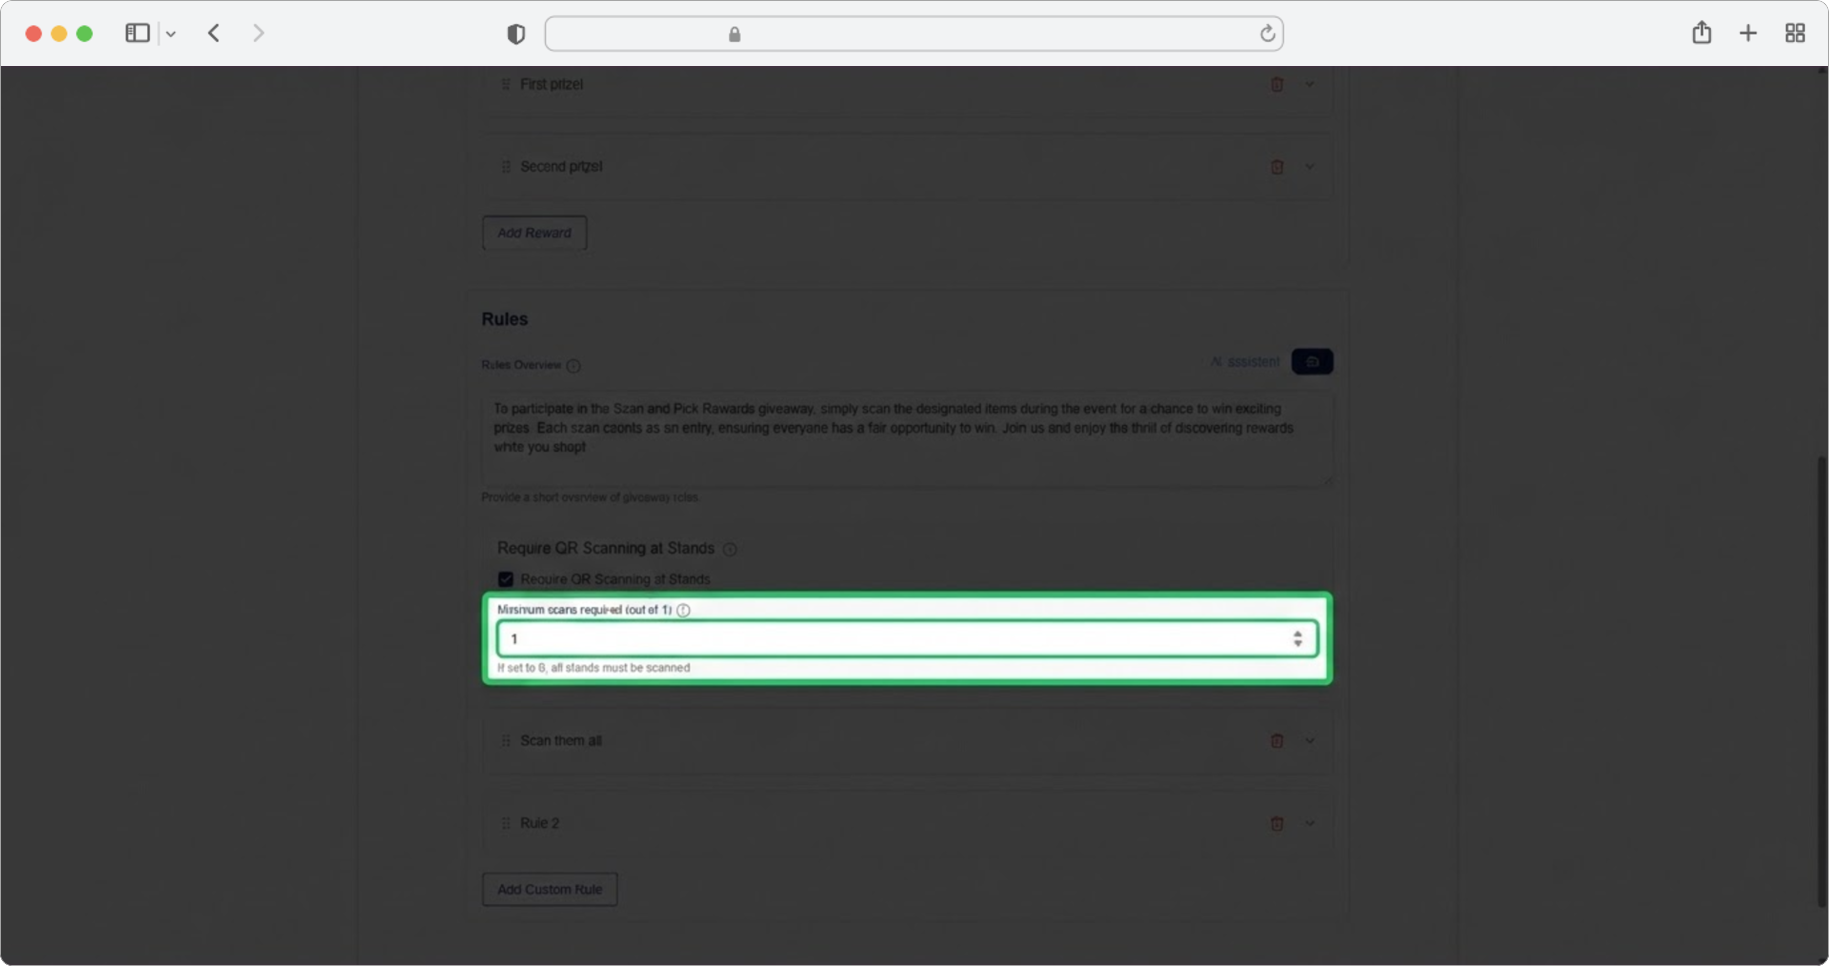
Setting the minimum scans
If you have 10 stands, you do not have to require attendees to visit all 10. Setting the minimum to 5, for example, gives attendees flexibility while still encouraging them to explore the event. If you leave this blank, all stands must be scanned.
Finalize the Event
Select "Save and Continue" to finalize the event and navigate to the last page.