Organizer Information
In this step you enter information about the event organizer. This is also the last mandatory step — once you enter this information, you have provided enough to create the event. Every further step is filled out only if you have the information needed; otherwise, choose the "Skip" option to continue to the next step, or "Save and Exit" to save the event as a draft and finish creating.
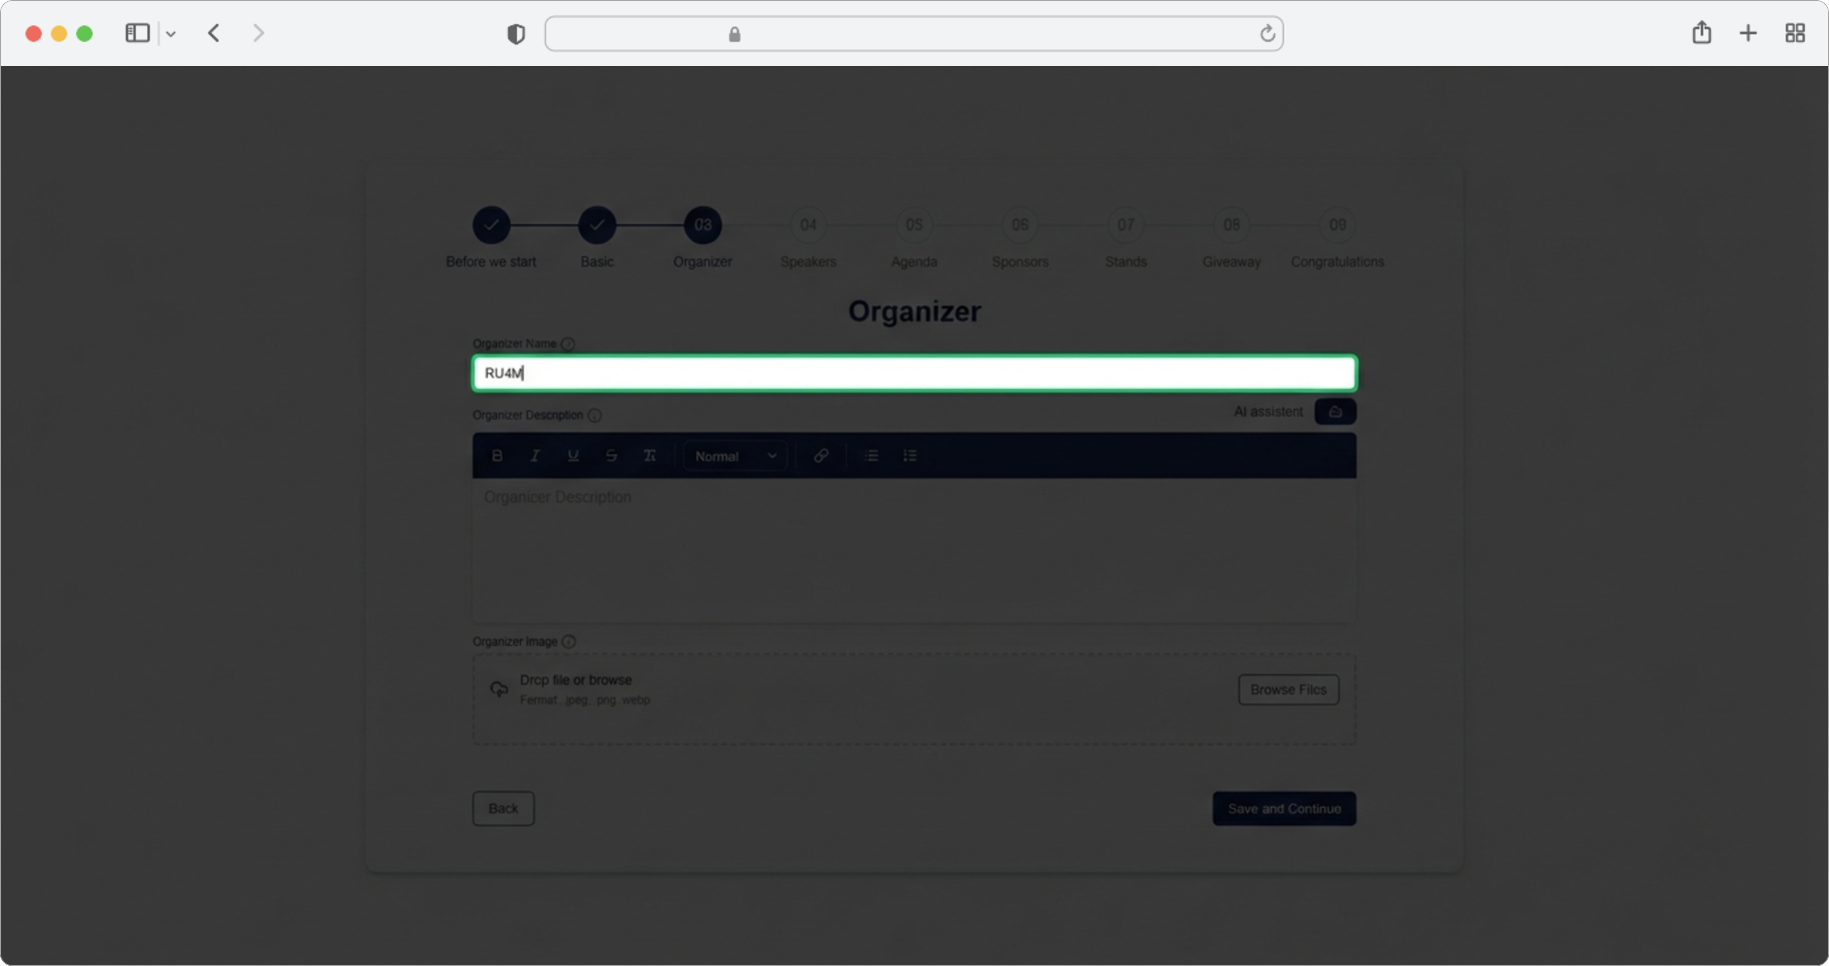
Organizer Name
Required field. Click on the text input field labeled "Organizer name" and enter the official name of the company or individual organizing the event (for example, "RU4M Events" or "Marko Petrovic").
Organizer Description
Required field. Click on the text input field labeled "Description" and enter more details about the organizer — who they are, what they do, why they are organizing this event.
Alternatively, click on the AI assistant icon, which will generate a suggestion for you. You can edit the generated text according to your own needs. You can also format the text in different ways using the formatting icons at the top of the modal — these icons let you make text bold, italic, add bullet points, and more.
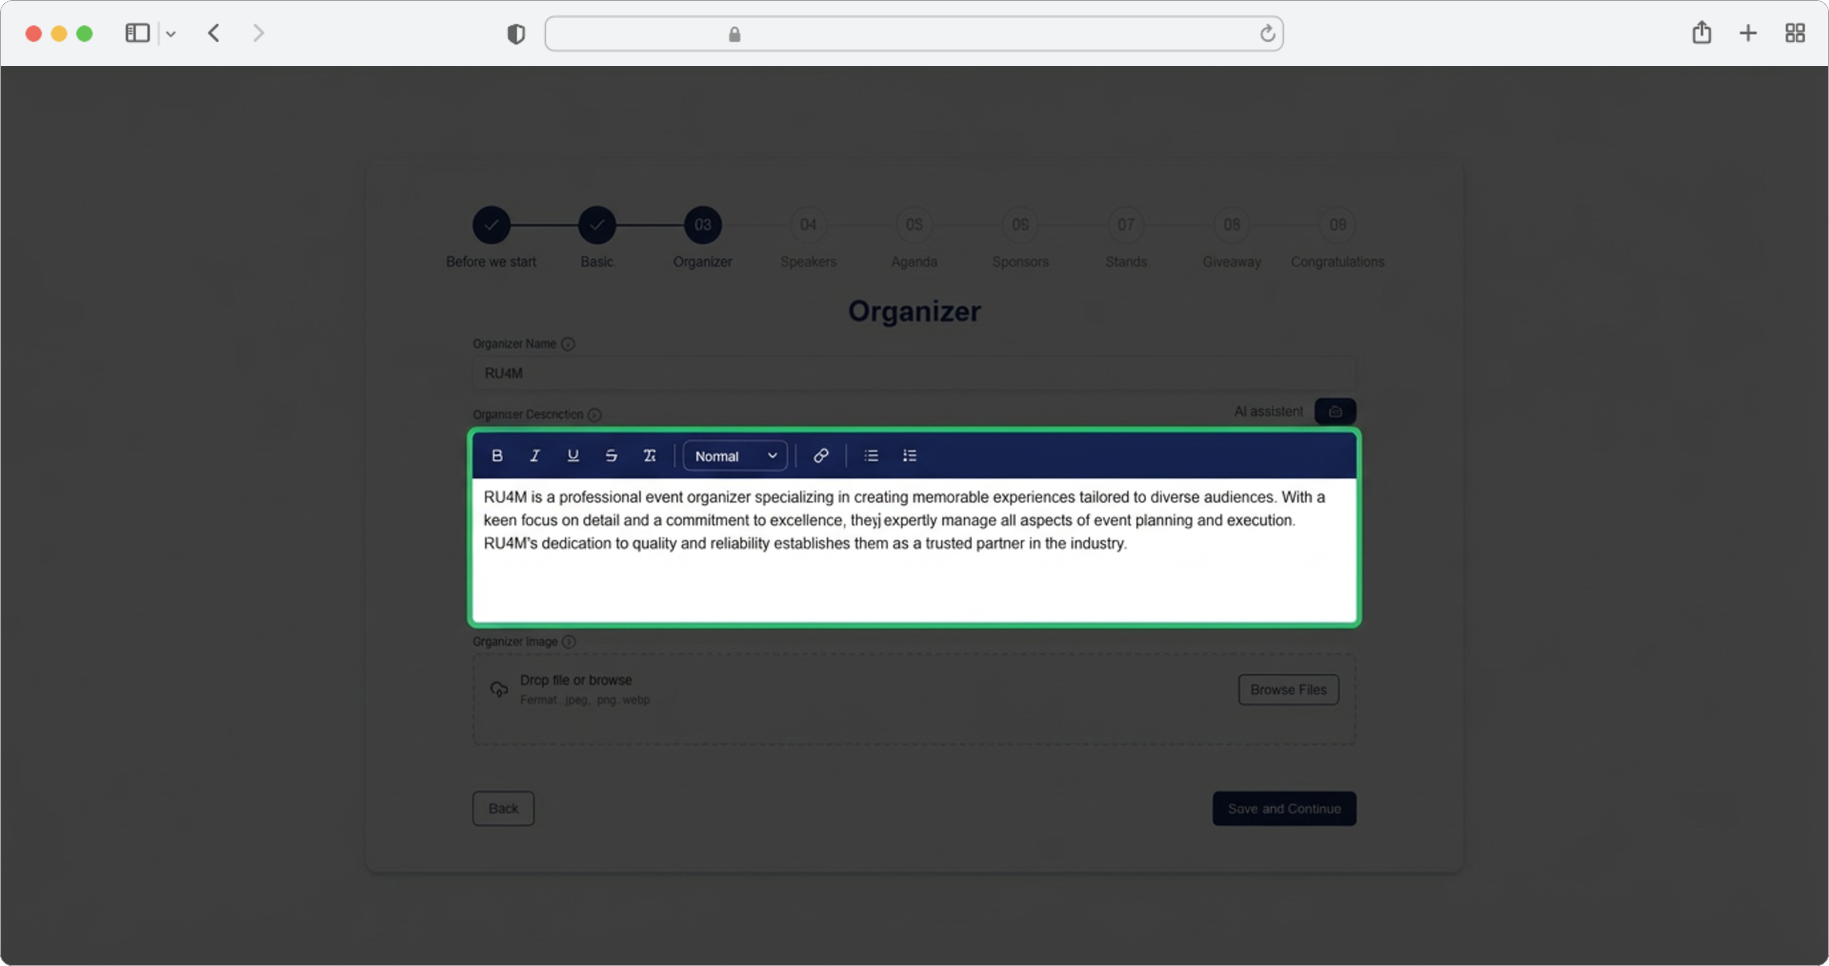
Use the AI assistant
The AI assistant can generate a professional-sounding description of your organizer in seconds. You can then customize it — change words, add or remove information as you see fit.
Organizer Image
Required field. Upload a photo or logo of the organizer. One photo is allowed, with a maximum size of 25 MB. Click the "Browse" button, select the photo from your computer, and after selecting the photo, click "Save and Continue" to proceed to the next step.
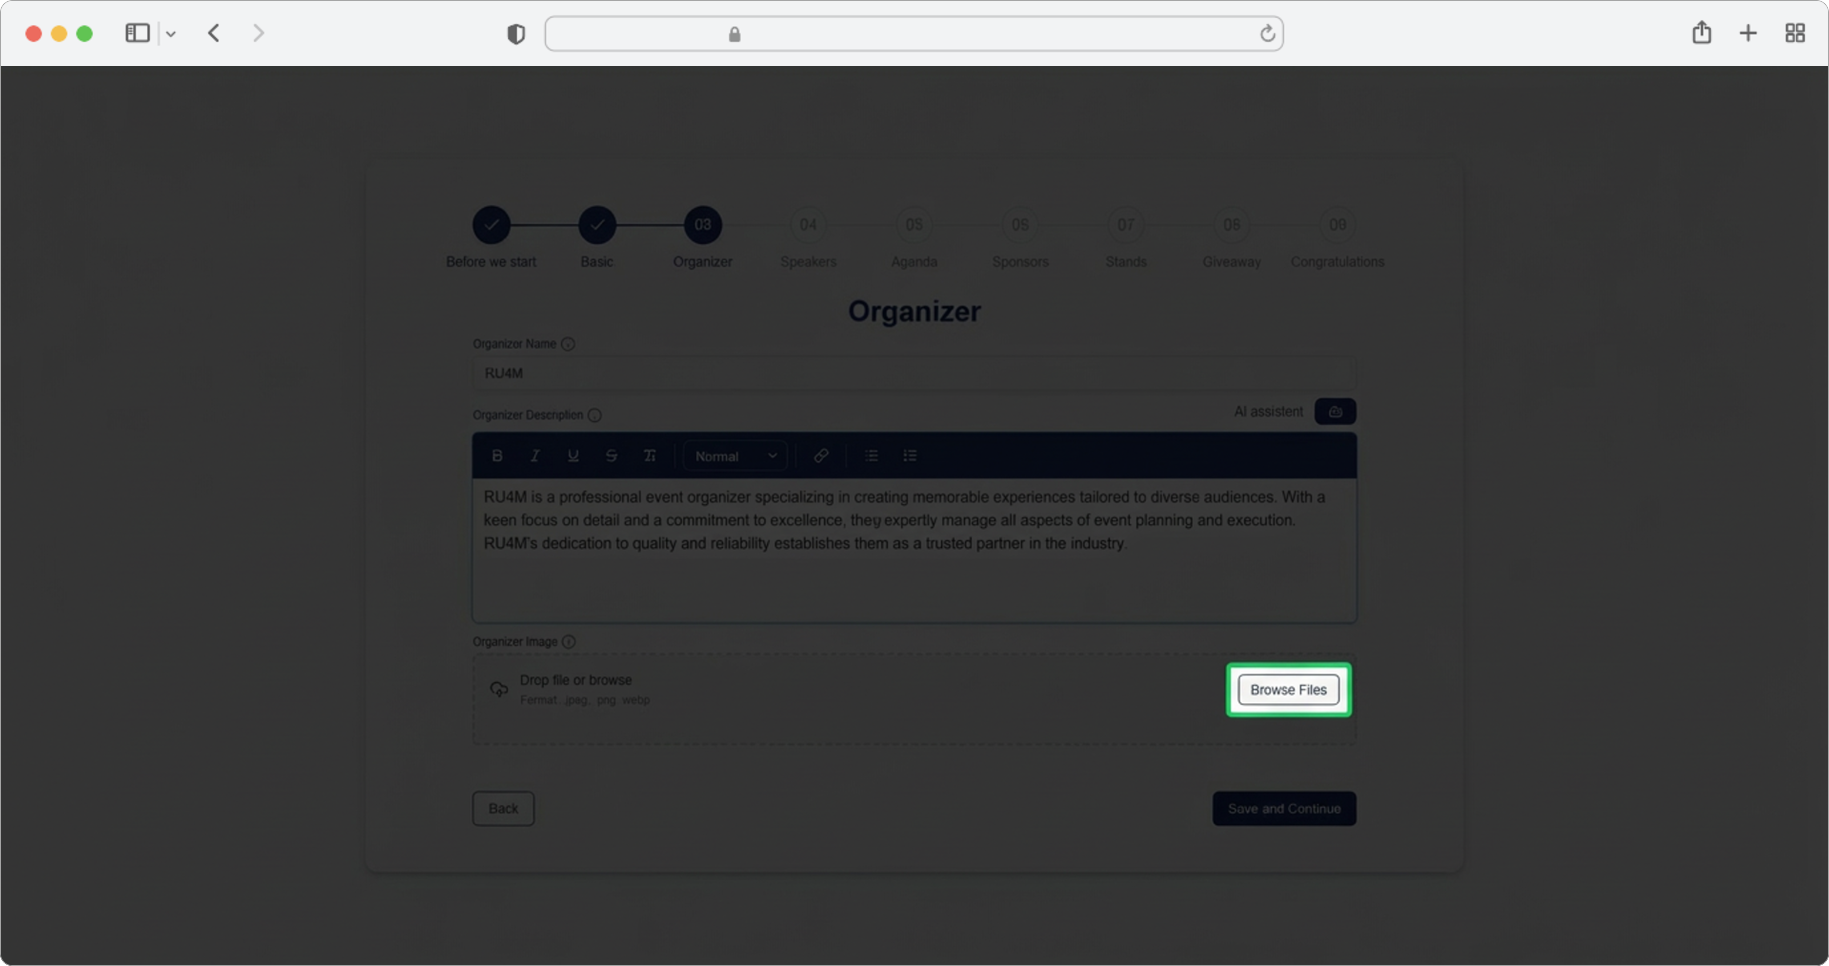
Use a recognizable image
If the organizer is a company, use the company logo. If it is an individual, use a professional headshot. This helps attendees quickly identify who is behind the event.
You can now create the event!
After completing this step, you have provided enough information to create the event. All subsequent steps (4 through 8) are optional — fill them in only if you have the relevant information. Otherwise, use the Skip button to skip them, or Save and Exit to save your event as a draft and finish later.