Speakers (Optional)
If you have speakers or moderators at the event, continue with this step. If not, you can skip it and move on.
How to skip or exit
From this step onward, every step is optional. At the bottom of each step you will see several options: "Add [item]" to add content, "Skip" to move to the next step without adding anything, and "Save and Exit" to save everything you have entered so far and finish creating the event. You can come back later to add more details.
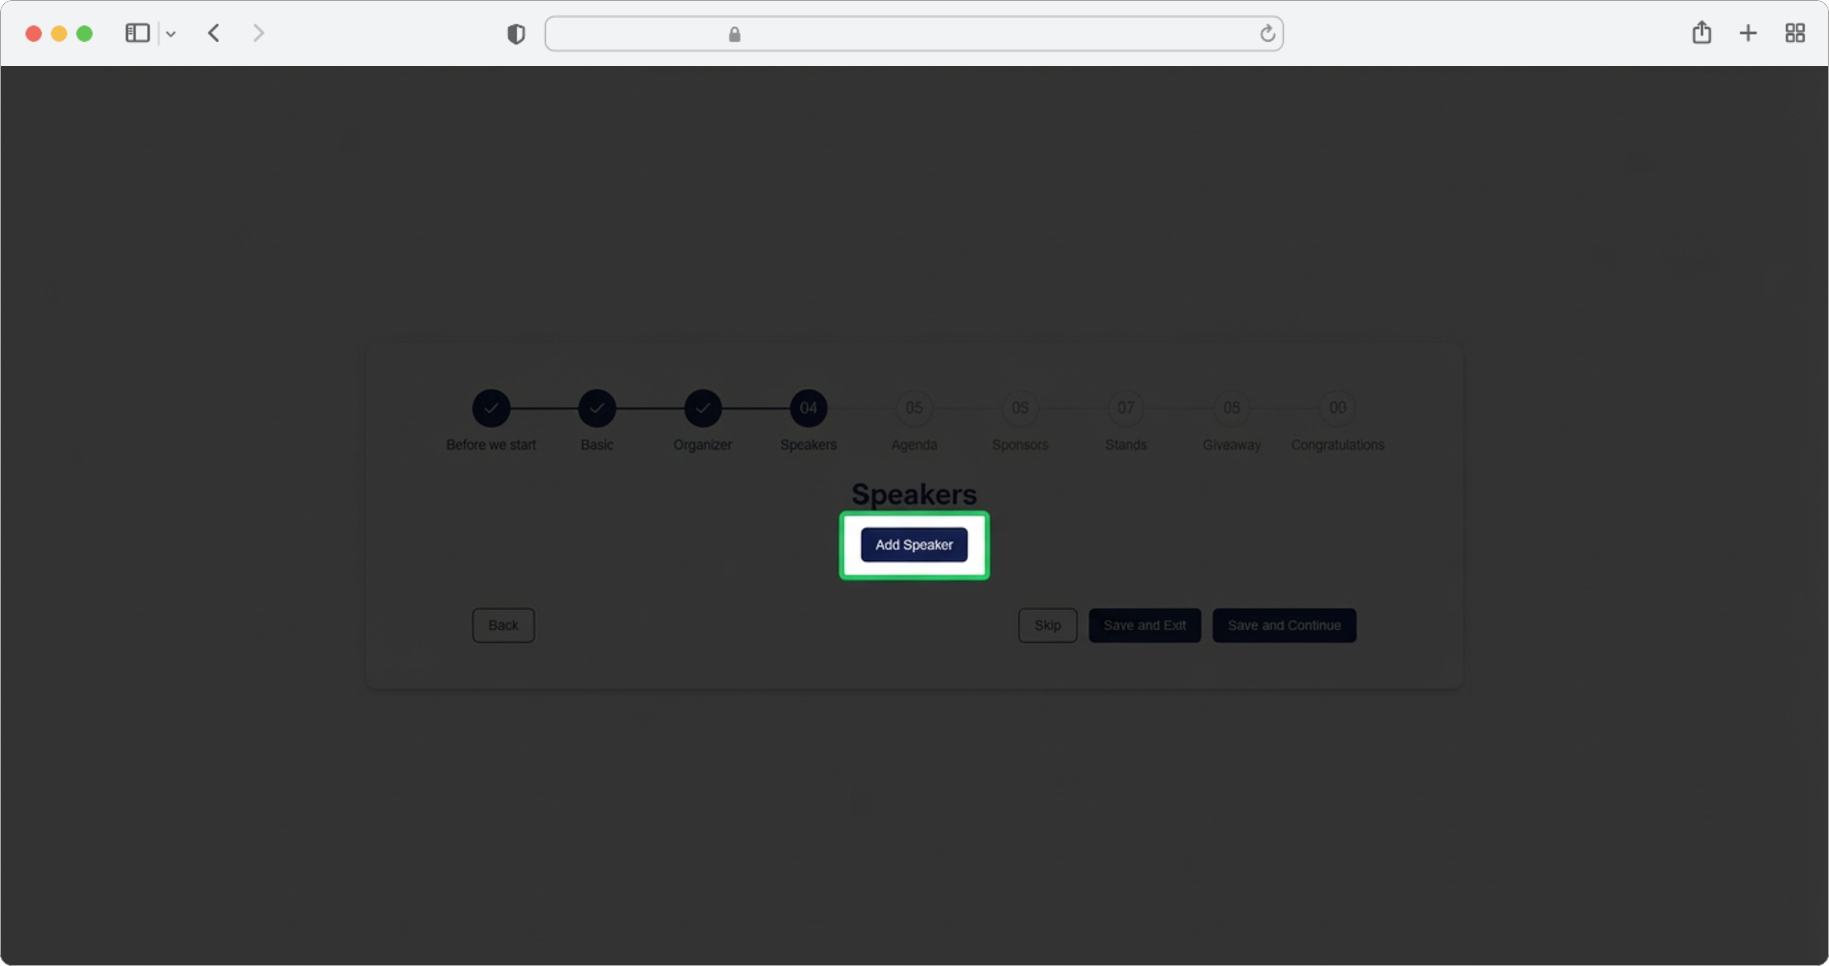
Add a Speaker
Click the "Add speaker" button. A form for adding speakers will open. If you want to skip the step, select the "Skip" option, and if you want to finish creating the event right now, select the "Save and Exit" option.
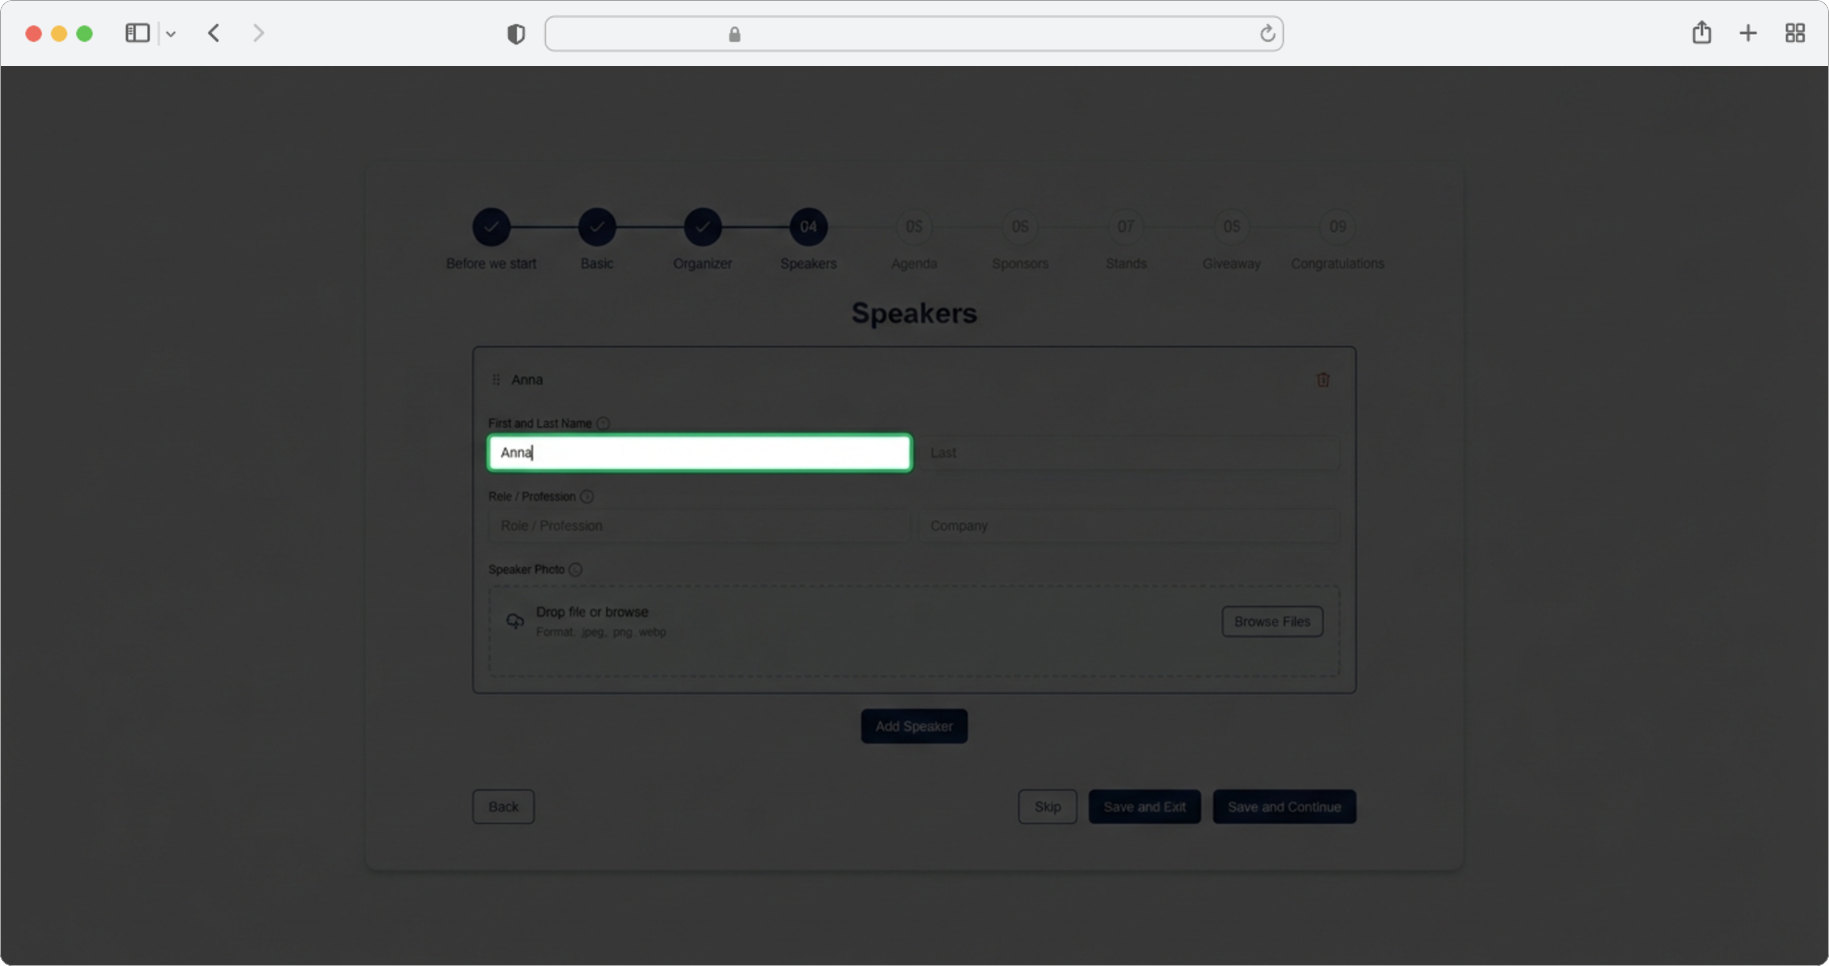
Speaker First Name
Required field (if you chose to add a speaker). Click on the text input field labeled "First name" and enter the speaker's first name.
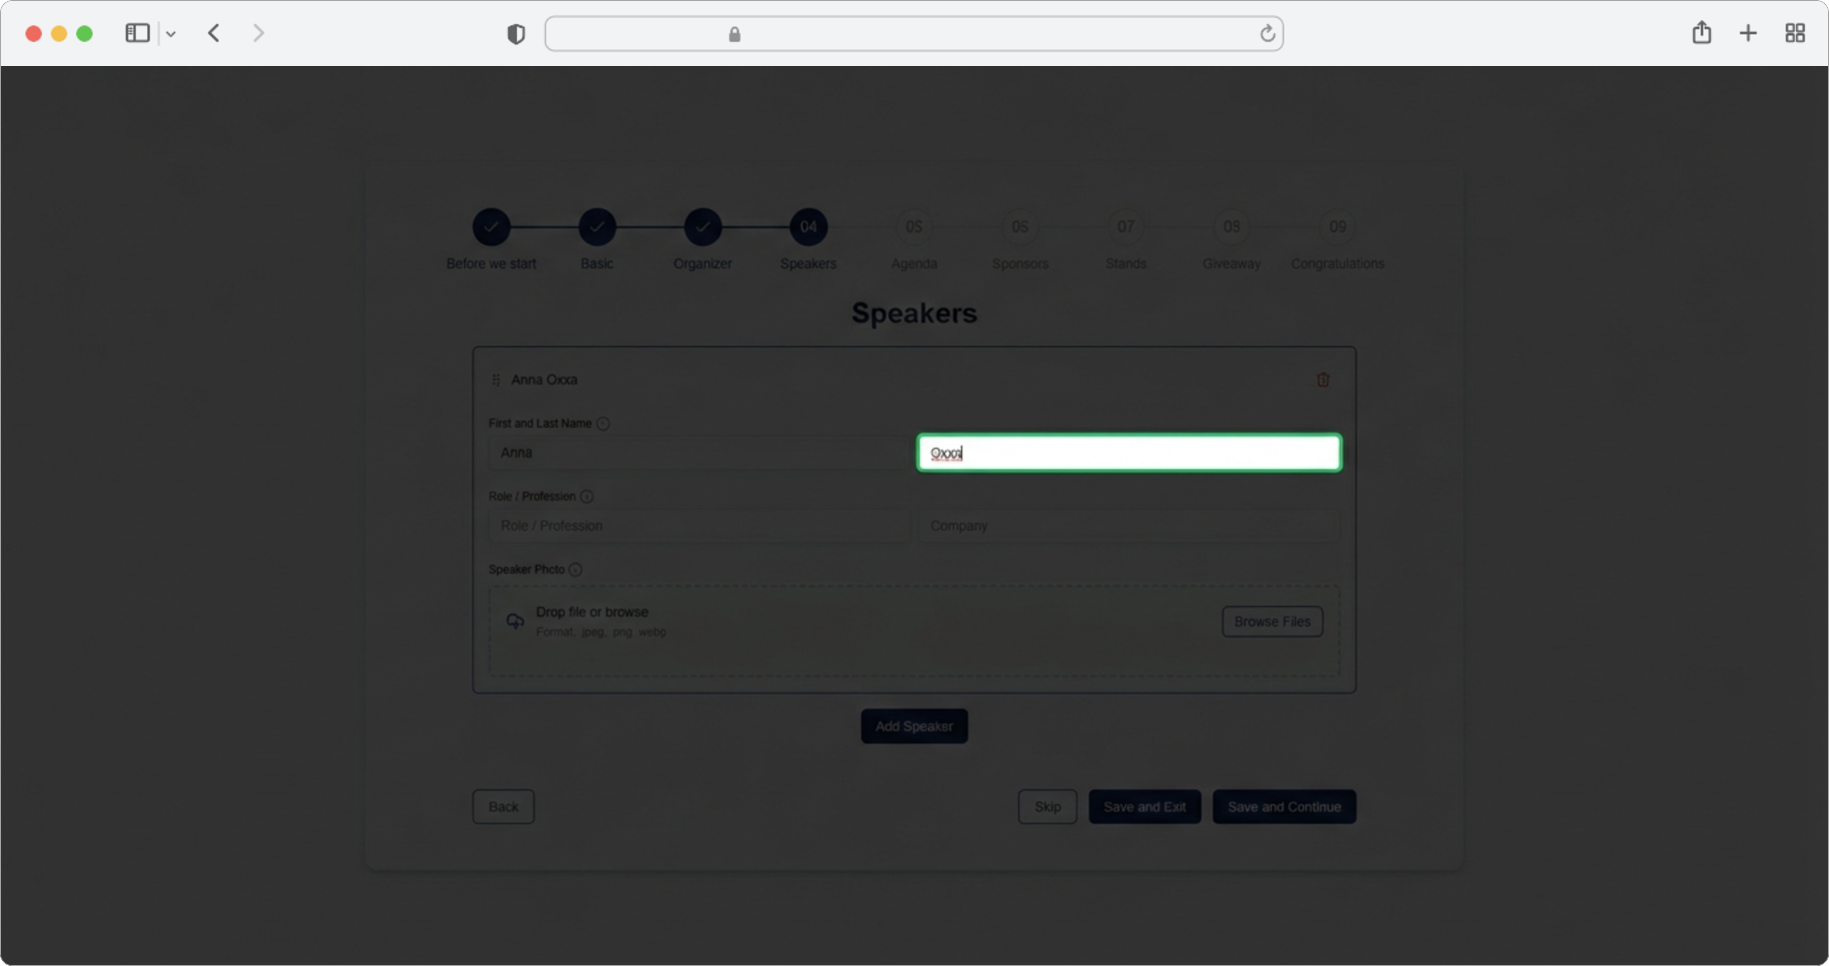
Speaker Last Name
Required field as well. Click on the text input field labeled "Last name" and enter the speaker's last name.
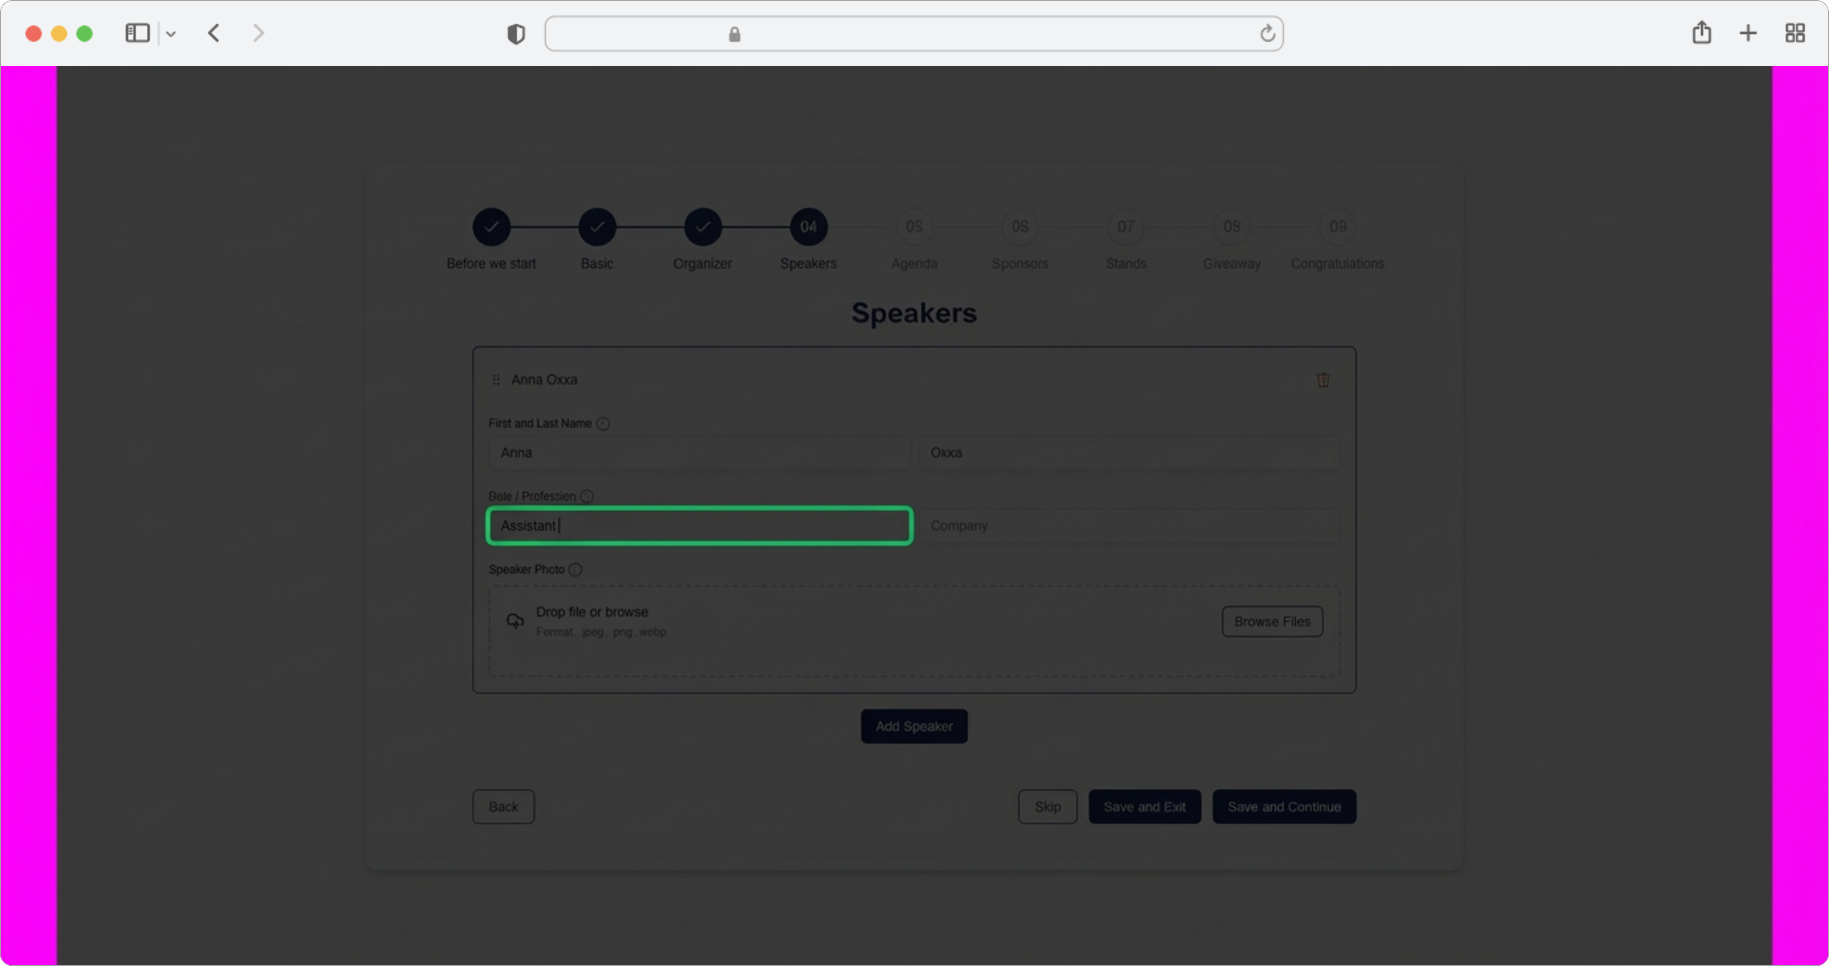
Speaker Role / Profession
Required field as well. Click on the text input field labeled "Role/Profession" and enter the speaker's occupation (for example, "Software Engineer", "Marketing Director", "Professor of Economics").
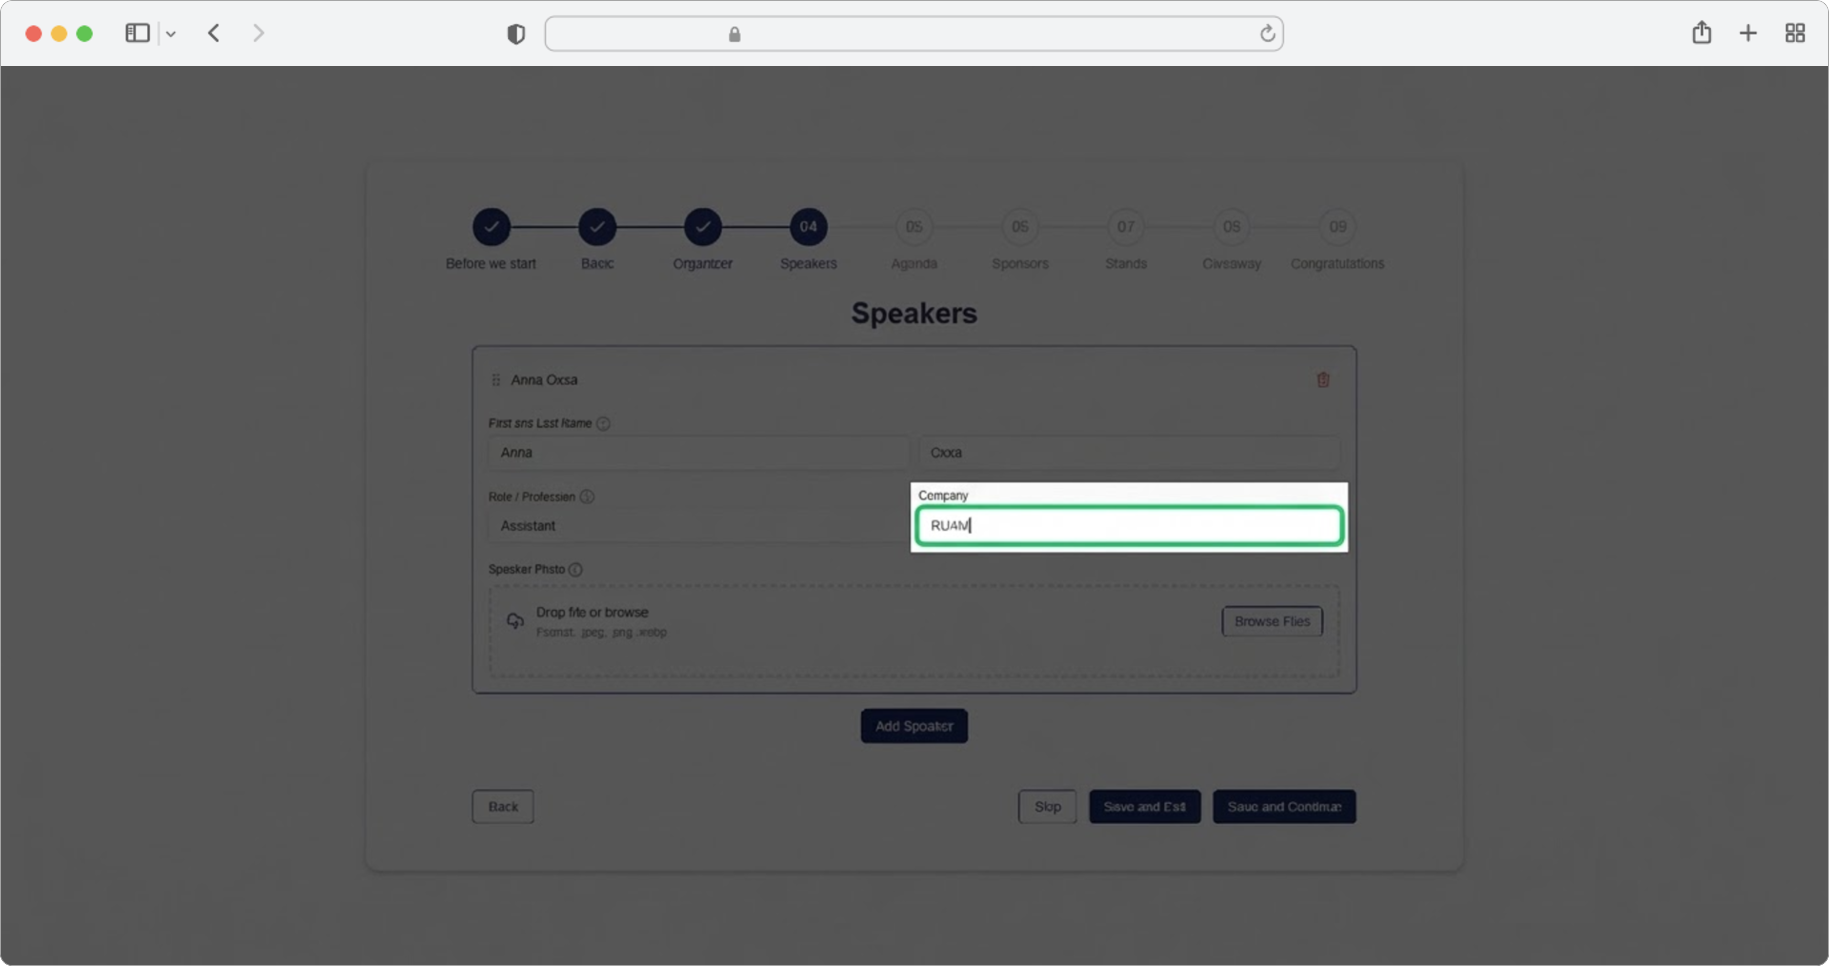
Speaker Company
Click on the text input field labeled "Company" and enter the company or institution where the speaker is employed.
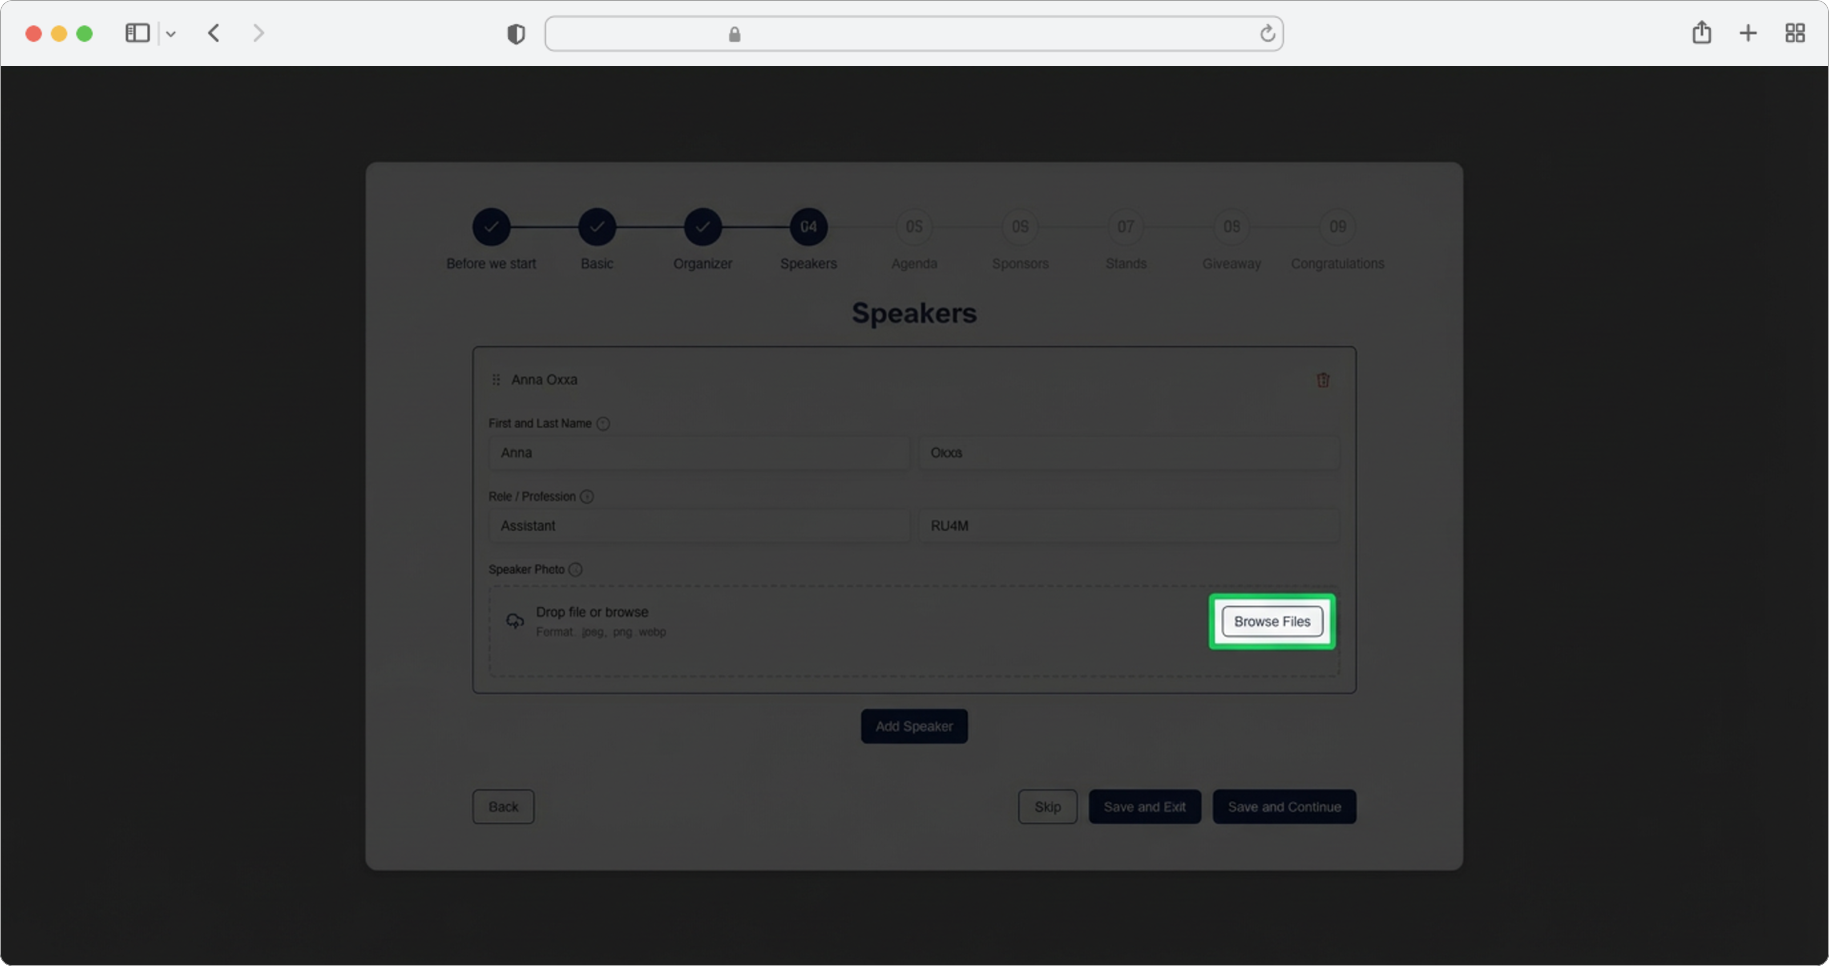
Speaker Photo
Add a photo of the speaker. Click the "Browse" button, select the photo from your computer, and after selecting the photo, click "Add Speaker" again if you have more speakers to add, or "Save and Continue" to proceed to the next step.
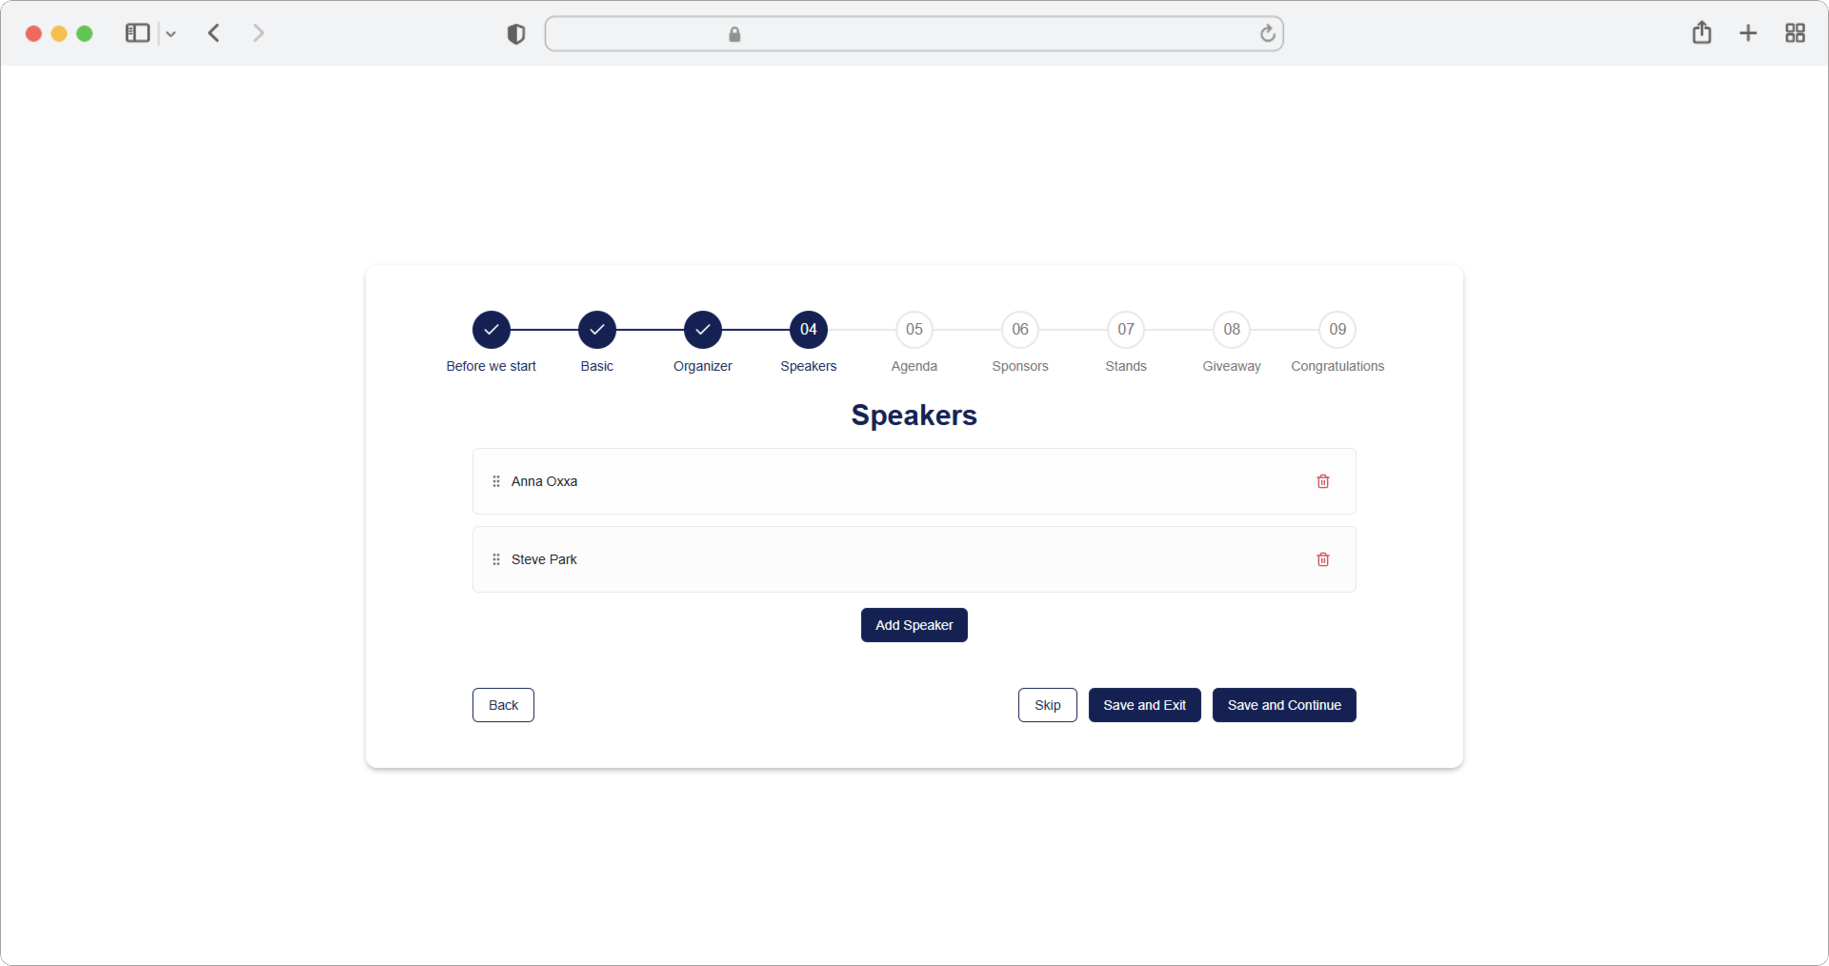
Managing Multiple Speakers
You can add as many speakers as you want. Keep in mind that each time a new speaker is added, the expander with their information will collapse (fold up), while the expander for entering a new speaker will expand (open up). An expander is a section that can be opened or closed by clicking on it — when it is collapsed, you only see the title; when it is expanded, you see all the details inside.
You can easily delete speakers by clicking the Trash icon (a small icon that looks like a trash can or garbage bin) to the right of each individual speaker's name.
You can also change the display order of speakers by clicking the icon to the left of the speaker's name (it usually looks like two or three horizontal lines stacked together, or six dots) and then using the drag and drop method to arrange the speaker in the desired position. Drag and drop means you click and hold the icon, move your mouse to the new position, and then release the mouse button.
Speakers in the app are always displayed in the same order as here — so the order you set now is exactly the order attendees will see.
Drag and drop
To rearrange items using drag and drop: hover your mouse over the small icon to the left of the speaker's name. Click and hold your mouse button, then drag the speaker up or down to the position you want. Release the mouse button to drop them in place.