Dashboard Navigation
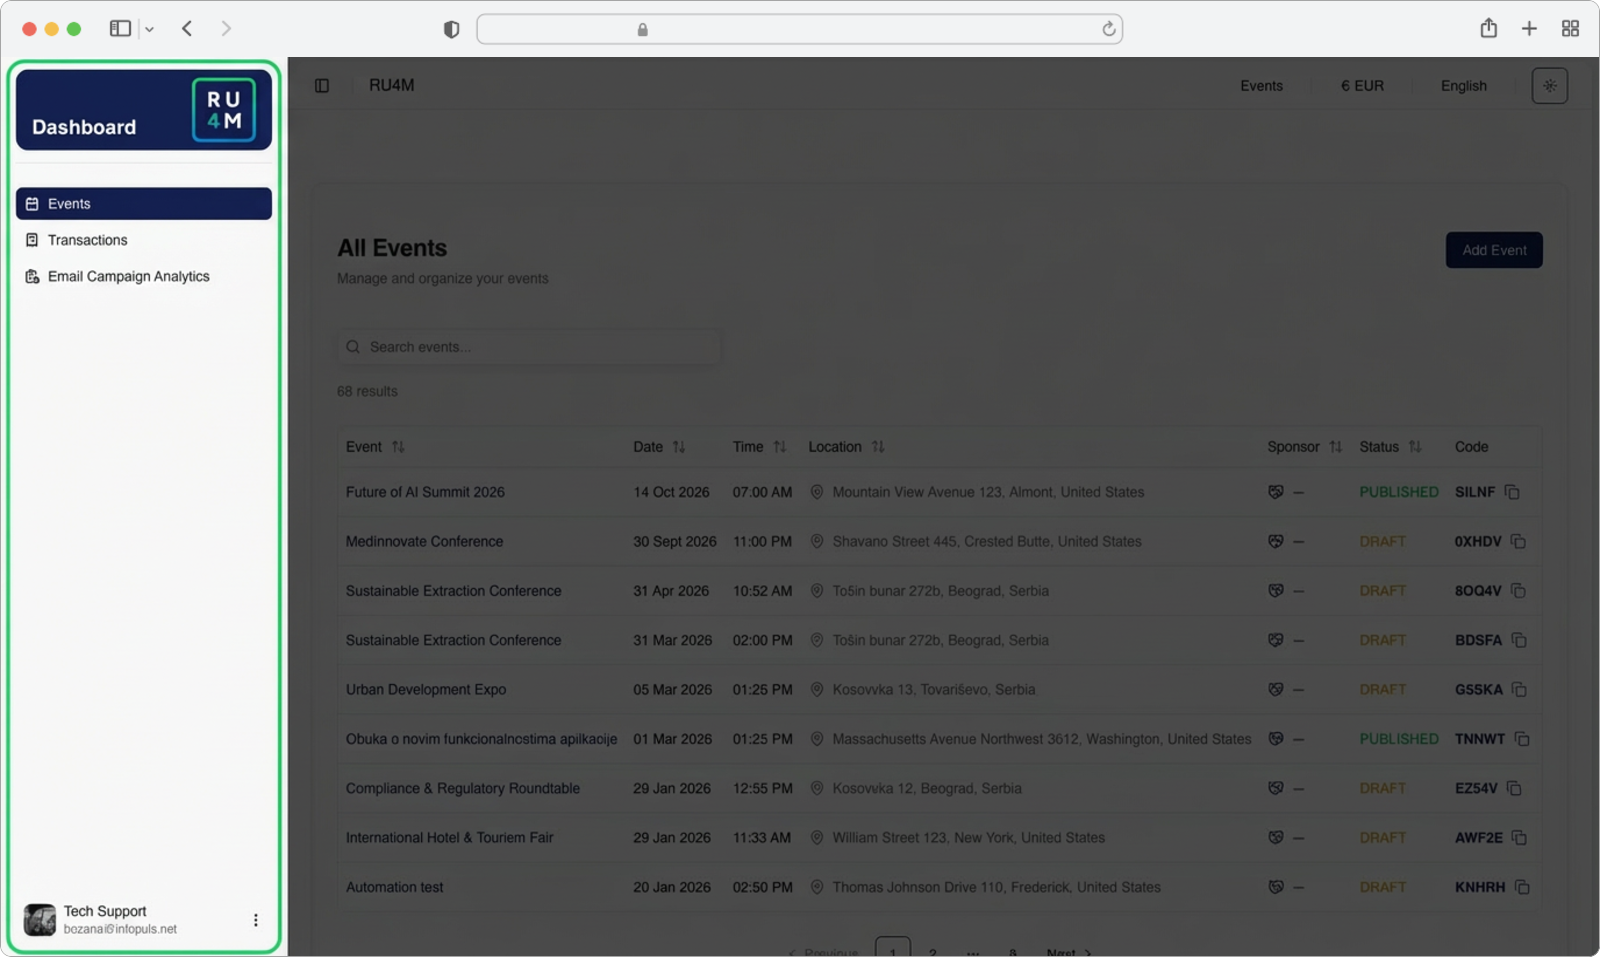
The Dashboard sidebar (the dark panel on the left side of the screen) is your main way of navigating between different features of the RU4M Backoffice. From here, you can quickly switch between managing your events, viewing payment transactions, and checking email campaign analytics. This page explains each option available in the sidebar and how to use it.
Opening the Side Menu
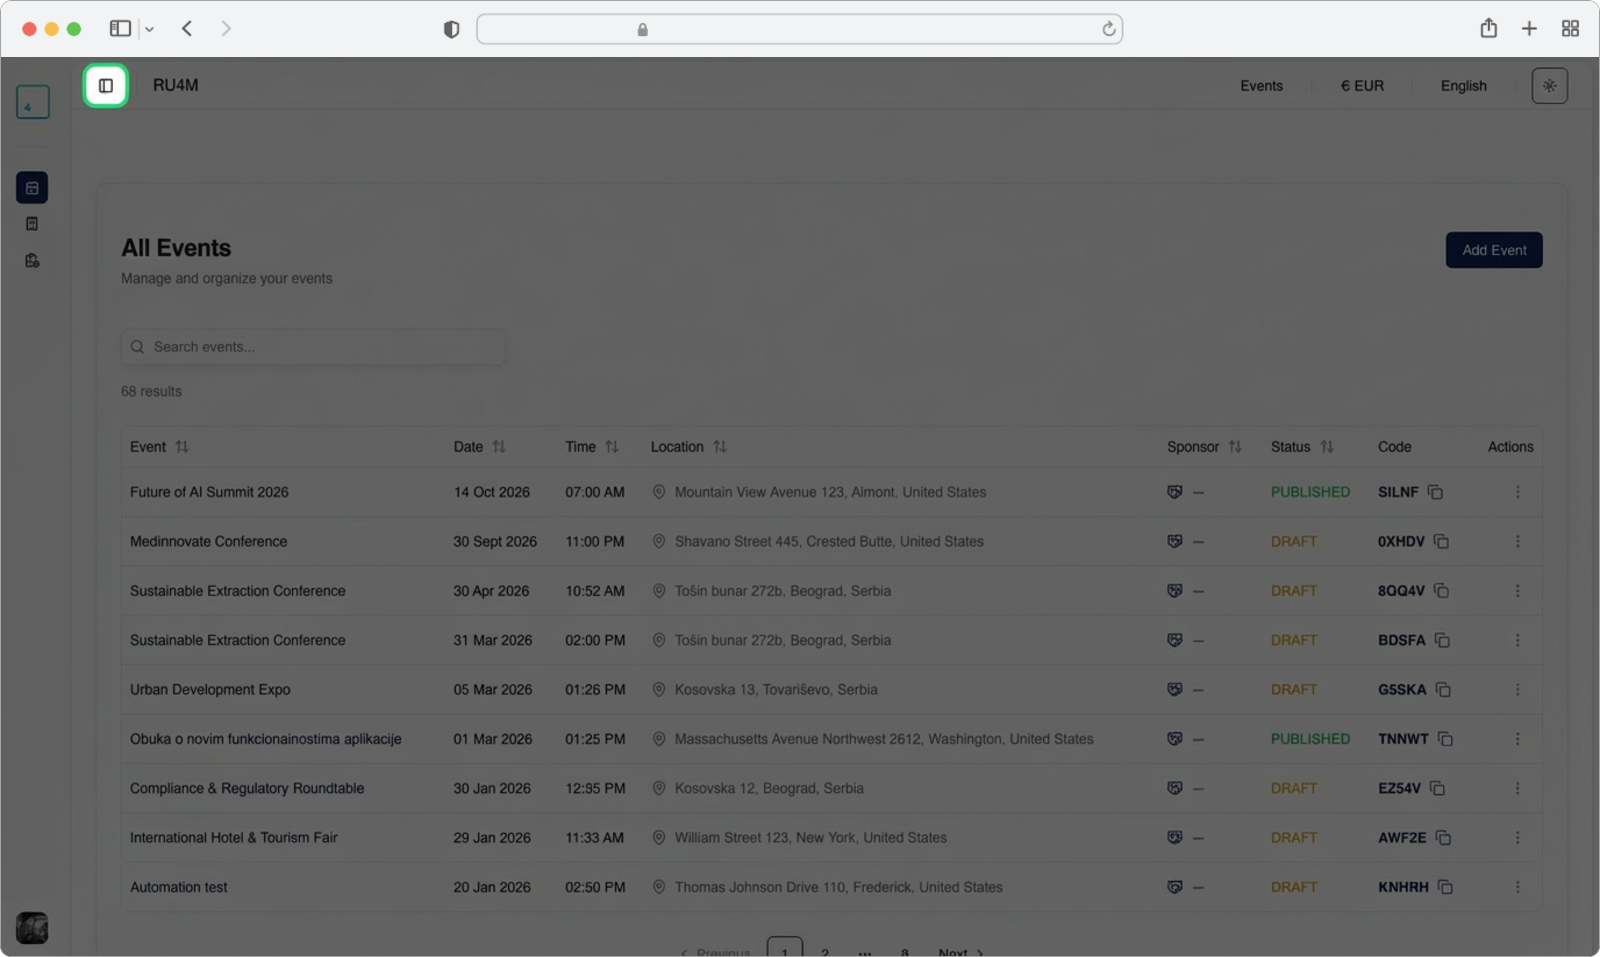
When you first arrive at the Dashboard, you may notice that the sidebar on the left shows only small icons without any text labels. This is the "collapsed" state of the sidebar — it takes up less space on the screen so you can see more of the main content.
Hover over the side menu
To see all the options available in the sidebar, move your mouse cursor over the dark panel on the left side of the screen. When your cursor is over the sidebar, it will automatically expand to show the full text labels next to each icon. You will see the following options:
- Events — View and manage all your events
- Transactions — See your payment history
- Email Campaign Analytics — Check email campaign performance
At the bottom of the sidebar, you will also see your account name and email address.
What does 'hover' mean?
Hovering means moving your mouse cursor over an element on the screen without clicking. Simply position the arrow cursor over the sidebar area and the menu will expand automatically. You do not need to click anything for this to happen.
Pin the side menu open
By default, the sidebar will collapse (shrink back to showing only icons) as soon as you move your mouse away from it. If you want the sidebar to stay open all the time so that the text labels are always visible, you can "pin" it.
Look at the top area of the sidebar, near the RU4M logo. You will see a small icon that looks like a panel or toggle button. Click on this icon to pin the sidebar in its expanded state. Once pinned, the sidebar will remain open even when your mouse is not hovering over it.
How to collapse it again
If you want the sidebar to go back to its collapsed state (showing only icons), simply click the same pin/toggle icon again. This will undo the pinning and the sidebar will collapse when you move your mouse away.
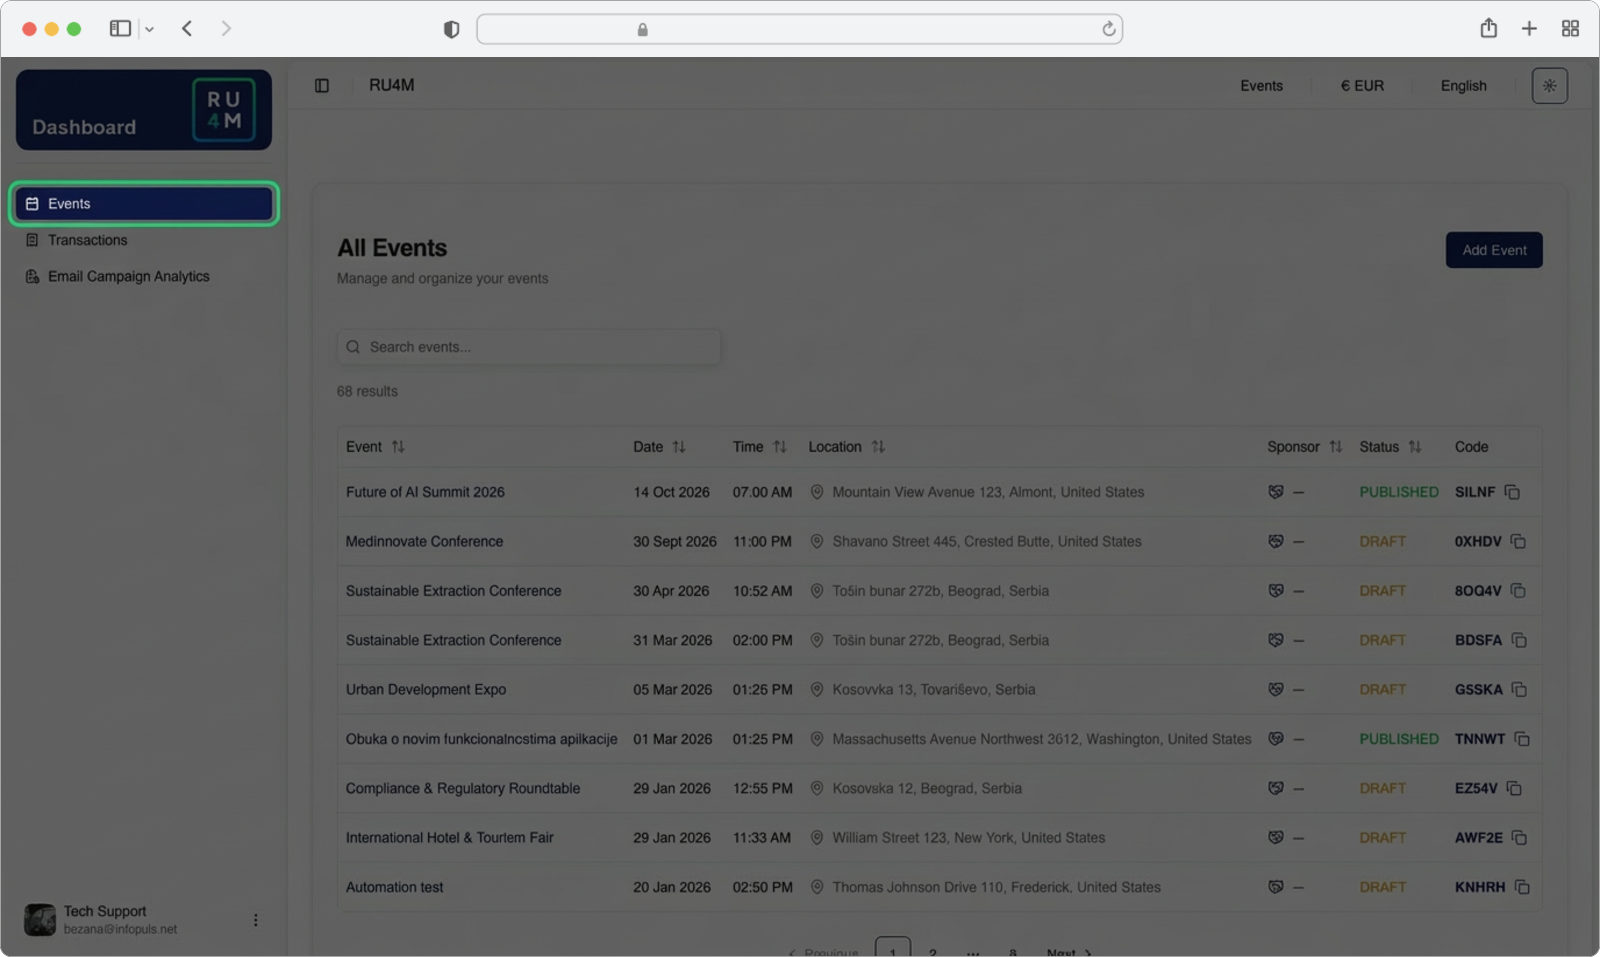
Events
This is the page that appears by default as soon as you navigate to the Dashboard. Selecting the Events option in the sidebar shows you a complete list of all events that you have created, as well as any events where you have permissions to moderate.
The events are displayed in a table format, showing important details for each event such as the event name, date, time, location, sponsor, status (Published or Draft), and an invite code. You can sort the events by clicking on any column header.
What do the columns mean?
- Event — The name of your event. You can click on the event name to open its detailed page.
- Date — The date when the event takes place.
- Time — The start time of the event.
- Location — The venue or address of the event.
- Sponsor — The name of the event sponsor, if any.
- Status — Shows whether the event is "PUBLISHED" (visible to the public) or "DRAFT" (saved but not yet published).
- Code — The unique invite code for the event. You need to share this code with participants if the event is private.
- Actions — A three-dot menu with additional options (more on this in the Events section).
Sorting the table
You can sort the events by any column. For example, to see the most recent events first, click on the Date column header. Clicking the same header again will reverse the sort order.
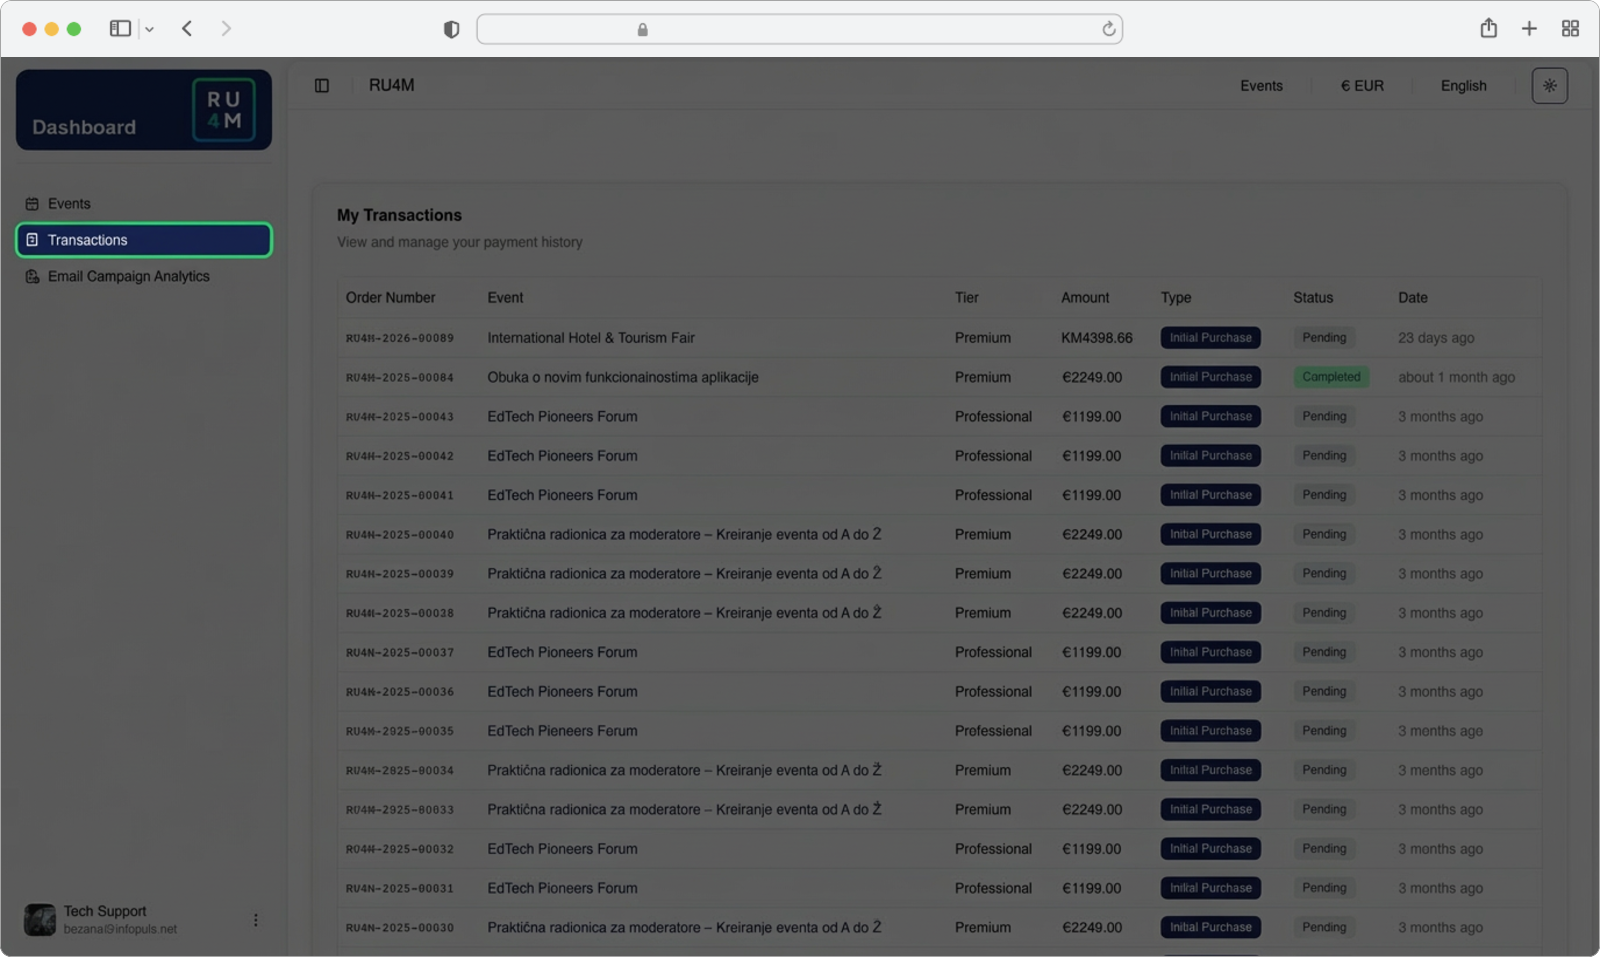
Transactions
Selecting the Transactions option in the sidebar opens the Transactions page. This page displays a detailed payment history log, giving you a complete overview of all payments made for your events.
Each transaction is identified by a unique order number and shows the following information: the event name, the selected payment tier (such as Premium or Professional), the purchase amount in euros or your local currency, and the transaction type. Each entry also includes a status indicator — either "Pending" (payment is being processed) or "Completed" (payment has been successfully received) — along with a timestamp showing when the transaction occurred.
This page serves as a centralized financial record for all event-related payments made through the platform. You can use it to track the progress and timeline of your event purchases at a glance.
What is a transaction?
A transaction is a record of a payment. Every time you or someone else makes a payment related to an event (for example, purchasing a Premium tier for your event), a new transaction entry is created here. It helps you keep track of all money-related activity.
Understanding the status
- Completed means the payment has been fully processed and received.
- Pending means the payment is still being processed. This is normal and usually resolves within a short time.
Email Campaign Analytics
Selecting the Email Campaign Analytics option in the sidebar opens the email analytics page. This section gives you insight into the performance details of all email campaigns you have sent for your events.
From here, you can select an event to view its specific email campaign analytics, including delivery metrics, open rates, click rates, and more. This feature is explained in more detail in the Campaign Analytics section.
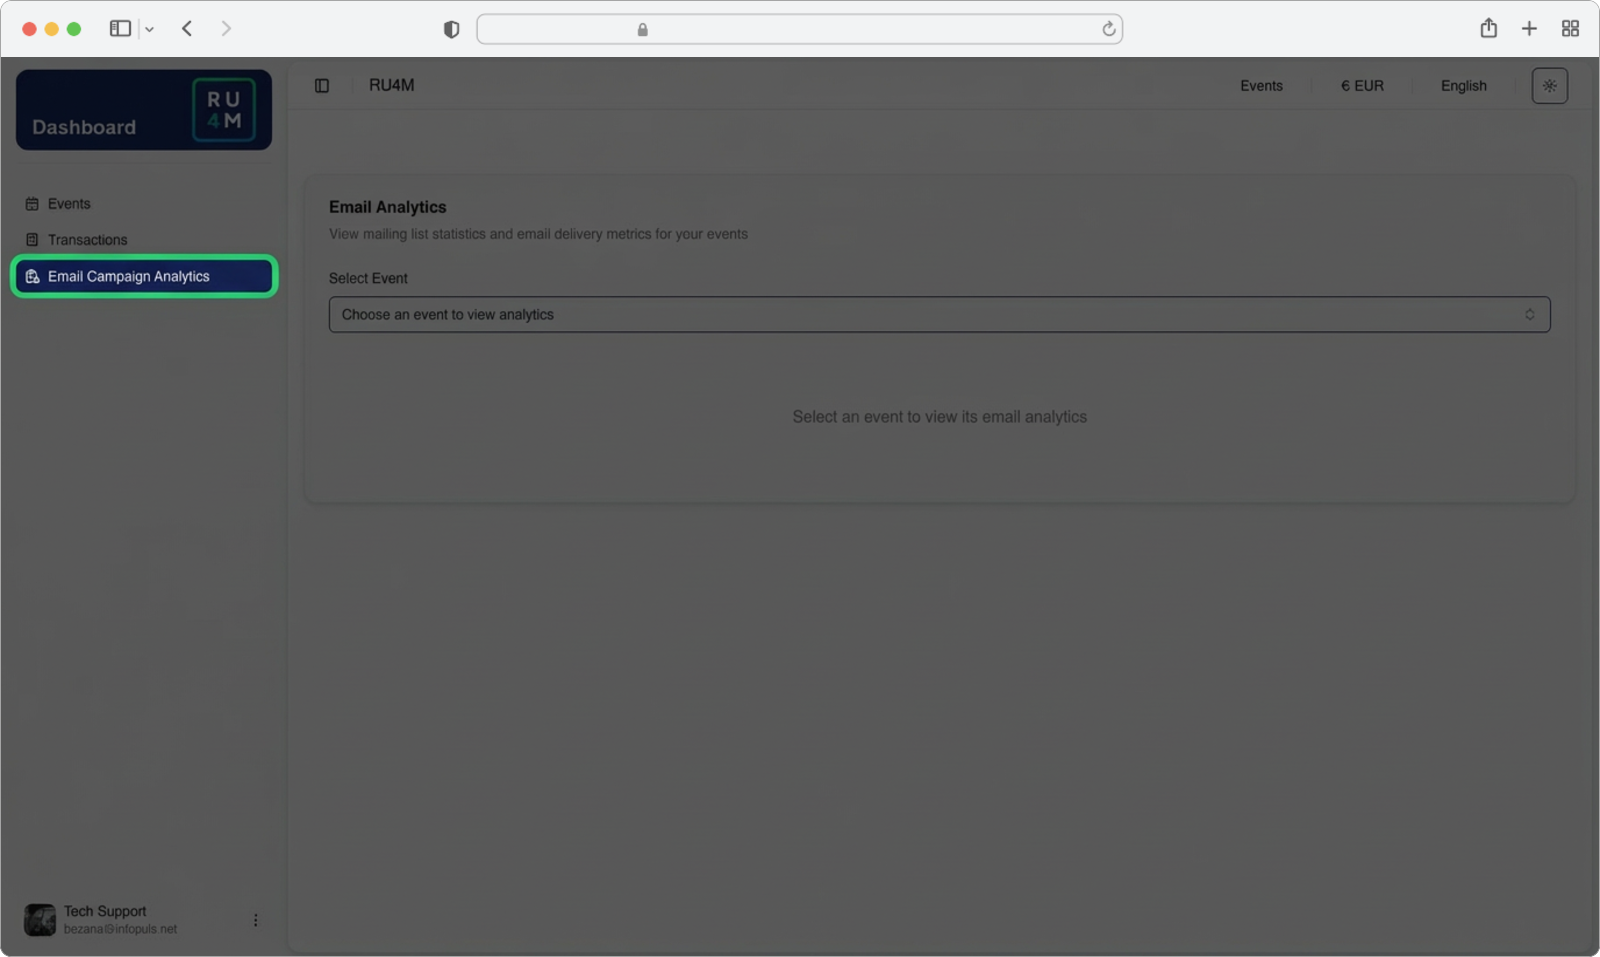
Quick overview
The Email Campaign Analytics page first asks you to select an event. Once you choose an event from the dropdown, the full analytics dashboard will appear with all campaign performance data.
Logging Out
When you are done working in the Dashboard and want to sign out of your account, you can log out directly from the sidebar.
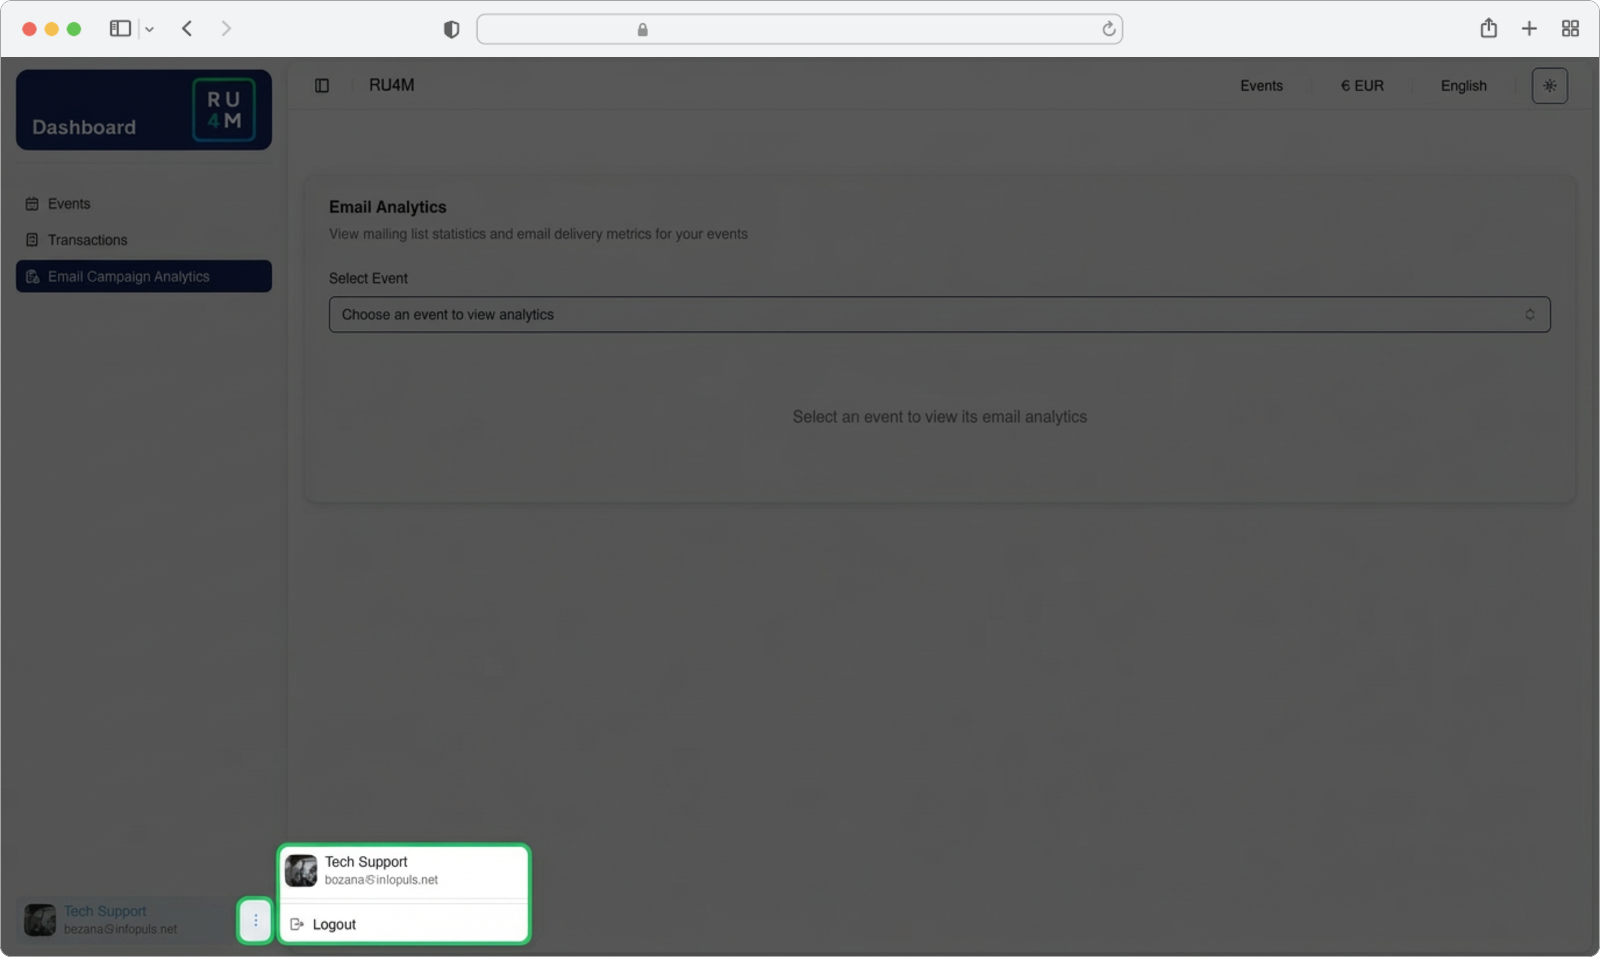
How to log out
Look at the bottom of the sidebar. You will see your account name and email address displayed there. Next to your name, there is a small icon with three dots (also called a "more options" menu).
Click on the three-dot icon next to your name. A small menu will appear with the option "Logout". Click on Logout to sign out of the application. You will be redirected to the login page.
Save your work first
Before logging out, make sure you have saved any changes you were working on. Any unsaved changes may be lost when you log out.
What is a three-dot menu?
A three-dot menu (sometimes called a "kebab menu" because the three dots resemble a vertical kebab skewer) is a common design pattern in web applications. It hides additional options that are less frequently used, keeping the interface clean. You click on the three dots to reveal the hidden options.